
Audio/Video Control Receiver Instruction Manual
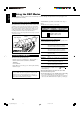

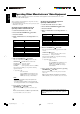


Table Of Contents
- J version
- INSTRUCTIONS
- Warnings, Cautions and Others
- Table of Contents
- Parts Identification
- Getting Started
- Basic Operations
- Receiving Radio Broadcasts
- Basic Settings
- Adjusting Sound
- Using the Surround Modes
- Using the DSP Modes
- Operating JVC’s Audio/Video Components
- Operating Other Manufacturers’ Video Equipment
- Troubleshooting
- Specifications
- LIMITED WARRANTY
- TO OUR VALUED CUSTOMER
- C version
- INSTRUCTIONS
- Warnings, Cautions and Others
- Table of Contents
- Parts Identification
- Getting Started
- Basic Operations
- Receiving Radio Broadcasts
- Basic Settings
- Adjusting Sound
- Using the Surround Modes
- Using the DSP Modes
- Operating JVC’s Audio/Video Components
- Operating Other Manufacturers’ Video Equipment
- Troubleshooting
- Specifications
30
English
Operating Other Manufacturers’ Video Equipment
This remote control supplied for the receiver can transmit control signals for other manufacturers’ TVs, CATV
converters, VCRs and DVD players.
When operating the other manufacturers’ components, refer also to
the manuals supplied with them.
• After replacing batteries for the remote control, you need to set the
manufactures’ codes again.
To change the transmittable signals for
operating another manufacturer’s TV
1 Set the TV/CATV selector to “TV.”
2 Press and hold STANDBY/ON
TV/CATV.
3 Press TV SOUND.
4 Enter a manufacturer’s code using buttons 1 – 9,
and 0.
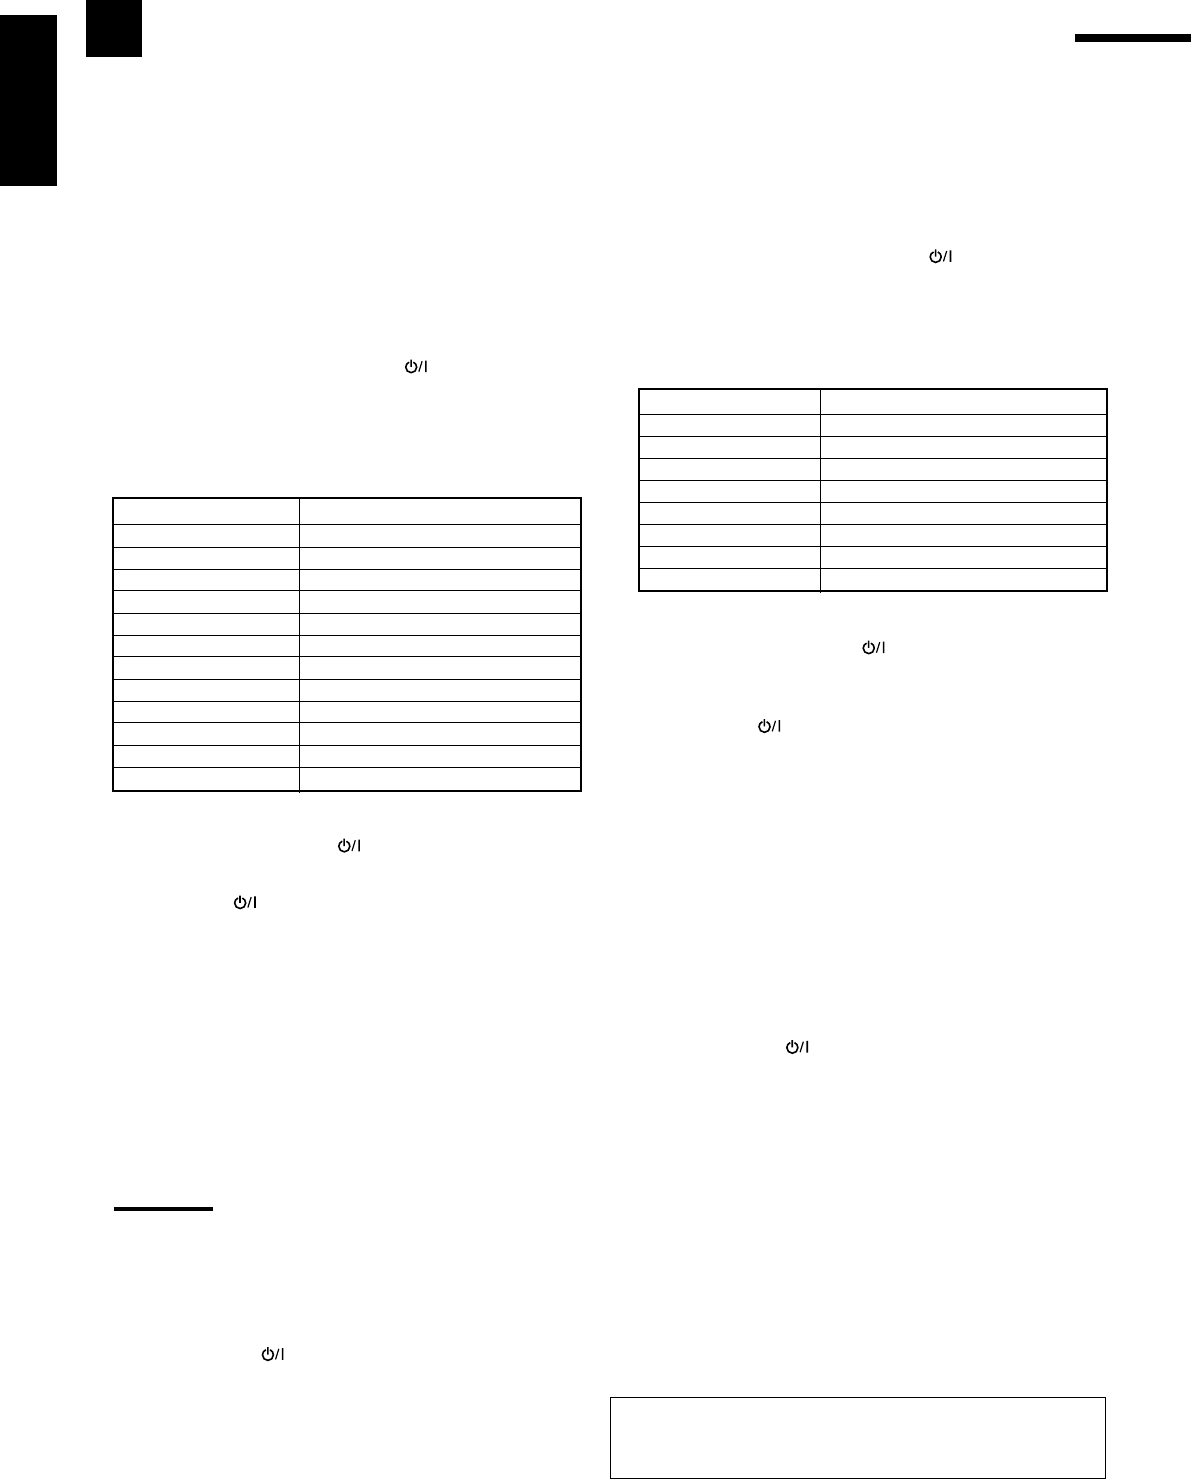
Manufacturer Codes
JVC 01*
Hitachi 10
Magnavox 02
Mitsubishi 03
Panasonic 04, 11
RCA 05
Samsung 12
Sanyo 13
Sharp 06
Sony 07
Toshiba 08
Zenith 09
* “01” is the initial setting.
5 Release STANDBY/ON TV/CATV.
Now you can perform the following operations on the TV:
STANDBY/ON
TV/CATV: Turn on and off the TV.
TV/CATV CH +/–: Change the channels.
TV VOLUME +/–: Adjust the volume.
TV/VIDEO: Set the input mode (either TV or VIDEO).
After pressing TV SOUND, you can perform the following
operations on the TV:
1 – 9, 0, 100+ (+10):
Select the channels.
The 10 (ENTER) button will function as the
ENTER button if your TV requires pressing
ENTER after selecting a channel number.
Notes:
• All the functions listed above may not be assigned to the
buttons for some TVs.
• If you cannot change the channels of some TVs by pressing
the 10 keys, press TV/CATV CH +/– for changing the channels.
6 Try to operate your TV by pressing
STANDBY/ON
TV/CATV.
When your TV turns on or off, you have entered the correct
code.
If there are more than one code listed for your brand of TV,
try each one until the correct one is entered.
To change the transmittable signals for
operating a CATV converter
1 Set the TV/CATV selector to “CATV.”
2 Press and hold STANDBY/ON
TV/CATV.
3 Press TV SOUND.
4 Enter a manufacturer’s code using buttons 1 – 9,
and 0.
Manufacturer Codes
Echostar 01*
General Instrument 02, 03, 04, 05, 06, 07, 08, 09
Hamlin 16, 17, 18, 19
Pioneer 14, 15
RCA 20
Scientific Atlanta 10, 11
Sony 21
Zenith 12, 13
* “01” is the initial setting.
5 Release STANDBY/ON TV/CATV.
Now you can perform the following operations on the CATV
converter:
STANDBY/ON
TV/CATV:
Turn on and off the CATV converter.
TV/CATV CH +/–: Change the channels.
After pressing TV SOUND, you can perform the following
operations on the CATV converter:
1 – 9, 0, 100+ (+10):
Select the channels.
The 10 (ENTER) button will function as the
ENTER button if your CATV converter
requires pressing ENTER after selecting a
channel number.
6 Try to operate your CATV converter by pressing
STANDBY/ON
TV/CATV.
When your CATV converter on or off, you have entered the
correct code.
If there are more than one code listed for your brand of
CATV converter, try each one until the correct one is entered.
Manufacturers’ codes are subject to change without notice.
If they are changed, this remote control cannot operate the
equipment.
28-34_5050&5052[C]1.p65 04.12.8, 1:16 PM30