
Users Manual

Maintenance & Inspection
6-2
6.2 Self diagnosis inspection
The following describes the procedure to perform inspections through self-diagnosis.
■ Procedure ■
1
1
1
.
.
.
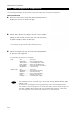
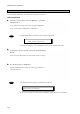
From the main menu, touch the [SELF DIAG] button to
display the screen as shown at right.
2
2
2
.
.
.
Select either button of [TRX] for the RF circuit, [OWN
CTRL] for the control circuit of the unit now operating,
or [DSC LOOP] for DSC TX-RX loop.
The example at right shows TRX checking screen.
3
3
3
.
.
.
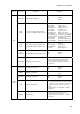
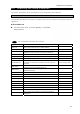
Select the target test item and touch the [EXE] button
to start the self diagnosis.
The following test items are available.
TRX: ALL ................. All items
E2PROM ...........Non-volatile memory
TRX LOOP ........TX-RX/WKR RF circuit
DSC LOOP ........DSC TX-RX/WKR loop
PS(DC/DC) ........Internal DC/DC converter
PRINTER ..........Test printing
OWN CTRL: ALL ................. All items
E2PROM ...........Non-volatile memory
SDRAM .............Volatile memory
EMMC ...............Non-volatile memory
LCD ..................Display condition
SOUND .............Loudspeaker output
- The PRINTER item is available only if the STATE setting (MENU>SETUP>PRN
PROP) is ON.
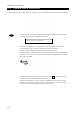
- To cancel the self-diagnosis during performing, touch the [CANCEL] button.
- The results of the self-diagnosis are saved as history and the latest 10 logs are
referable. (MENU>SELF DIAG>TRX LOG or MENU>SELF DIAG> CTRL LOG)
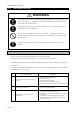
- The self-diagnosis test contents and results are as shown below.
Note