
Manual
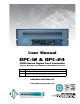
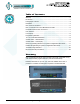
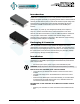
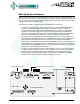
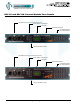
Table Of Contents
- Warranty
- Introduction
- Packaging & Contents
- Installation
- DPC-24/12 Circuit Board
- DPC-12 and DPC-24 Control Module Face Panels
- Dual DMX Input and Thru Connectors
- User Interface
- LCD Display
- Programming Switches
- 12 or 24 Local Buttons/Switches
- System Status - LED Indicators
- System Status - LCD Display
- Quick Programming Reference to System Configuration Menu Items
- Detailed Programming of System Configuration Menu Items
- Troubleshooting Reference
- Important Hard-key Information
www.johnsonsystems.com 3
Introduction
Digital Pack Controllers (DPC’s) are a next generation retrot electronics
package designed specically for upgrading Strand CD80 12 channel and 24
channel portable dimmer packs, as well as 48 channel compact rolling racks.
This direct plug-in replacement control module supersedes all previous
generations of OEM and aftermarket controllers in both reliability and
features.
“Basic Mode”, on power up, was designed specically at the request of
major U.S. studios and rental houses. Advanced features for the more
selective user allow customization of over 30 additional features. Advanced
next generation “3000 Series” hardware and software designs reduce
stand-by power consumption to less than 1 Watt. Exclusive “lamp warming”
techniques extends lamp life considerably.
Packaging & Contents
DPC-12 and DPC-24 retrot control modules are shipped in a custom
designed box and packaging for protection of the unit. It is recommended to
keep the box and packaging stored in a safe place. In the unlikely event that
the system needs to be returned to the JSI Factory, the packaging will help
prevent shipping damage and maintain warranty.
Installation
DPC-12 and DPC-24 retrot control modules are a “plug-and-play”
replacement for the OEM (Original Equipment Manufacturer) CD80 dimmer
pack control module.
• Disconnect (turn off) the power supply to the CD80 dimmer pack.
WARNING! Verify all power is disconnected (turned off) before proceeding.
Removal of the old CD80 pack control module
• Loosen the two (2) thumbscrews located on each end of the control
module.
• Carefully pull straight out on the thumbscrews to remove the control
module.
• Determine if the DMX input is connected internally, on a terminal block
mounted inside the CD80 dimmer pack. If it is, determine which rear
connector the DMX comes in though.
Installation of the new DPC-12 or DPC-24 retrofit control
module
• Remove your new DPC-12 or DPC-24 retrot control module from the
box.
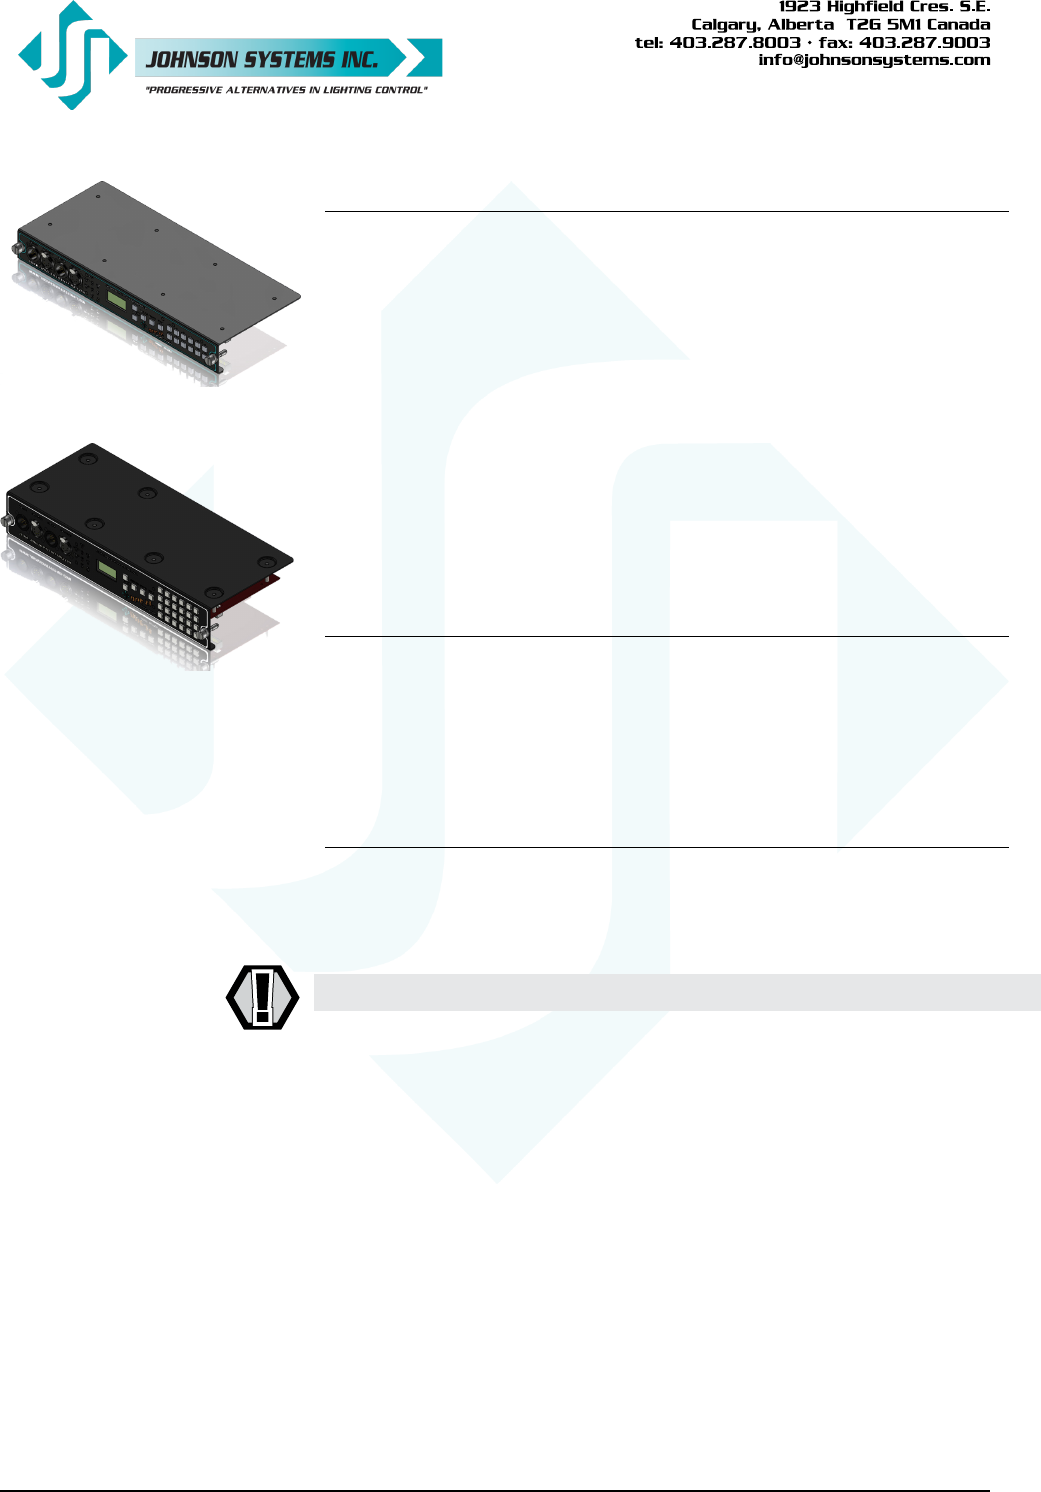
DPC-12
DPC-24