
User Manual User guide

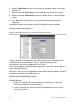
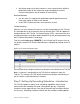
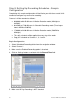
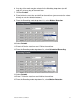
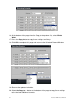
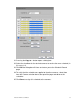
Table Of Contents
- Chapter 1 TVN 20 System Basics
- Chapter 2 TVN Advanced Topics
- HDD Configuration & Management
- Account Management (Users)
- Advanced Camera Settings
- Exception Parameters – System Health Monitoring
- Video Loss
- Remote Record & Video Download
- Additional Network Settings
- Remote Update
- Serial Port Settings – RS-232 & RS-485
- Log Files
- Appendix A Troubleshooting
- Appendix B TVN 20 Specifications
- Appendix C TVN 20 IP Camera Capacities
- Appendix D TVN 20 Supported IP Cameras
- Appendix E TVN 20 USB Archive Options
- Appendix F TruVision Device Finder
- Appendix GGlossary of Terms
- Appendix HWarranty and Support
TruVision NVR 20 User Manual 33
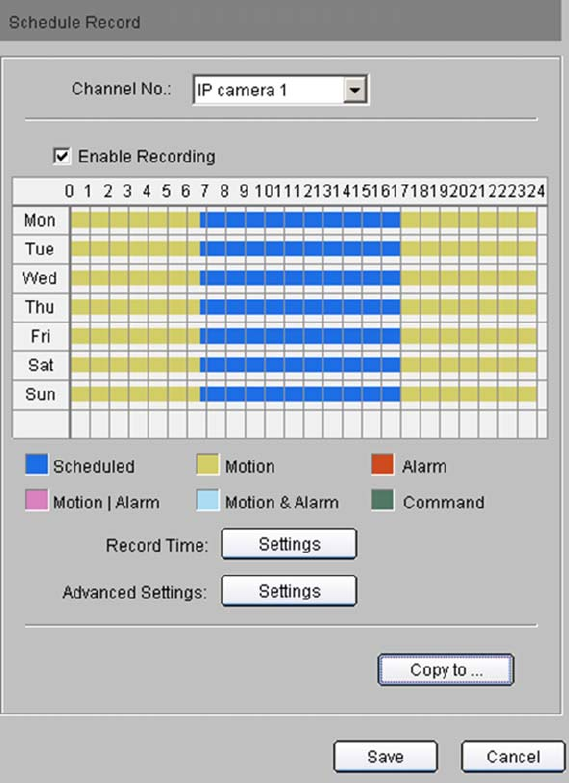
21. Pressing the Copy to… button opens a dialog box.
22. Select the checkbox for the desired cameras to receive the same schedule (in
this case 1-4).
23. Click OK the dialog box will close and return you to the Schedule Record
page.
24. To verify that the schedule was applied to the other cameras, select them
from the Camera selection box at the top of the page and observe the
schedules.
25. Click Save to assign this schedule to the cameras.