
User Manual User guide
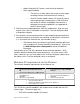
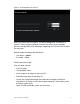
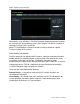
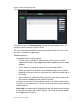
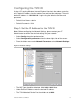
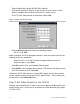
Table Of Contents
- Chapter 1 TVN 20 System Basics
- Chapter 2 TVN Advanced Topics
- HDD Configuration & Management
- Account Management (Users)
- Advanced Camera Settings
- Exception Parameters – System Health Monitoring
- Video Loss
- Remote Record & Video Download
- Additional Network Settings
- Remote Update
- Serial Port Settings – RS-232 & RS-485
- Log Files
- Appendix A Troubleshooting
- Appendix B TVN 20 Specifications
- Appendix C TVN 20 IP Camera Capacities
- Appendix D TVN 20 Supported IP Cameras
- Appendix E TVN 20 USB Archive Options
- Appendix F TruVision Device Finder
- Appendix GGlossary of Terms
- Appendix HWarranty and Support
14 TruVision NVR 20 User Manual
• Typical Subnet Mask will be 255.255.255.0 (default).
• The Default Gateway IP address usually can be set to the same as the IP
address except for the last device entry which is usually set to 1.
• The HTTP Port should remain at the default setting of 80.
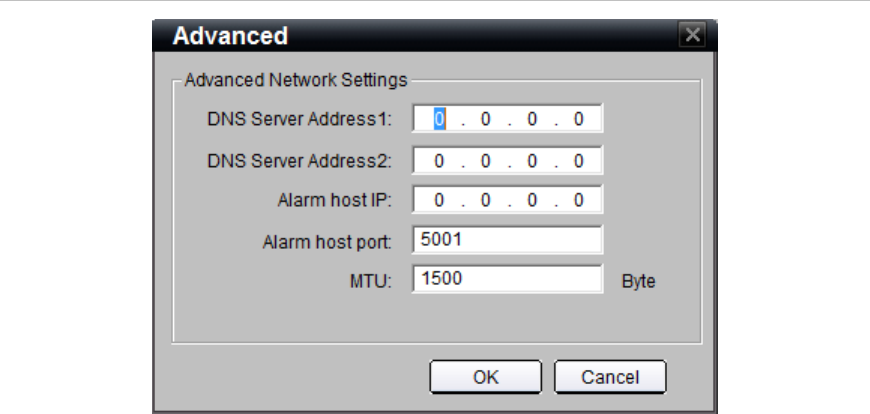
Figure 7: Advanced Network Setting
• Click the Advance button to confirm the following settings:
• MTU is set to 1500
Note: If Interlogix TruVision Navigator software is to be used, please ensure the
following entries are completed:
• Alarm Host IP is set to the TruVision Navigator Software Server IP.
• Alarm host port is set to 5001.
• Click OK to return to the main Network Settings page.
• Click SAVE to save and apply these settings. The Browser will notify you that
the TVN 20 needs to reset. Select OK.
If Multicast, DHCP, DNS Servers or specific MTU packet size are to be utilized
for your network, please contact your local IT Administrator. These settings can
be accessed via the Advanced button.
Step 2: Set Video Format for the TVN 20
Although we are dealing with IP video, to ensure the browser display delivers the
correct image size it is necessary to set whether the video format for your region
is NTSC or PAL.