
Reference Manual

DISTRIBUTION: INTERNAL + INTERLINK-U CUSTOMERS
Interlink-U ID Reference Manual
© Interlink-U Ltd, 2020 Page 20 of 44
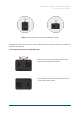
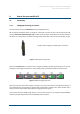
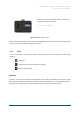
By pressing the Check-In button for 2 seconds, which is
located along one of the device’s edges (next to the
power button).
OR
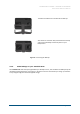
On the ID’s home screen, a 2 second press of the
“confirm” button with the ‘Check-In’ icon highlighted
will activate a Check-In.
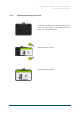
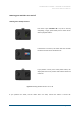
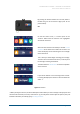
When the Alert has been activated you will feel 3 short
vibrations which denote the initiation of the alert. The
screen will display a timer confirming the current length
of the active alert.
This is when you should begin recording your message.
The timer will count down from 20 to 0, at which point
the message recording had finished.
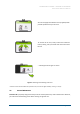
The device will then vibrate twice to confirm completion
of the ‘Check-In’
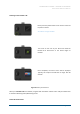
If your device detects a lack of coverage when a Check-
In is being attempted, the device’s screen will reflect this
status. **
Figure 11: Check-In
**When you begin a Check-In, the device attempts to dial to allow your voice message to be left. If the voice
call cannot be connected, it will retry several times. If your call fails to connect after this process, then your
Interlink-U ID will let you know by giving one long vibration.