
Quick Install Guide
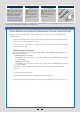

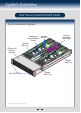

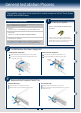

Table Of Contents
4
General Installation Process
The installation instructions in this section are for common components of Intel® Server System
H2000JP and H2000WP family.
IMPORTANT!
Before proceeding
further, check your
Intel
®
Server System
for disconnected or
loose cables and
components that
may have occurred
during shipping.
5
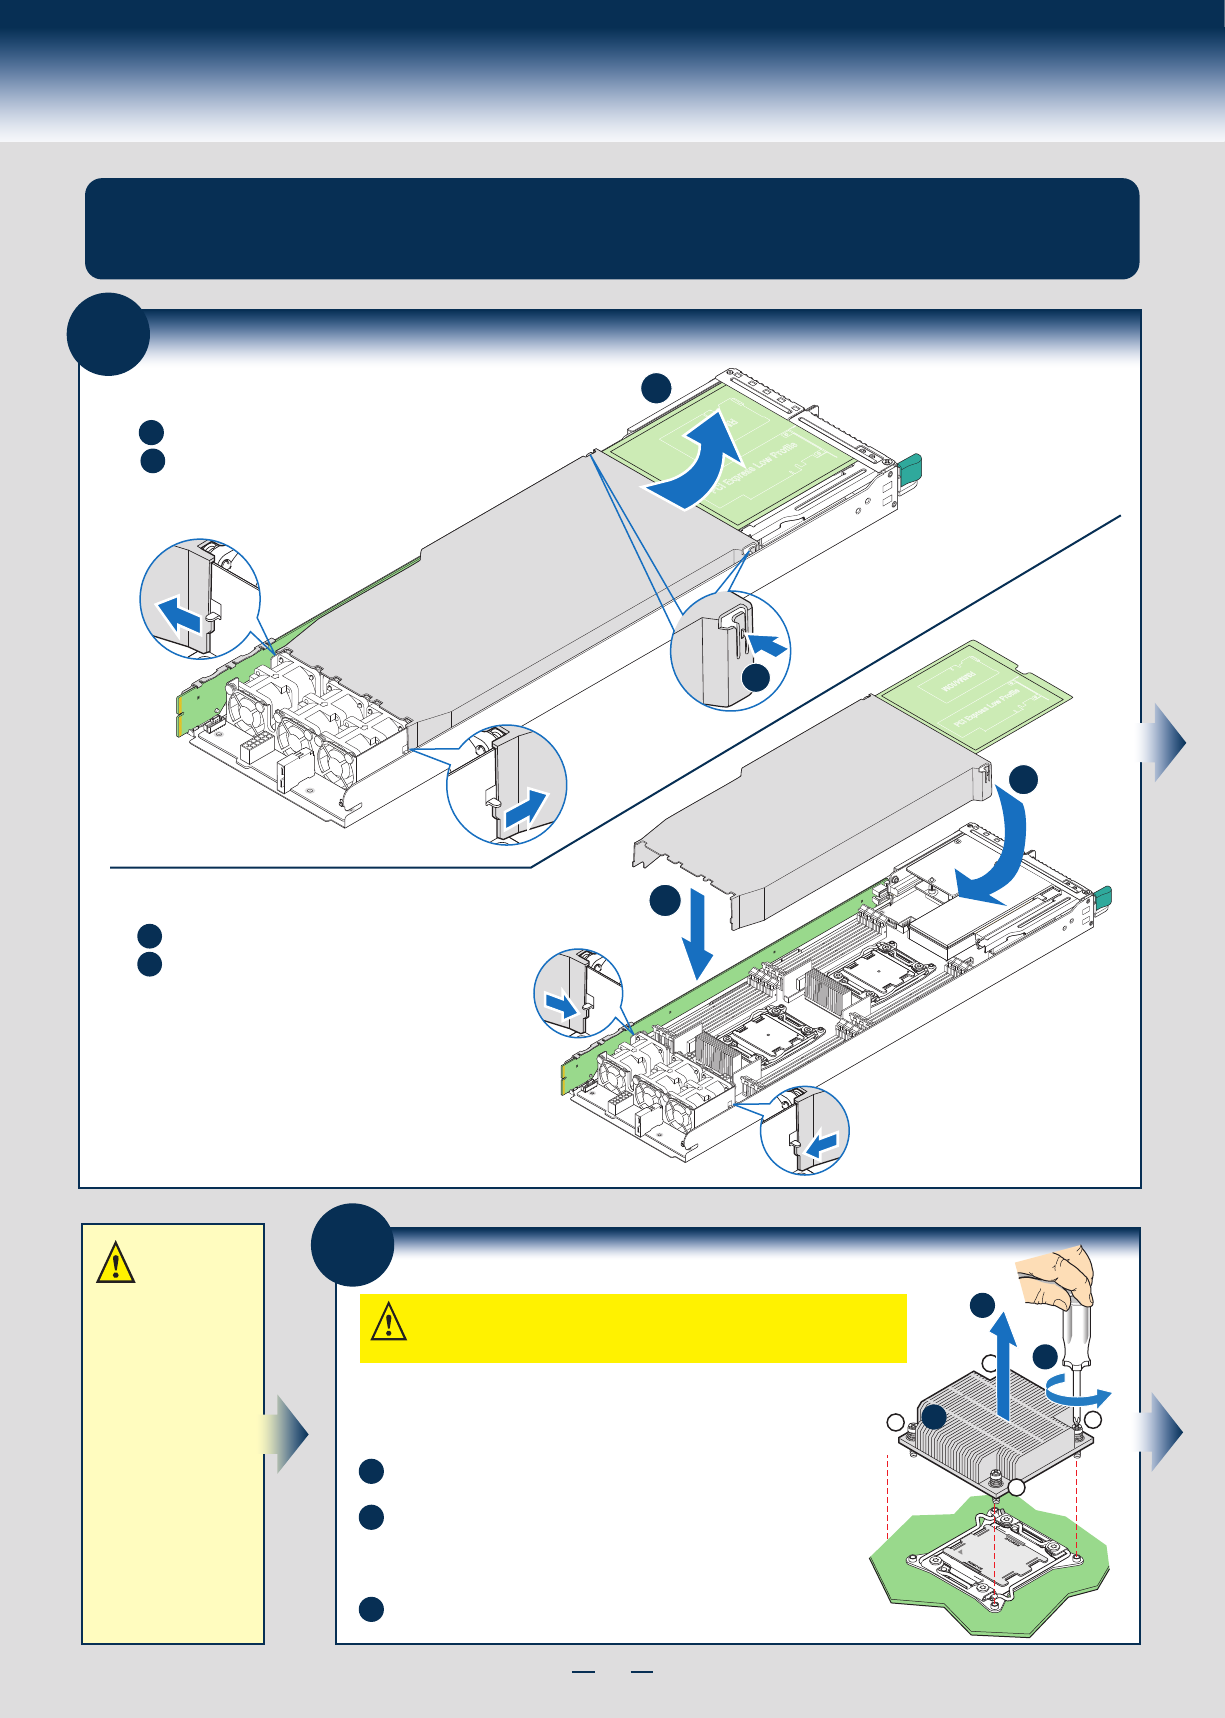
Remove Processor Heatsink(s)
The heatsink is attached to the server board / processor socket with captive fasteners.
Lift the heatsink straight up.
A
B
C
OPEN 1st
CLOSE 1st
Processor
Socket
2
3
1
4
A
B
C
CAUTION: The heatsink has thermal interface material (TIM) on the underside
of it. Use caution so that you do not damage the thermal interface material.
Use gloves to avoid sharp edges.
Using a #2 Phillips* screwdriver, loosen the four screws located on the
heatsink corners in a diagonal manner using the following procedure:
Using a #2 Phillips* screwdriver, start with screw 1 and loosen it by
giving it two rotations and stop. (IMPORTANT: Do not fully loosen.)
Proceed to screw 2 and loosen it by giving it two rotations and stop.
Similarly, loosen screws 3 and 4.
Repeat steps A and B by giving each screw two rotations each time
until all screws are loosened.
Remove/Install Node Tray Air Duct
A
A
Press and hold both left and right side of rear air duct (see letter “A”).
Align the front-end of air duct to chassis fixture (see letter “A”).
B
Removing the Air Duct
Installing the Air Duct
B
Lift the rear end of the air duct slowly (see letter “B”).
Rotate the airduct to more than 45 degrees up,
and pull it out.
Low down the rear side of the air duct to fixture
until a “tick” sound is heard (see letter “B”).
A
B
OPEN 1st
CLOSE 1st
OPEN 1st
CLOSE 1st
A
B
4