
Operation Manual


Table Of Contents
- Introduction
- Positioning the projector
- Connecting a computer source
- Displaying an image
- Adjusting the image
- Connecting a video device
- Shutting down the projector
- Troubleshooting your setup
- Using the remote control
- Using the audio
- Using the keypad buttons
- Optimizing computer images
- Presentation features
- Optimizing video images
- Customizing the projector
- Using the menus
- Maintenance
34
3
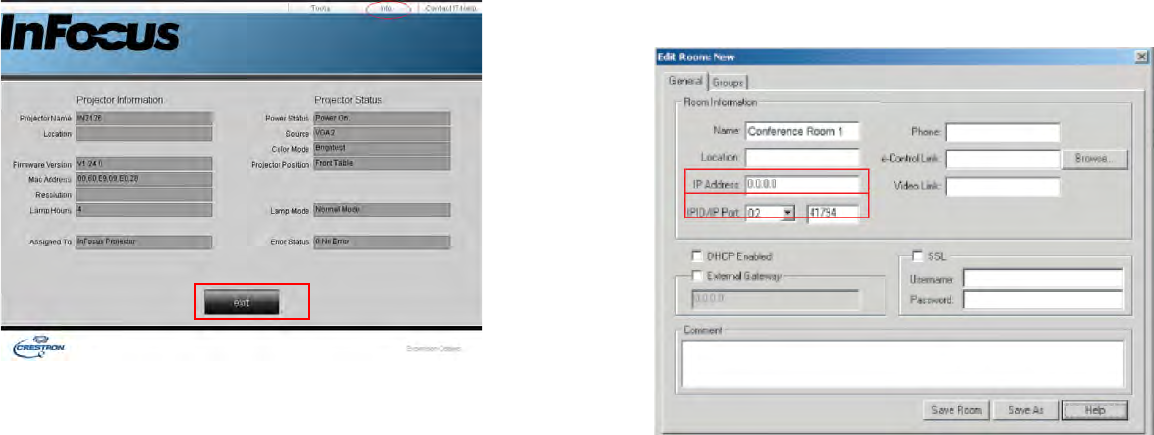
The Info page displays the information and status of this projector.
Press exit to go back to the Crestron remote network operation page.
4 After pressing the Contact IT Help button, the Help Desk window will
display in the upper right corner of the screen. You will be able to send
m
essages to RoomView™ software administrators/users who are connected
to
the same local area network.
• For more information, visit http://www.crestron.com and
www.crestron.com/getroomview.
Crestron RoomView
From the Crestron RoomView software in the Edit Room page, enter the IP Address (or
hostname) as shown on the projector’s on-screen display (OSD) menu, “02” for IPID, and
“41794” for the reserved Crestron control port.
For the Crestron RoomView user guide and information about RoomView settings and
commands, go to: http://www.crestron.com/products/
roomview_connected_embedded_projectors_devices/resources.asp