
Projector User Manual
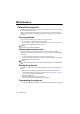
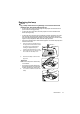
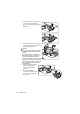
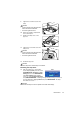
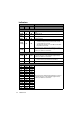
Table Of Contents
- Table of contents
- Introduction
- Positioning your projector
- Connection
- Operation
- Starting up the projector
- Using the menus
- Utilizing the password function
- Switching input signal
- Adjusting the projected image
- Magnifying and searching for details
- Selecting the aspect ratio
- Optimizing the image
- Setting the presentation timer
- Hiding the image
- Locking control keys
- Freezing the image
- Operating in a high altitude environment
- Adjusting the sound
- Personalizing the projector menu display
- Shutting down the projector
- Menu operation
- Maintenance
- Troubleshooting
- Specifications
- Copyright information
Maintenance48
5. Pull out the lamp connector from a
slot in the lamp compartment.
Disconnect it from the projector as
illustrated.
6. Lift the handle so that it stands up.
Use the handle to slowly pull the
lamp out of the projector.
CAUTION
• Pulling it too quickly may cause the lamp
to break and scatter broken glass in the
projector.
• Do not place the lamp in locations where
water might splash on it, children can
reach it, or near flammable materials.
• Do not insert your hands into the projector
after the lamp is removed. If you touch the
optical components inside, it could cause
color unevenness and distortion of the
projected images.
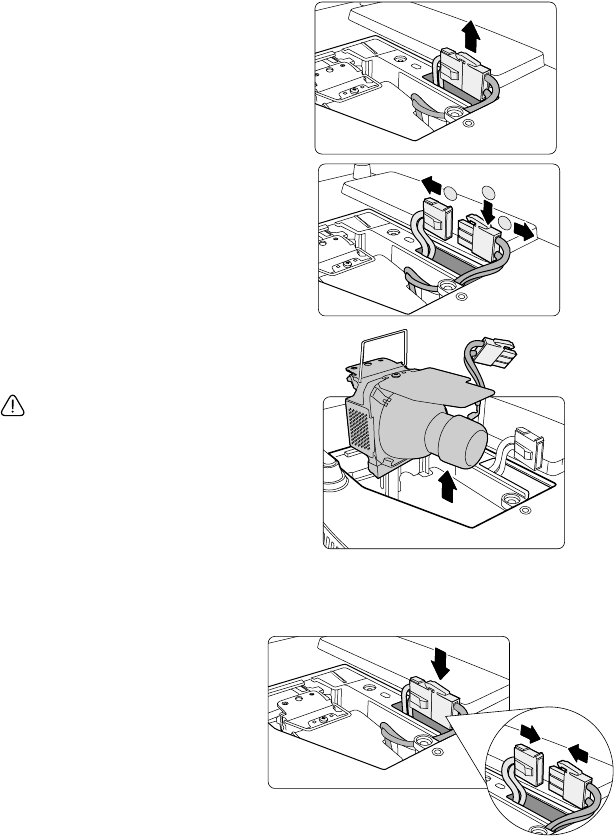
7. Insert the new lamp into the
lamp compartment and
make sure it fits in the
projector.
8. Reconnect the lamp
connector and place it back
into its slot to be flush with
the projector.
1
2
2