
Manual
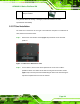
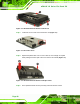
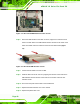

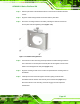
Table Of Contents
- AFOLUX LX Series Flat Panel PC
- 1 Introduction
- 2 Motherboard
- 3 Installation
- 4 System Maintenance
- 5 Award BIOS Setup
- A Safety Precautions
- B BIOS Configuration Options
- C Software Drivers
- D Watchdog Timer
- E Hazardous Materials Disclosure
- F Index
A
FOLUX LX Series Flat Panel PC
Page 32
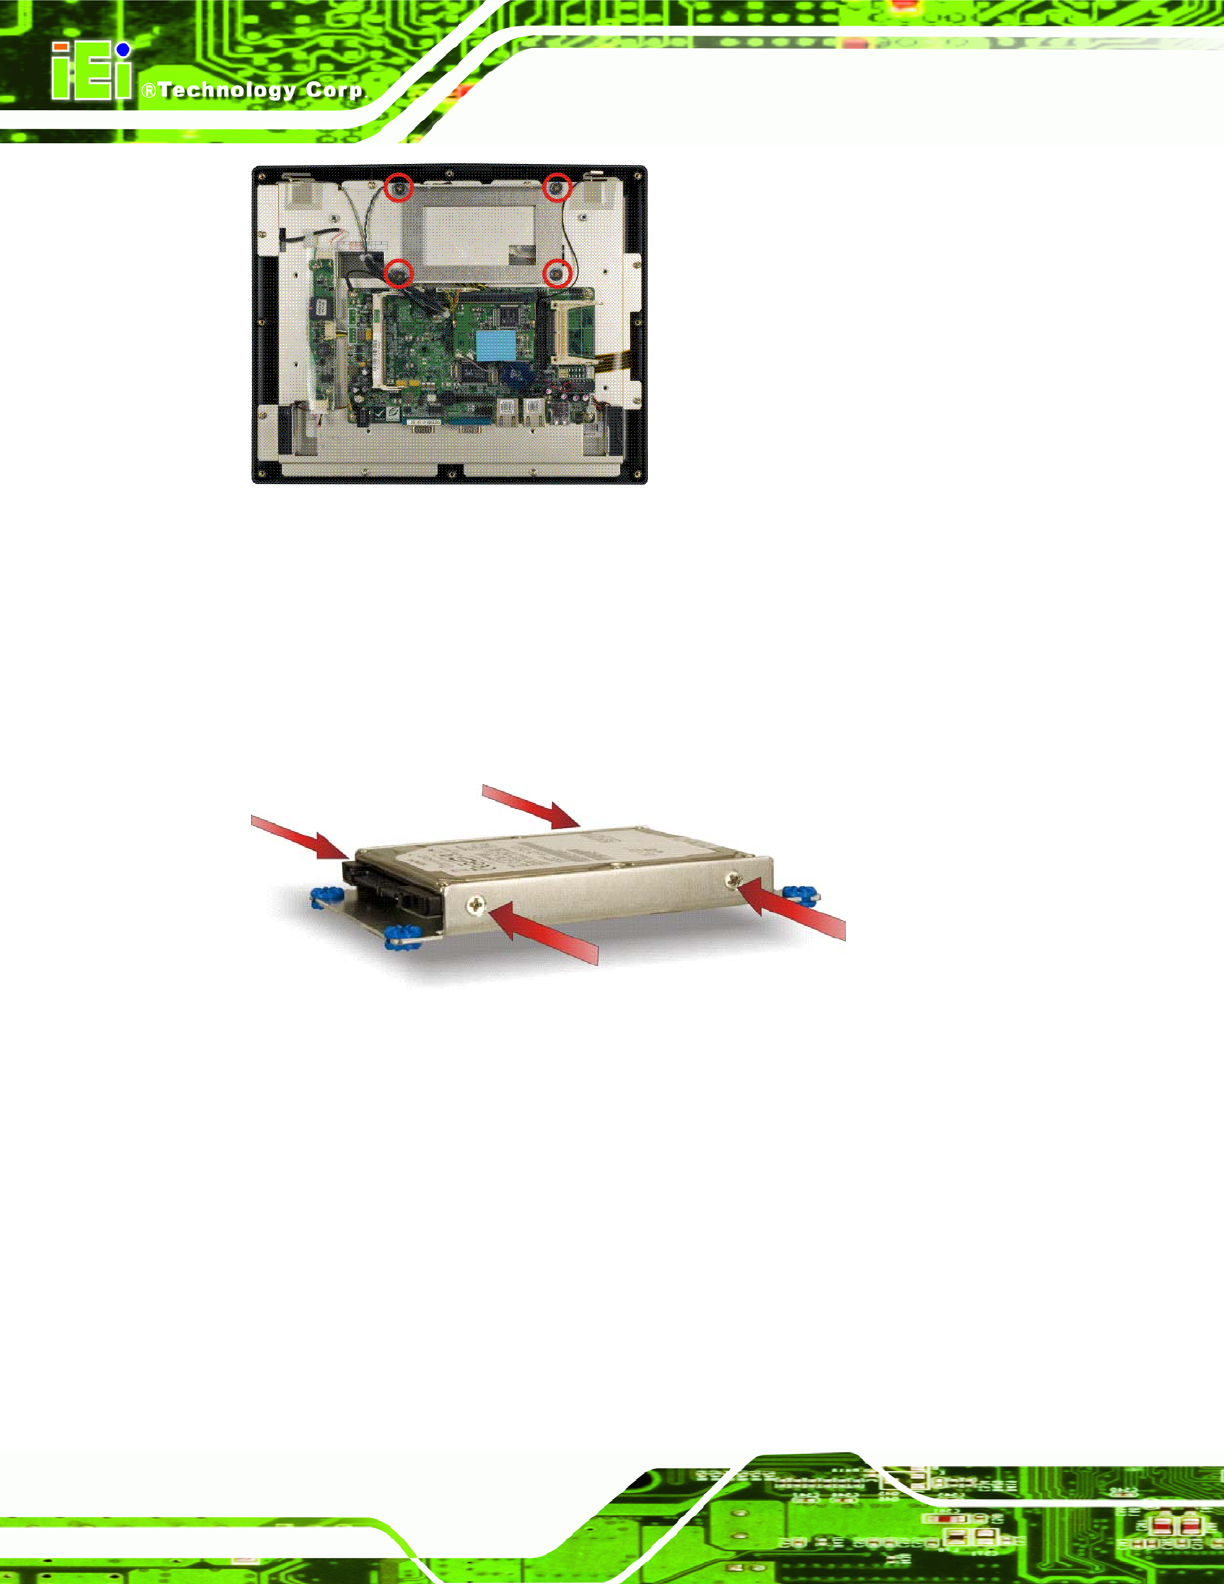
Figure 3-7: AFL-12A-LX HDD Bracket Retention Screws
Step 7: Attach the HDD brackets to the HDD. To do this, align the four retention screw
holes in the both sides of the HDD bracket with the retention screw holes on the
sides of the HDD. Insert four retention screws into the HDD bracket (
Figure
3-8).
Figure 3-8: AF-12A-LX HDD Retention Screws
Step 8: Connect the IDE cable to the rear of HDD.
Step 9: Install the HDD into the AF-12A-LX by aligning the retention screw holes in the
HDD brackets with the retention screw holes on the chassis. Insert the four
retention screws.
Step 10: Re-connect the power switch cable to the motherboard.
Step 11: Replace the aluminum back cover to the chassis.
Step 12: Replace the plastic back cover. Step 0: