
Installation Instructions
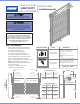


SNAP-ON/BOLT-ON BRACKET ASSEMBLY
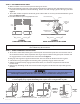
NOTE:
Brackets, tensioner, spring(s) and curtain mounted latch are pre-assembled to the door at the factory. Do not remove.
NOTE:
For opening heights over 8’-8”, clamp bottom of brackets to guides with locking pliers in order to ensure rigidity of
top of guide while lifting. Remove pliers after securing brackets to jambs.
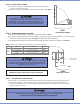
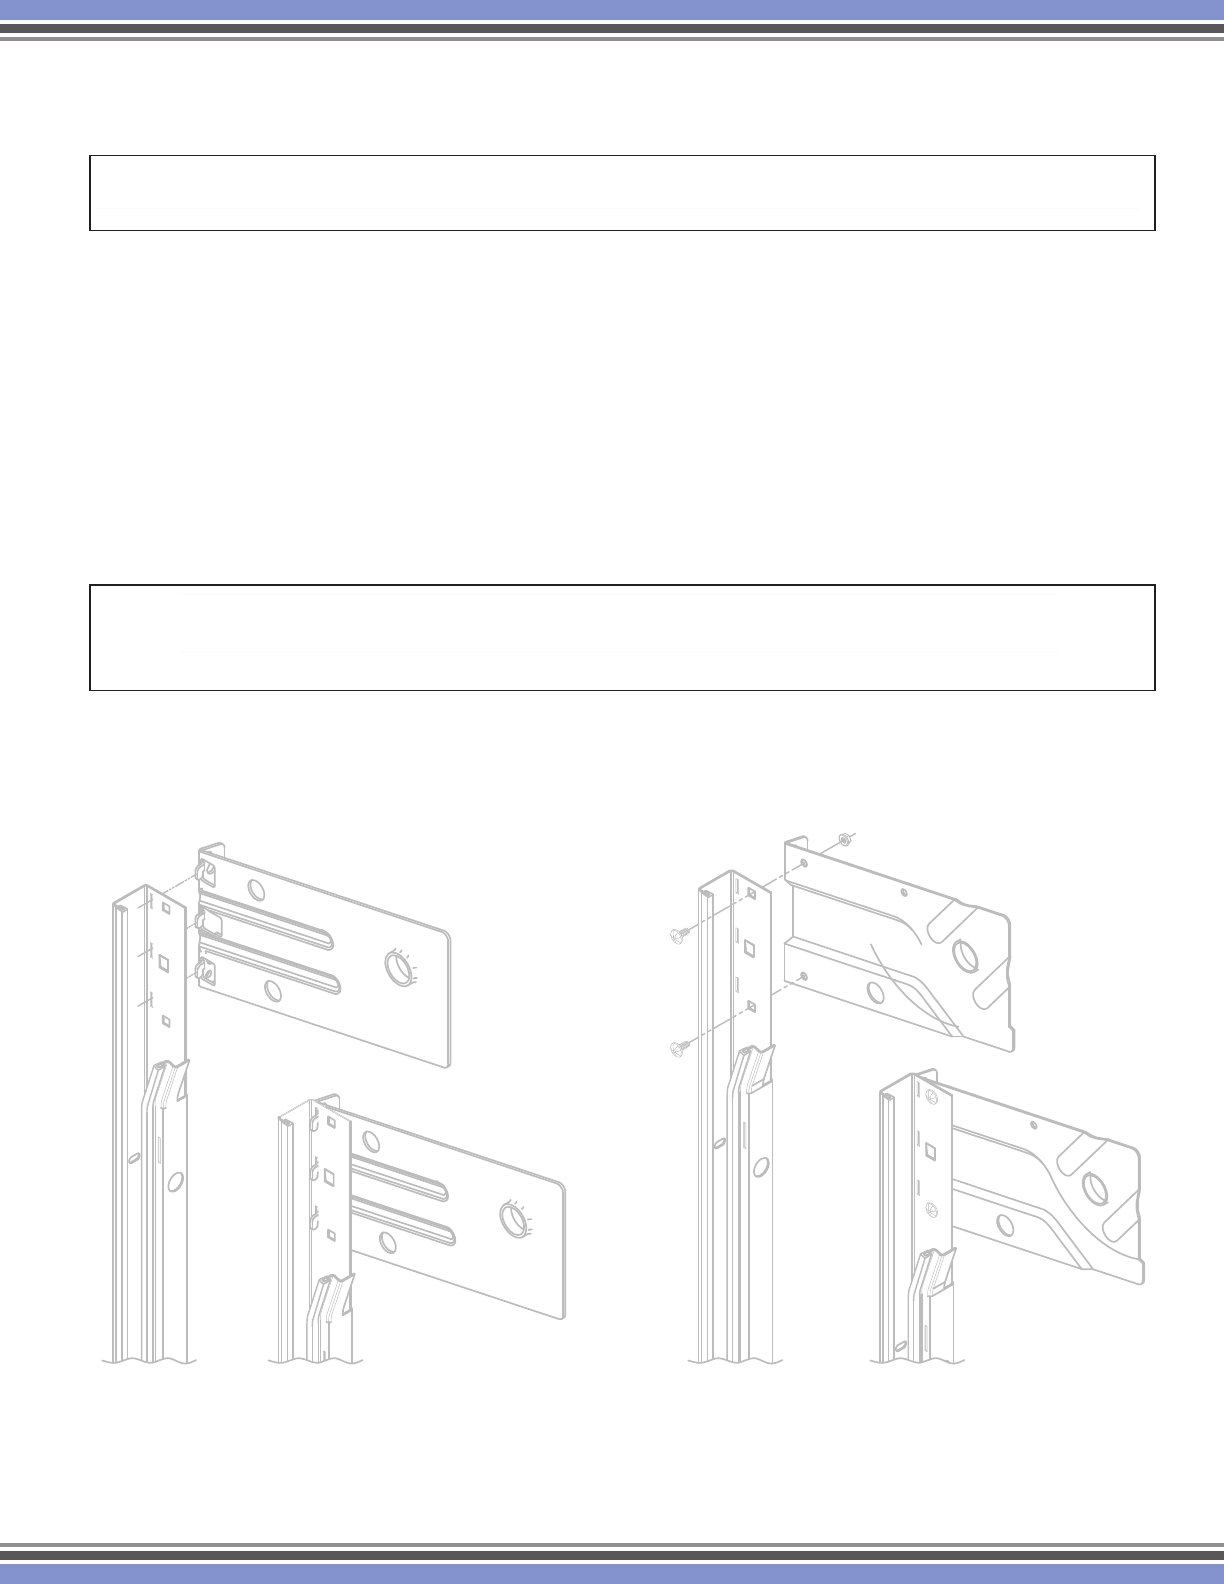
GUIDES - TO - BRACKETS INSTALLATION (SNAP ON) See figure 12.
A. At tensioner end of door, lift flange on tensioner pawl until end of the pawl clears the tensioner rachet wheel. Rotate
bracket in order to position short leg end upward. Release flange on pawl and allow end to engage with the nearest
tooth on rachet wheel. See figure 3.
B. Bring top end of guide in alignment with bracket and insert hooks on bracket into slots guide.
C. Slide bracket and guide together until locking tab in guide fully engages notch in bracket.
D. If locking tab does not fully engage with bracket notch, use a hammer and punch to bend tab into bracket notch.
E. Repeat steps A through D for other bracket and guide. The bracket will require being held in position.
GUIDES - TO - BRACKETS INSTALLATION (BOLT ON)
See figure 13.
A. Attach door to bracket guides. Use 2 each 1/4-20 x 5/8” carriage bolts and 1/4-20 serrated flange hex nuts per bracket.
SNAP-ON BRACKET
FIGURE 12
BOLT-ON BRACKET
FIGURE 13
revised 1/12/12
5