
Manual

12
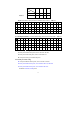
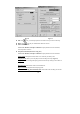
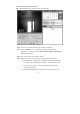
Fig 2-2.1 Fig 2-2.2
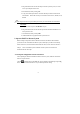
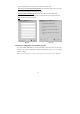
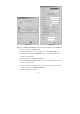
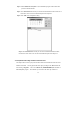
Step 2. Click “Setup POS connection” tab and you should see the following image as Fig2-2.2.
a. Select the “Auto ” from “COM Port” tab.
b. Select printer model that is to be used with POS system from “ Printer model “ tab.
c. Enter IP address of DVR into “ DVR IP address “ tab. The POS transaction text will
transmit to the assigned DVR.
d. Select the “Auto ” from “ Insert text to camera” tab.
e. Enable “ Detect the network status ” function, you will receive the notification when the
network connection has failed.
f. Enter the password from “ Password “ tab, It needs to have the password when you want
to change the parameter of “Setup POS connection”.
g. The others setting same as Chapter 2-1.