
Instruction Manual
151
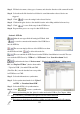
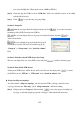
Step 3. Fill the device name, select types of camera, and select the direction of the camera if needed.
Step 4. Select the audio file from the local folder for sound alarm when selected devices are
triggered.
Step 5. Click “ ” to save the setting for the selected devices.
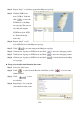
Step 6. Click and drag the device to the suitable location on the eMap with the left mouse key.
Step 7. Click “ ” to save all the setup for the NVR Server.
Step 8. Repeat all the process to set up for other NVR Servers.
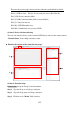
Section 2: NVR list
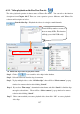
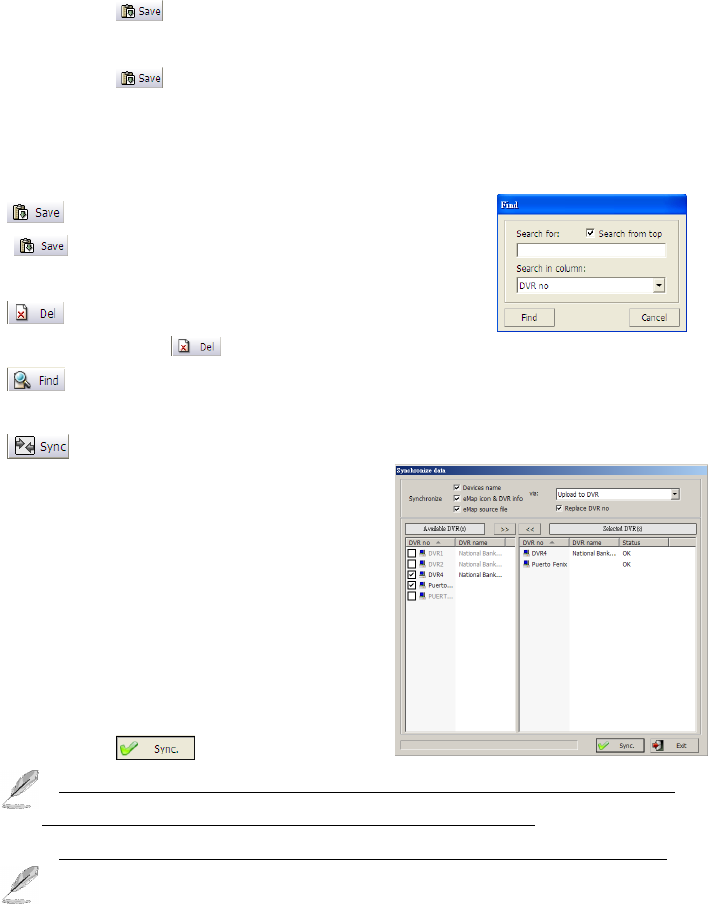
: After the user types finish all setting in NVR tab, click
“ ” to save the connection information of the NVR Server
into the NVR list.
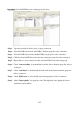
: The user can simply click one of the NVR Servers from
the NVR list and click “ ” to delete it from the list.
: The user can find the NVR Server from the NVR list if modification is needed. The user
can search the NVR Server by “NVR no” or “NVR name” from “Search in column” field.
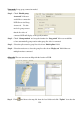
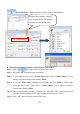
: Synchronize the data of “Devices name”, “Device icons & NVR info”, “eMap source
file” and “Replace NVR no” (Active when enable
“ Upload to NVR “) for multi NVRs and CMS
(FreeView Pro) once the data has been set up either
in NVR Server or CMS.
Step 1. Select the information to synchronize.
Step 2. Select synchronized method via “Upload
to NVR” or “Download from NVR”.
Step 3. Select the NVR(s) for synchronization.
Step 4. Click “ ” to start to synchronize.
1. Before synchronizing the data, please do make sure that the NVR no (See Chapter “eMap
setup”), IP address, port number and login user are the same in the NVR.
2. The login user should have the privilege of eMap and authorized (should be all) cameras.