i-data Electronic Documentation The i-data Printing Solutions ida 812-1x MIO Operator’s Guide Doc. no D60222 Revision 01 WARNING: This equipment generates, uses, and can radiate radio frequency energy and if not installed and used in accordance with the instruction manual, may cause interference to radio communications.
Document No.: D60222-01 © Copyright i-data international a-s 1997 MAIN OFFICE: i-data international a-s Vadstrupvej 35-43 DK-2880 Bagsvaerd Denmark Telephone: +45 44 36 60 00 Telefax: +45 44 36 61 11 SUBSIDIARIES i-data Denmark Vadstrupvej 35 DK-2880 Bagsvaerd Denmark Telephone: +45 44 44 77 50 Telefax: +45 44 44 85 50 i-data Sweden Datavägen 21 S-43600 Askim Sweden Telephone: + 00 46 31 680710 Telefax: + 00 46 31 682670 i-data UK Ltd.
ida 812-1x MIO Operator’s Guide Preface Preface September 1997 This manual applies to the ida 812-1x MIO, i.e. the following printers equipped with an i-data plug-in interface with firmware release no: S21 112.070 or higher. • • • • • • • • • • • HP LaserJet IIISi HP LaserJet 4 HP LaserJet 4Si HP LaserJet 4 Plus HP LaserJet 4V HP LaserJet 5 HP LaserJet 5Si HP PaintJet XL300 HP DeskJet 1200C HP DeskJet 1600 C HP Color LaserJet and to any subsequent releases until otherwise specified.
ida 812-1x MIO Operator’s Guide Preface Related Manuals "ida 812-1x PCL Platform, Programmer's Guide" Document No. D62026. As the ida 812-1x MIO emulates the IBM 5219 printer, useful information may be obtained from: "IBM 5219 Printer, Models DO1/DO2, Programmer's Reference Guide", IBM Order No. GA 23 -1025. "Using the IBM Pageprinter 3812 with an IBM System /36 or System /38", IBM Order No. S544-3343. "Device Configuration Guide (AS/400)", IBM Order No. SC21-8106.
ida 812-1x MIO Operator’s Guide Table of Contents Table of Contents Preface................................ ................................ ................................ ...........3 Prerequisite Manuals ................................ ................................ .3 Table of Contents................................ ................................ ......................... 5 1. Introduction to the ida 812-1x MIO ................................ .......................... 7 1.1.
ida 812-1x MIO Operator’s Guide Table of Contents 5.2.4. SETUP Menu ................................ ................................ ..29 5.2.5. SAVE/RESTORE Menu ................................ .................. 29 6. Errors and Recovery................................ ................................ ................. 30 6.1. Error Messages in MIO front panel ................................ ............... 30 6.2. Error Messages on Paper ................................ .............................
ida 812-1x MIO Operator’s Guide Introduction 1. Introduction to the ida 812-1x MIO 1.1. What is the ida 812-1x MIO The ida 812-1x MIO is a printer with an interface de signed for use with the DisplayWrite/36, Office/38, Office/400, TMS and similar programs. The ida 812-1x MIO emulates the IBM 5219/3812-1 printers and supports the facilities offered by the IBM 5219 printer. Furthermore, simple emulations of the IBM 5224-1, IBM 5225-2, IBM 5256-120 and IBM 4234-2 are possible.
ida 812-1x MIO Operator’s Guide Introduction • Up to 24 pages per minute • Laser quality printout • Printer sharing with automatic switching and setup • Automatic font change • Scalable fonts • Proportional spacing • Internally generated bar codes which can be accessed via GFID or via Escape sequence • Easy operation with few operator interventions • User-string definition • Permanent Escape Character • FSL function simulating font change via Escape sequence • Support of the ida PSS s
ida 812-1x MIO Operator’s Guide Introduction settings (the HP MIO printer’s) or be over written from the syst em and cause formatting problems (see Chapter 5 Front Panel Setup). 1.4. How the ida 812-1x MIO Works The ida 812-1x MIO works using 26 internal Setup Func tions. These setup functions are downloaded as special commands from your IBM system. The ida 812-1x MIO interface intercepts these commands and uses them for its own internal setup.
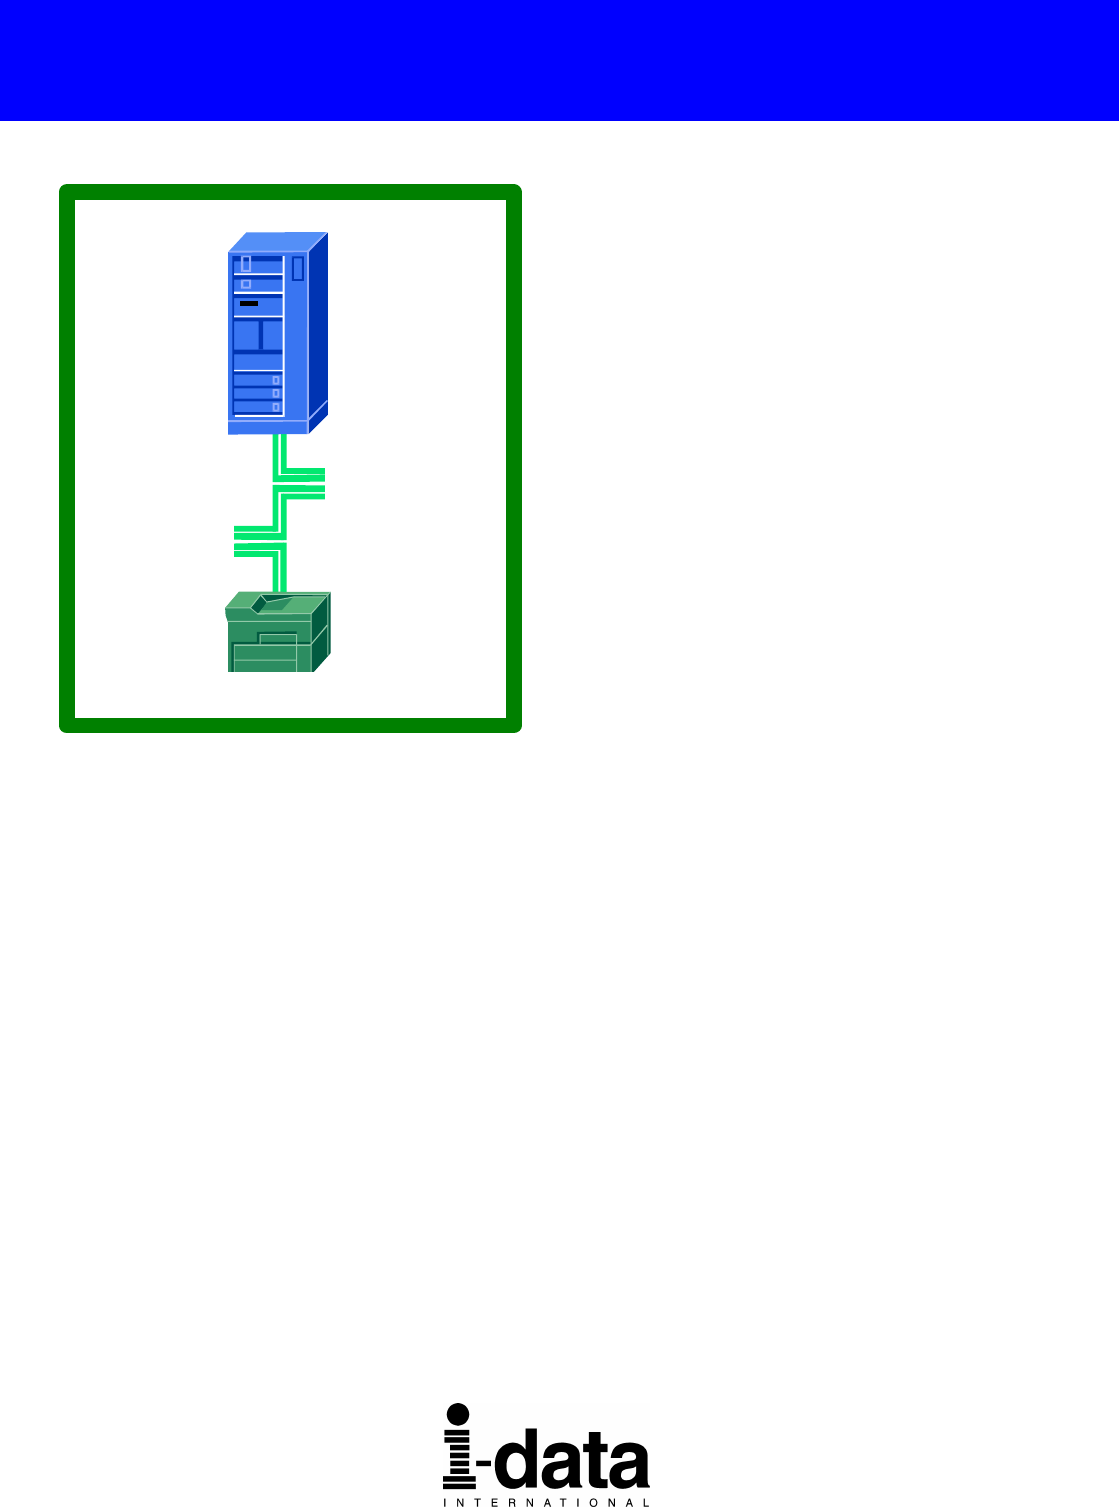
ida 812-1x MIO Operator’s Guide Installation 2. Installing the ida 812-1x MIO Interface Before you start the installation, make sure that the kit is complete. It should contain the following items: • • • • ida 812-1x MIO interface Auto-terminating T-cable "ida 812-1x MIO, Operator's Guide"; Document No. D60222 (electronic format) "ida 812-1x MIO, Quick Guide"; Document No. D10222 (hardcopy format) CAUTION: The interface can be damaged by static discharge.
ida 812-1x MIO Operator’s Guide Installation The possible values are: • • • • • • • • • • • • • • • • • International United States Austria/Germany Belgium Brazil Canada/France Denmark/Norway Finland/Sweden France Italy Iceland Japan (English) Portugal Spain Spanish speaking United Kingdom Multinational The factory default language is Multinational (except for the US where the default language is United States, i.e. US English).
ida 812-1x MIO Operator’s Guide Installation 2.3. Installation Procedure The installation of the ida 812-1x MIO interface varies slightly depending on the printer in which it is installed. This is decribed in more detail below. NOTE: Irrespective of printer, you should first make sure that power to the printer is turned OFF, and that the correct language has been selected on the interface DIP switch bank as described in Section 2.
ida 812-1x MIO Operator’s Guide Installation 2.3.4. HP LaserJet 5Si 1. Loosen the screws and remove the plate of the top slot positioned on the rear of the printer. 2. Insert the ida 812-1x MIO interface in the slot and tighten screws. 2.3.5. HP PaintJet XL300 1. Loosen the screws on the cover plate positioned at the centre of the rear panel and remove the plate. 2. Insert the ida 812-1x MIO interface (twinax connector at the left) in the slot and tighten screws. 2.3.6. HP DeskJet 1200 C 1.
ida 812-1x MIO Operator’s Guide Installation 3. Installing the ida 812-1x MIO Printer The installation of the ida 812-1x MIO printer is similar to the installation de scribed in the origina l HP manuals, except for the twinax cable connection of the ida 812-1x MIO to the host system (see Section 3.3, Twinax Connection). All functions and features of the original printers are available on the ida 812-1x MIO.
ida 812-1x MIO Operator’s Guide Installation 3.2. Printer Configuration Procedure 1. Set the device address on the switch located on the rear panel next to the twinax connector. Possible values are 0 to 6. Make sure that the device address is set before the twinax cable is connected. 2. Select PCL from the front panel. 3. Turn the printer power off before you connect the twinax cable(s) according to Section 3.3, Twinax Connection. 4.
ida 812-1x MIO Operator’s Guide Installation WARNING! The twinax cable must never be connected directly to the twinax socket of the printer. It must always be connected to the T-cable. 3.4. Printer Emulations On the ida 812-1x MIO it is possible to emulate the following IBM printers once the interface card has been installed: • • • • • 3812-1/5219 5224-2 5225-2 5256 -120 4234-2 Factory default is 3812-1/5219 emulation.
ida 812-1x MIO Operator’s Guide Installation 6. Turn printer power OFF and set the Device Address switch as described in Section 3.2, Printer Configuration Procedure and according to the new emulation. 7. Connect the twinax cable and turn printer power ON. 3.5. System Configuration To obtain access to all the features of the ida 812-1x MIO on the AS/400 and System /38 the printer should be configured as a 3812 Model 1 printer. On System /36 the printer should be configured as a 5219 DO1 or DO2 printer.
ida 812-1x MIO Operator’s Guide Operation 4. ida 812-1x MIO Operation The ida 812-1x MIO is controlled entirely from the host system by IBM commands and requires very little operator intervention. The configuration of the printer may be changed from the system with Function Selection via the Line (FSL) sequences as de scribed in Chapter 7, Function Selection via the Line and the "ida 812-1x PCL Platform, Programmer's Guide", doc. no. D62026.
ida 812-1x MIO Operator’s Guide Operation The PAR.DATA indicator LED has 2 states which indicate the following: State OFF ON Indication Parallel interface inactive. Parallel interface active. 4.2. The TEST Key As previously mentioned, tests are primarily selected via the line. However, the [TEST] key may be used to activate the following: • Test 4, Setup printout followed by • Test 1, ONLINE HEX dump.
ida 812-1x MIO Operator’s Guide Operation If data is sent on the twinax line, the module will enter Twinax Session mode. If no data is sent via the twinax line within the specified timeout period, parallel data may be printed. This also applies if the module is in Twinax Session mode. NOTE: Because the printer is being shared between the parallel port and the host, careful attention should be paid to the setting up of the PC, so that jobs are not automatically terminated because the printer is busy.
ida 812-1x MIO Operator’s Guide Front Panel Seup 5. Front Panel Setup This chapter describes the setting up of the ida 812-1x MIO interface via the printer's front panel. Setting up via the front panel provides an alternative to setting up FSL functions. But please note that the front panel only offers a few basic setup options. If you need to make further adjustments, you can use FSL (for nonIPDS) in addition to front panel setup.
ida 812-1x MIO Operator’s Guide Front Panel Seup 2 Front Panel Setup for the ida 812-1x MIO HP MAIN MENU PCL CONFIG MENU (HP LJ IIISi) MIO MENU (HP LJ 4, 4 Plus & LJ 5)) MIO MENU1 (HP LJ 4/5Si & HP 4 V) MIO CONFIG MENU (HP Color LJ) Non-IPDS Orientation LPI CPI CPGID Emulation Main Menu for ida 812-1x MIO setup IPDS Emulation Codepage version CPGID Font Margins to System VPA Check IM Smooth Print Offset Non-IPDS Menu IPDS Menu Test Menu Paper Menu Setup Menu Save Menu Test Menu Settings On-line HEX Du
ida 812-1x MIO Operator’s Guide Front Panel Seup 5.1.1. Navigation Keys The following guidelines apply after you have entered the Main Menu for ida 812-1x setup (See navigation chart above). The keys you use to navigate vary slightly depending on the printer; e.g.: To go to next Menu on HP LaserJet IIISi, you press MENU key, whereas you use ITEM key to do the same on the HP LaserJet 4, 4 Plus, 4Si, 5, 5Si, 4V and HP Color LaserJet.
ida 812-1x MIO Operator’s Guide Front Panel Seup Mark with an asterisk *: Press ENTER Go to next setting: Press ITEM Save settings: After change of settings, you toggle to SAVE MENU using ITEM key and press ENTER. SAVE SETT.= NO* will appear in the display. To select YES, you press + or - key. When YES appears, you press ENTER to mark YES with an *. Press ONLINE (se NOTE above). 5.1.2. General Description of Menus Below is a short description of what the different menus are used for.
ida 812-1x MIO Operator’s Guide Front Panel Seup 5.2. Sub-Menus Below is a more detailed description of the individual sub-menus. The factory default settings are marked with an asterisk ( *). In the front panel display, the asterisk will mark the currently selected value. 5.2.1. Non-IPDS Menu Each of the following functions correspond to an FSL function (the corresponding FSL function number is indicated in brackets after the function name).
ida 812-1x MIO Operator’s Guide Front Panel Seup LINES PER INCH (LPI) Corresponds to FSL-function Y2. Possible selections are: 0 3LPI 4LPI *6LPI 8LPI CHARACTERS PER INCH (CPI) Corresponds to FSL function Y3. Possible selections are: 5 CPI *10 CPI 12 CPI 15 CPI 16 CPI CODEPAGE Corresponds to FSL function Y8.
ida 812-1x MIO Operator’s Guide Front Panel Seup EMULATION Possible selections for emulation are: *3812 5224 5225 5256 4234 IPDS3 IP1K includes 3816 1K IPDS data buffer support NOTE: After making changes to EMULATION via the Front Panel (remember to save via the SAVE menu), you must switch off the printer, wait for 10 seconds - and then switch it back on again.
ida 812-1x MIO Operator’s Guide Front Panel Seup 5.2.2. TEST Menu The "TEST MENU" contains all test print functions and dump mode functions. Selected test functions are executed when the printer is ready for printing. Several tests can be selected at the same time. SETTINGS PRINTOUT (NO/YES) "SETTINGS=" generates a Non-IPDS settings printout. Default selection is "NO". ONLINE HEX DUMP (NO/YES) "ONLINE HEX=" is the same as activating the FSL function T2. Default selecton is “NO”.
ida 812-1x MIO Operator’s Guide Front Panel Seup PAPER SIZE "SIZE=" defines the size/type of paper in the present tray and the extents and margins that will be reported back to the host system. Possible values are: "LETTER" "LEGAL" "A4" "EXECUTIVE" “LEDGER” “A3” (HP LaserJet 4V only) "MONARCH" "COM10" "DL" "C5" "B5" 5.2.4. SETUP Menu This menu is only available in IPDS mode 4. 5.2.5. SAVE/RESTORE Menu SAVE SETTINGS "SAVE SETT." has the same effect as the FSL function X1.
ida 812-1x MIO Operator’s Guide Errors and Recovery 6. Errors and Recovery 6.1. Error Messages in MIO front panel The 80_service (01XX) error message will be displayed in the MIO front panel if the following error situations occur: Recovery attempt can be made as follows: • Turn power off for 10 seconds and then on again. If the problem persists, contact technical assistance.
ida 812-1x MIO Operator’s Guide Errors and Recovery No invalid boot ID in HEX data 8E Attempt to write to boot area 90 Attempt to write to boot area 91 Unable to read back Twinax code AO downloaded You have tried to download a firmware not meant for this product Firmware code error. A correction to the firmware code is needed Firmware code error. A correction to the firmware code is needed Hardw0are error firmware again Get correction to firmware code Get correction to firmware code. Fig.
ida 812-1x MIO Operator’s Guide Function Selection via the Line 7. Function Selection via the Line NOTE: This section is a brief description of how to set up the interface from the line with FSL Functions. The section is primarily intended for users who are already familiar withi-data products. The guidelines in this section are very basic. For further details on the supported FSL functions, please see "ida 812-1x PCL Platform, Programmer's Guide", Document No. D62026.
ida 812-1x MIO Operator’s Guide Function Selection via the Line An ESC Character can be any character you wish, but before you define it you should consider the following: • Once the ESC character has been defined, it cannot be printed. For this reason it is advisable to select a character you know will not normally appear in the data stream. If the character defined appears elsewhere in the data stream (i.e.
ida 812-1x MIO Operator’s Guide Function Selection via the Line 7.3. Syntax of an FSL Function The special sequence that the interface will interpret as an FSL Function is shown in Figure 7-3. %Y,% Fig. 7-3: Syntax of an FSL Function. "%" is the defined ESC Character 7.4. Supported FSL Functions In Appendix A, you will find a full list of the supported FSL Functions with a description of their syntax and parameters.
ida 812-1x MIO Operator’s Guide FSL Setup via PC’s Parallel Port 8. FSL Setup via PC's parallel port In order to ease customization of the ida 812-1x, FSL parameters for twinax input can be programmed directly via the interface's Centronics port using the Engineering Function Y249. The Engineering Function enables the system to detect whether FSL sequences on shareport are intended for twinax FSL input or for shareport setup and will direct the sequences received to the twinax FSL interpreter.
ida 812-1x MIO Operator’s Guide FSL Setup via PC’s Parallel Port Deactivating the Y249 Engineering Function The function will be deactivated automatically after timeout on the share port (timeout is defined in Y100 Port Sharing Option). Limitations when Y249 is active 1. Escape sequences must be in HEX Unprintable characters (i.e. Escape characters) must be defined in HEX notation if they are to be part of the setup print job. 2.
ida 812-1x MIO Operator’s Guide Font Selection 9. Font Selection The factory default GFID Table below lists all the predefined fonts which are supplied with the interface GFIDs (GFIDs 1 - 399) 6. Fonts with GFIDs above 400 (i.e. scalable fonts) are described in the section Scalable Fonts below. For further details on defining fonts, please see Appendix A. FSL Functions, Function Y91 and Y96. If more details on these FSL functions are required , you are referred to the Programmer's Guide (D62026).
ida 812-1x MIO Operator’s Guide Font Selection In the table below, an asterisk (*) after the GFID number denotes a simulated IBM GFID.
ida 812-1x MIO Operator’s Guide Font Selection Scalable Fonts NOTE: Only applies to printers running PCL Level .5 The ida 812-1x MIO allows GFID access to all the scalable fonts found in the printer. These GFIDs are in the range 400 - 65535. Typeface, typeface attributes and point size have been linked together using the system described below. GFID Number = XXXYY where XXX = point size and YY = typeface + attribute Possible typeface values are: Typeface ID 0 4 10 14 20 24 30 34 40 44 50 54 60 PCL No.
ida 812-1x MIO Operator’s Guide Font Selection Possible attribute values are: Style 0 1 2 3 Strokeweight Medium upright Bold upright Medium italic Bold italic %Y96,4815% This is 48 point, Helvetica Narrow, bold upright %Y96,1301% This is 13 point, Times Roman, bold upright Font examples Other relationships between IBM GFID and printer typefaces/fonts can be programmed using Function 91 or 97 (See Programmer's Guide for more details on Function 97).
ida 812-1x MIO Operator’s Guide Test Settings Printout 10. Test Settings Printout ida 812-1x MIO, Firmware version: S21 112.070/00206062 i-data international a-s Vadstrupvej 35-43 2880 Bagsvaerd, Denmark Phone: +45 44 366000 Fax: +45 44 366111 Boot ID: 80003004 HW id: Current escape code = 00 in hexadecimals as Character = Dipswitch: National character set = Multinational Line Set Up: Addr. 0 3812 model 1.
ida 812-1x MIO Operator’s Guide List of Abbreviations List of Abbreviations The following list is an alphabetical list of the abbreviations used in this publication, together with their definitions.
ida 812-1x MIO Operator’s Guide Appendix A - FSL Functions APPENDIX A - FSL Functions No.
ida 812-1x MIO Operator’s Guide Appendix A - FSL Functions T(est) Functions: T1 = Online Hex Dump T4 = Setup Printout Z Function: Zn = Send user-defined string S Function: Sn = Send user-defined string W Function: Wn = Print Barcode X Functions: X1 = Store settings in the permanent memory X3 = Restore the settings to factory default settings and reset printer X4 = Restore the settings to Power Up defaults (read the permanent memory) -44-
ida 812-1x MIO Operator’s Guide Appendix A - FSL Functions No. 2 Name LPI Syntax %Y2,% 3 CPI %Y3,% 8 Language %Y8,% 10 Page Format %Y10,[,n2]% 11 Paper Path %Y11,% -45- Parameters 3 = 3 LPI 4 = 4 LPI *6 = 6 LPI 8 = 8 LPI 5 = 5 CPI *10 = 10 CPI 12 = 12 CPI 15 = 15 CPI 16 = 16.7 CPI **37 = Engl.
ida 812-1x MIO Operator’s Guide Appendix A - FSL Functions No.
ida 812-1x MIO Operator’s Guide Appendix A - FSL Functions No. 19 Name Duplex Printing Syntax %Y19,% 21 Horizontal Compression %Y21,[,n2]% Extended (Vertical Linefeed Compression) %Y21,[,n2,n3]% 22 37 48 Printer Driver Selection IBM Printer Emulation Select Permanent ESC Character Selection Parameters *0 = Simplex 1 = Long-edge duplex 2 = Short-edge duplex n1 0 = Compression *1 = No compression n2 1 = 2 = 3 = 4 = 5 = 6 = %Y22,% %Y37,% %Y48,<'char.
ida 812-1x MIO Operator’s Guide Appendix A - FSL Functions No. 59 Name Bar Code Type Definition Syntax %Y59,,, ,[,n5]% Parameters n1 1-8 = Bar code def. no. n2 22-39 = Bar code type n3 1-255 = Height n4 1-32 = Horizontal expansion 61 Setup for User Strings %Y61,,% n5 1-65535 = GFID No. n1 0-7 = User String No.
ida 812-1x MIO Operator’s Guide Appendix A - FSL Functions No.
ida 812-1x MIO Operator’s Guide Appendix A - FSL Functions No. 90 91 Name User ESC String Definition Font Definition Syntax %Y90,,% %Y91,,, ,, [,n6]% Parameters n1 0 = Erase strings 01-FF = String no. in HEX n2 '' = String contents in apostrophe notation (see "ida 812-1x PCL Platform, Programmer's Guide") n1 (IBM GFID) 1-65535 = IBM GFID no.
ida 812-1x MIO Operator’s Guide Appendix A - FSL Functions No. 92 93 94 96 97 Name Font Point Size Definition String Font Attribute Definition String Font Typeface Definition String Font Change Simulation For selection of scalable fonts, please see Chapter 9.
ida 812-1x MIO Operator’s Guide Appendix A - FSL Functions No. 100 Name Port Sharing Option Syntax %Y100,[,n2]% Parameters n1 0 = Resend the settings after share timeout 1-255 = Timeout in no.
ida 812-1x MIO Operator’s Guide Appendix B - Dip Switch Settings Appendix B. DIP Switch Settings Language 4 of the 8 DIP switches are used to select language and paper size (US/European paper size). The United States/Canada and the Canada/France 7 switches select letter paper size (i.e. 8.5" x 11"). All other combinations set default paper size to A4 (i.e. 8.27 x 11.69").
ida 812-1x MIO Operator’s Guide Index Index Syntax, 34 —C— —H— Connection Power, 14 Twinax, 15 HP Compatibility, 8 HP LaserJet 4 installation, 12 HP LaserJet 4Si installation, 12 HP LaserJet IIISi installation, 12 HP PaintJet XL300 installation, 12; 13 —D— DIP Switch, 53 DIP switches Settings, 53 —I— —E— Installation Printer, 14 Errors, 30 Escape Character, 32 Temporary, 33 —O— Operation, 18 —F— —P— Features, 7 Front panel AUX IO MENU, 21 Codepage (non-IPDS), 26 CPI (Non-IPDS), 26 Emulation (Non-
ida 812-1x MIO Operator’s Guide Reader’s Comments READER'S COMMENTS This manual is part of a library that serves as a reference source for programmers and operators of i -data equipment. This form may be copied and used to communicate your view about this publication. Your interest is appreciated. Comments may be written in your own language; use of English is not required.