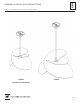
A610 ASSEMBLY & INSTALLATION INSTRUCTIONS Hibiscus Pendants Small 139450 & Large 139455 139450 139455 (shown in illustrations) 44702 1 OF 4
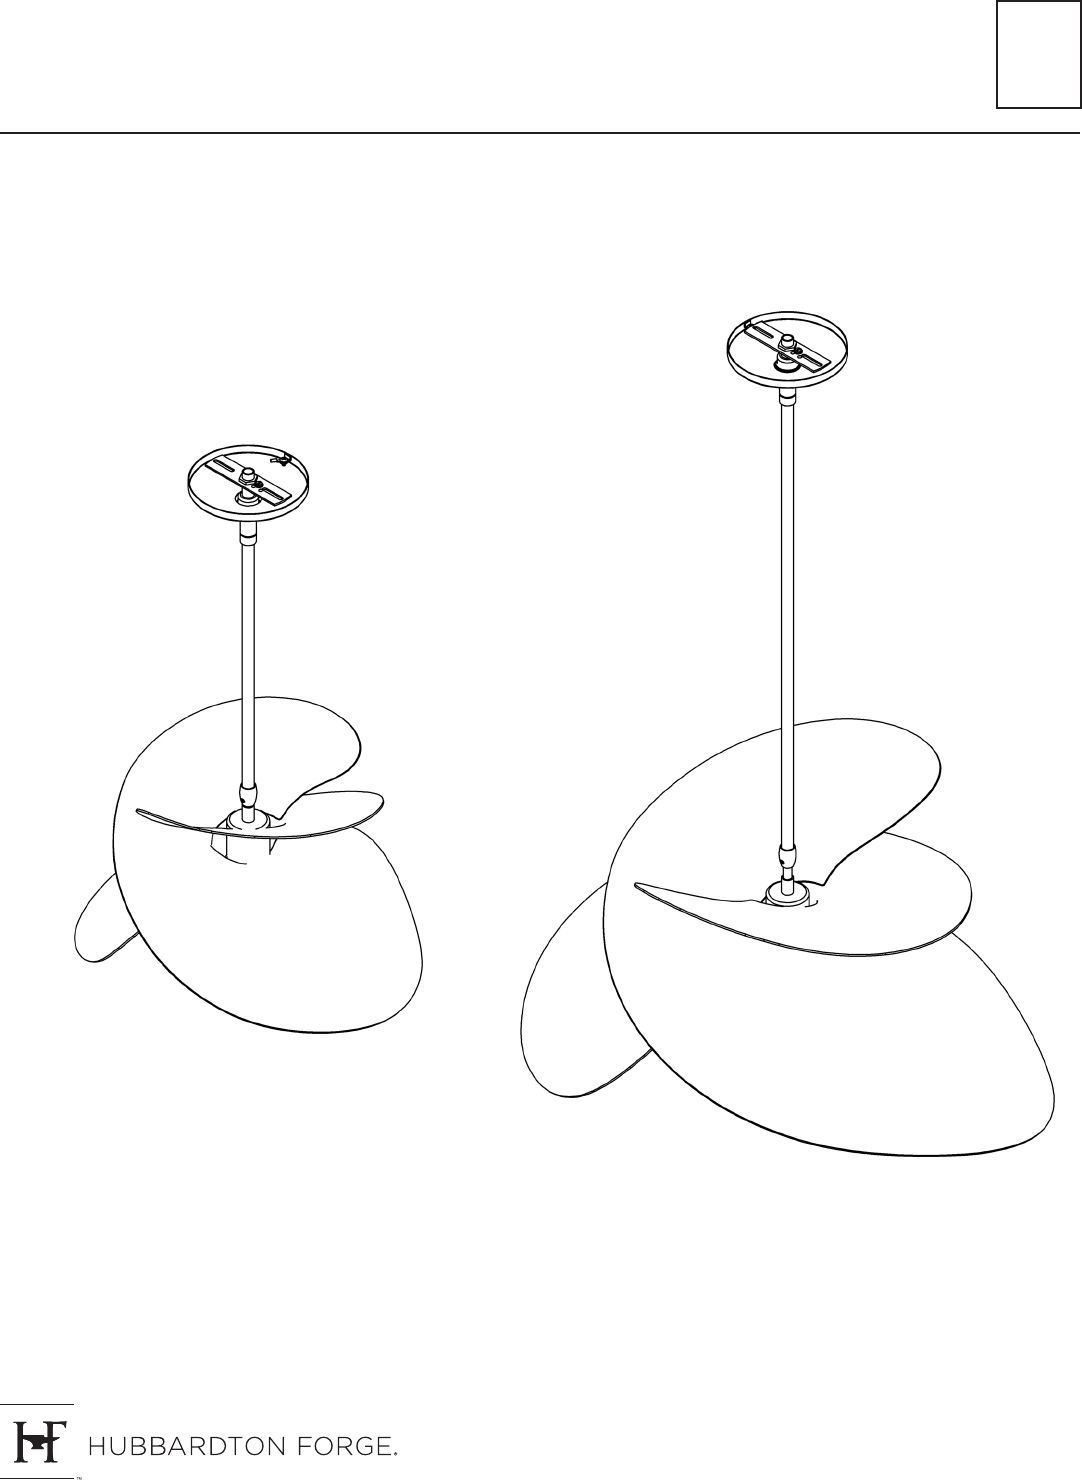
A610 ASSEMBLY & INSTALLATION INSTRUCTIONS Hibiscus Pendants Small 139450 & Large 139455 Component Parts A Fixture B Crossbar C Ground Screw D Jam Nut E Canopy F Canopy Ring G Canopy Pipe Assembly H Fixture Coupling I Nipple J Fixture Pipe K Clutch L Set Screw M Plastic Sleeve N Socket 44702 2 OF 4
A610 ASSEMBLY & INSTALLATION INSTRUCTIONS Hibiscus Pendants Small 139450 & Large 139455 CAUTION: FAILURE TO INSTALL THIS FIXTURE PROPERLY MAY RESULT IN SERIOUS PERSONAL INJURY OR DEATH AND PROPERTY DAMAGE. We recommend installation by a licensed electrician. This product must be installed in accordance with applicable installation code(s), by a person familiar with the construction and operation of the product and the hazards involved.* Caution: Do not exceed maximum wattage noted on fixture.
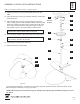
A610 ASSEMBLY & INSTALLATION INSTRUCTIONS Hibiscus Pendants Small 139450 & Large 139455 12. Tighten set screw (L) in clutch (K) firmly with hex wrench provided. 13. Using two machine screws (not provided), fasten the crossbar (B) to the electric box. B 14. Using suitable wire connectors (not provided) connect fixture wires to supply (white to white and black to black). Attach a pigtail lead to the crossbar ground screw (C).