
- Hewlett-Packard Widescreen LCD Monitor User's Guide


Table Of Contents
- Notational Conventions
- Product Features
- Safety and Maintenance Guidelines
- Setting Up the Monitor
- Unpacking the Monitor
- Installing the Monitor
- Assembling the cantilever base
- Unfolding the double-hinged monitor
- Preparing the cantilever-base monitor for wall-mounting
- Wall-mounting the double-hinged monitor
- Preparation
- Connecting the VGA (Analog) or DVI-D (Digital) Cable
- Connecting the VGA / DVI-I Cable (Select Models Only)
- Connecting the HDMI Cable (Select Models Only)
- Audio and Video Cables and Adapters
- Connecting the Audio Cable
- Connecting the USB Hub Cable (Select Models Only)
- Connecting USB Devices to the Monitor (Select Models Only)
- Connecting the Power Cable
- Cable Management
- Adjusting the Tilt
- Adjusting the Swivel
- Keyboard Parking
- Operating the Monitor
- CD Software and Utilities
- My Display Software (Select Models Only)
- Front-Panel Controls
- Using the On-screen Display (OSD)
- Selecting Video Input Connectors
- Identifying Monitor Conditions
- Adjusting Screen Quality
- Power-Saver Feature
- Ambient Light Sensor (Select Models)
- Task Light (Select Models)
- Webcam (Select Models)
- High-Bandwidth Digital Content Protection (HDCP)
- Operating the Digital Picture Frame Card Reader (Select Models)
- Preparing the Monitor for Shipping
- Troubleshooting
- Technical Specifications
- Agency Regulatory Notices
- Federal Communications Commission Notice
- Declaration of Conformity for Products Marked with FCC Logo, United States Only
- Materials Disposal
- Chemical Substances
- Canadian Notice
- Avis Canadien
- European Union Regulatory Notice
- Disposal of Waste Equipment by Users in Private Households in the European Union
- Japanese Notice
- Japanese Power Cord Notice
- Japanese Material Content Declaration
- Korean Notice
- EPA ENERGY STAR® Compliance
- HP Recycling Program
Operating the Monitor
User’s Guide 4–9
To obtain the best results:
1. Allow the monitor to warm up for 20 minutes before adjusting.
2. Display the adjustment-pattern application provided on the CD.
3. Access the OSD menu, then select Image Control.
4. Set the main Clock settings correctly first, because the Clock Phase settings depend on the main Clock setting.
When adjusting the Clock and Clock Phase values, if the monitor images become distorted, continue adjusting
the values until the distortion disappears.
To restore the factory settings, access the OSD menu, select Factory Reset, and then select Yes.
Power-Saver Feature
When the monitor is in normal operating mode, the Power light is aqua-white and the monitor uses the normal watts
of power. For power usage, refer to “Technical Specifications” (Appendix B).
The monitor also supports a power-saver mode that is controlled by the computer. When the monitor is in the
reduced-power state, the monitor screen is blank, the backlight is off, and the Power light is amber. The monitor uses
minimum power. When the monitor is “awakened,” a brief warm-up period occurs before the monitor returns to
normal operating mode. The energy-saving reduced power state activates if the monitor does not detect either the
horizontal sync signal or the vertical sync signal. The power-saver feature must be activated on your computer for this
feature to work.
Refer to your computer documentation for instructions on setting energy-saver features (sometimes called
power-management features).
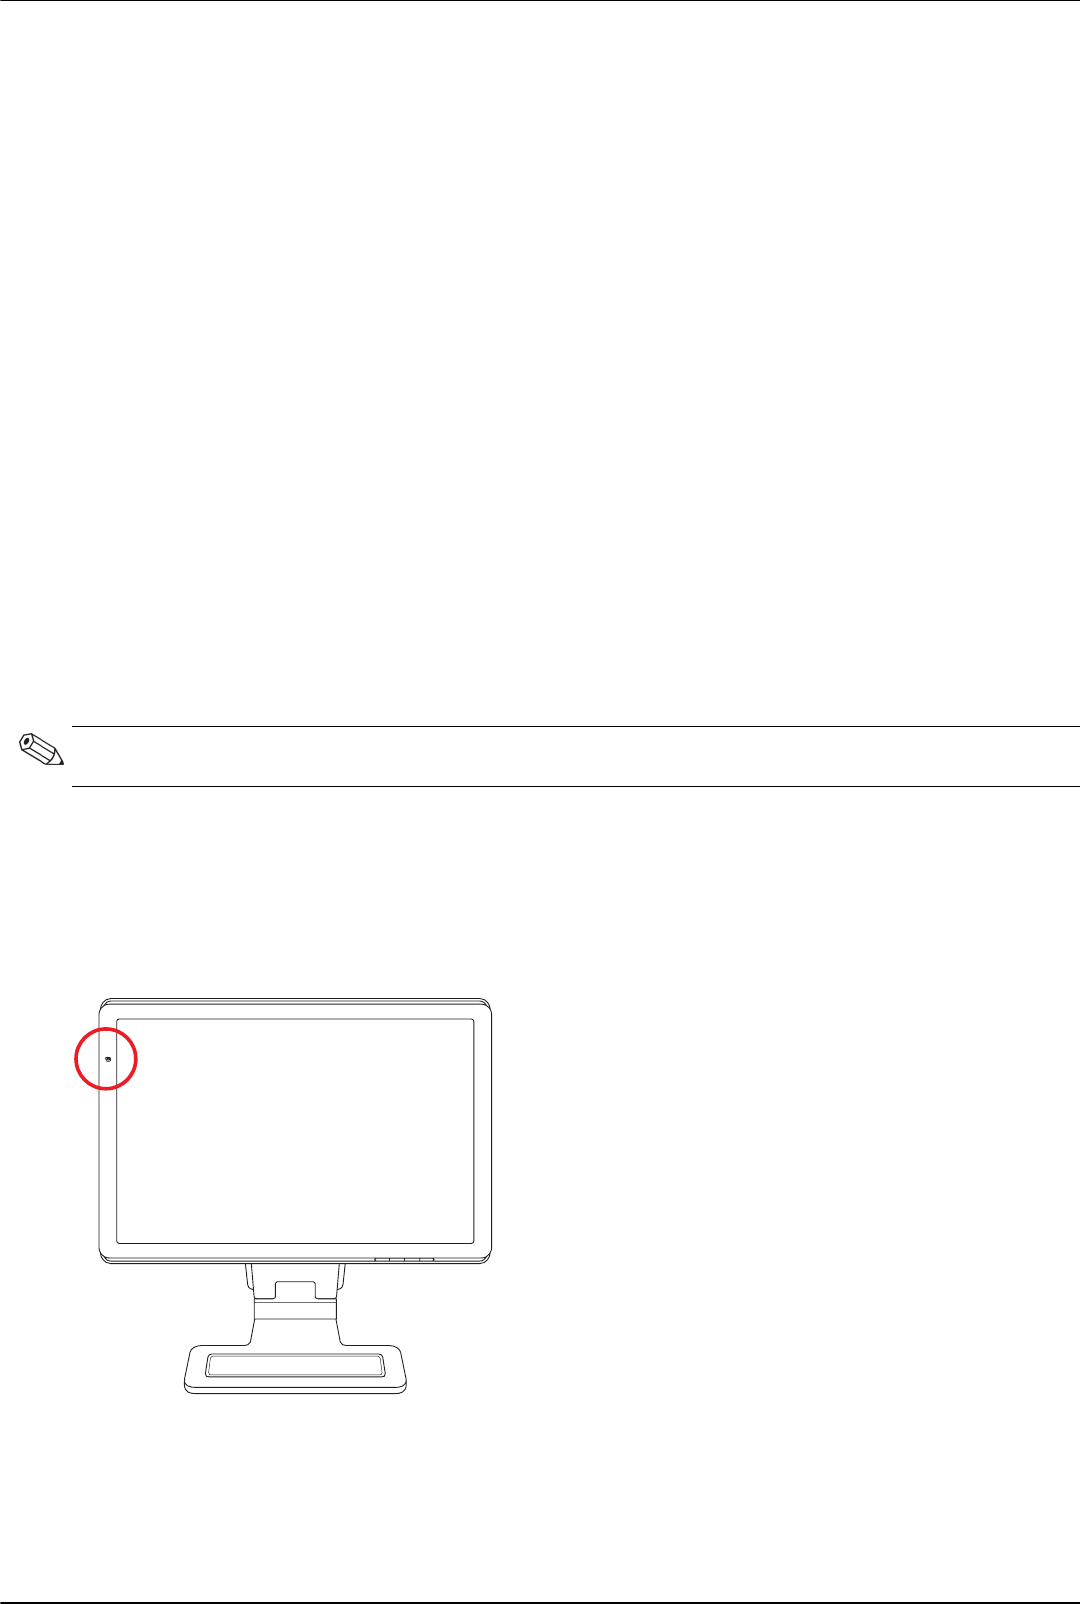
Ambient Light Sensor (Select Models)
An integrated light sensor, on the left front of the monitor, adjusts the LCD backlight output to the current ambient light
conditions. By default, the ambient light sensor is on. Manually enable or disable the sensor using the Image Control
main menu in the OSD. If you adjust the Quick View, Brightness, Contrast, or sRGB functions in the OSD, the light
sensor will automatically be disabled.
NOTE: The energy-saver feature works only when the monitor is connected to computers that have energy-saver
features.