
- Hewlett-Packard Widescreen LCD Monitor User's Guide


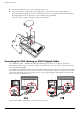


Table Of Contents
- Notational Conventions
- Product Features
- Safety and Maintenance Guidelines
- Setting Up the Monitor
- Unpacking the Monitor
- Installing the Monitor
- Assembling the cantilever base
- Unfolding the double-hinged monitor
- Preparing the cantilever-base monitor for wall-mounting
- Wall-mounting the double-hinged monitor
- Preparation
- Connecting the VGA (Analog) or DVI-D (Digital) Cable
- Connecting the VGA / DVI-I Cable (Select Models Only)
- Connecting the HDMI Cable (Select Models Only)
- Audio and Video Cables and Adapters
- Connecting the Audio Cable
- Connecting the USB Hub Cable (Select Models Only)
- Connecting USB Devices to the Monitor (Select Models Only)
- Connecting the Power Cable
- Cable Management
- Adjusting the Tilt
- Adjusting the Swivel
- Keyboard Parking
- Operating the Monitor
- CD Software and Utilities
- My Display Software (Select Models Only)
- Front-Panel Controls
- Using the On-screen Display (OSD)
- Selecting Video Input Connectors
- Identifying Monitor Conditions
- Adjusting Screen Quality
- Power-Saver Feature
- Ambient Light Sensor (Select Models)
- Task Light (Select Models)
- Webcam (Select Models)
- High-Bandwidth Digital Content Protection (HDCP)
- Operating the Digital Picture Frame Card Reader (Select Models)
- Preparing the Monitor for Shipping
- Troubleshooting
- Technical Specifications
- Agency Regulatory Notices
- Federal Communications Commission Notice
- Declaration of Conformity for Products Marked with FCC Logo, United States Only
- Materials Disposal
- Chemical Substances
- Canadian Notice
- Avis Canadien
- European Union Regulatory Notice
- Disposal of Waste Equipment by Users in Private Households in the European Union
- Japanese Notice
- Japanese Power Cord Notice
- Japanese Material Content Declaration
- Korean Notice
- EPA ENERGY STAR® Compliance
- HP Recycling Program
Setting Up the Monitor
User’s Guide 3–3
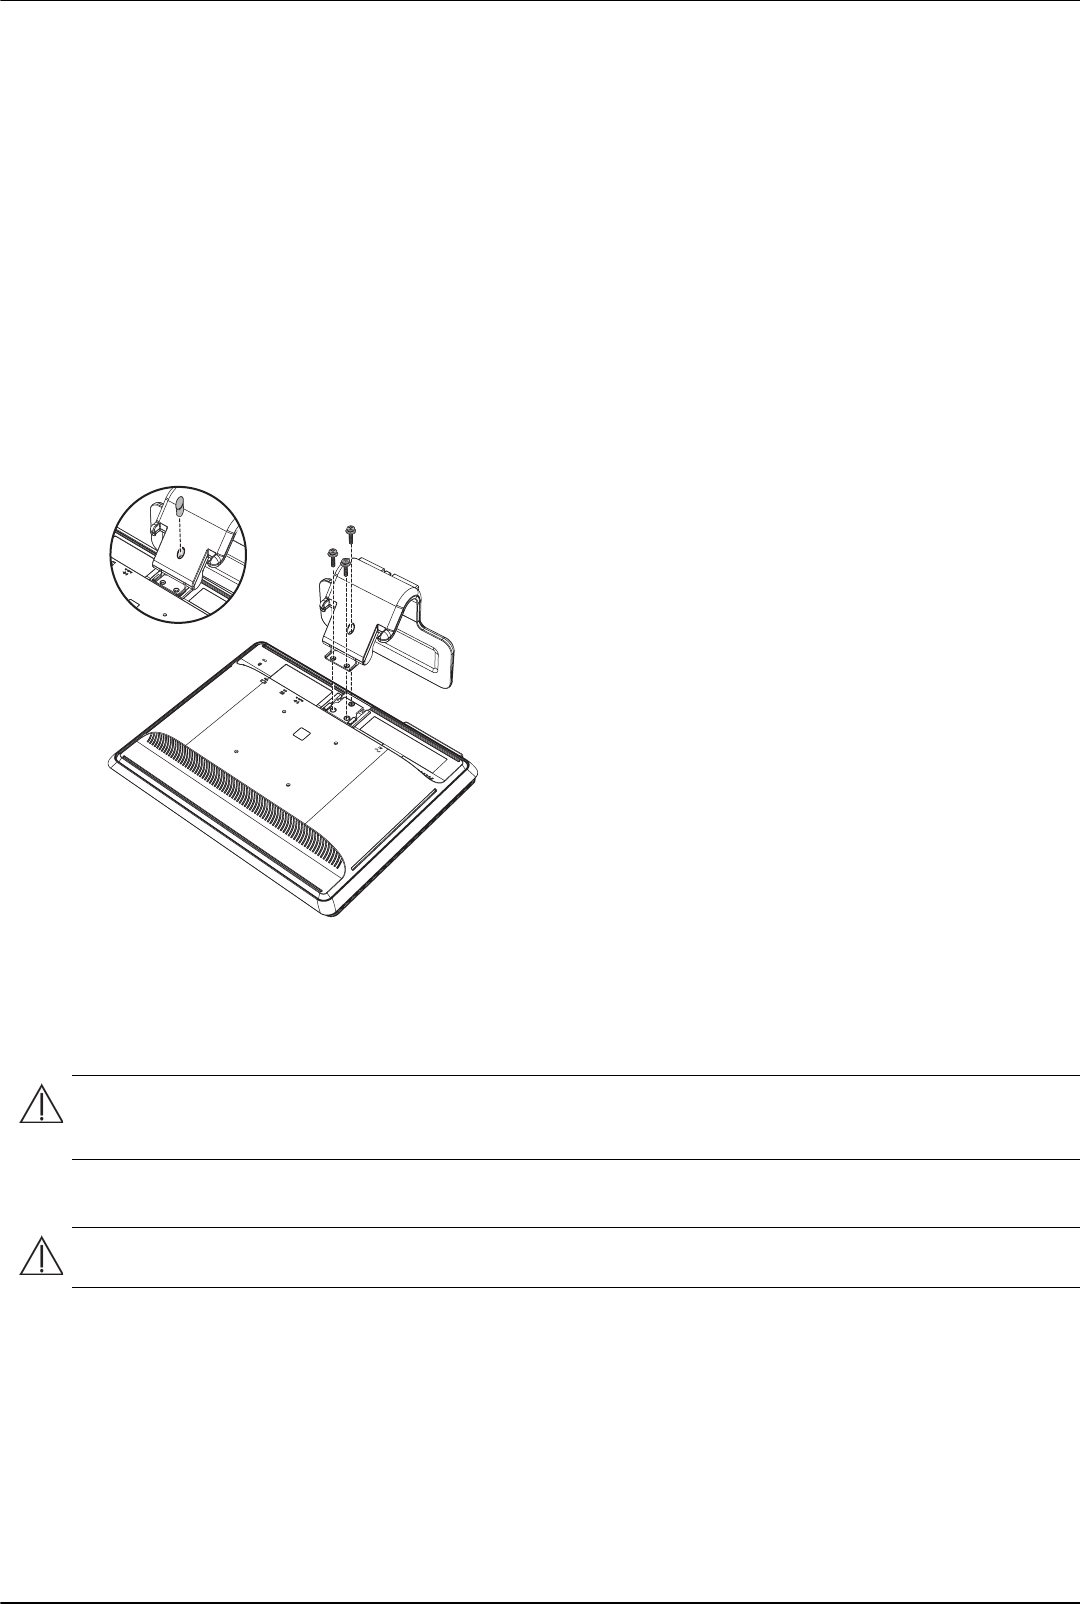
Preparing the cantilever-base monitor for wall-mounting
1. Disconnect the power cable and any other cables from the monitor.
2. Remove the monitor base. Keep the monitor panel screen down on a flat, soft area.
3. After the base is removed, remove the rubber plug on the neck of the monitor. You will see a screw below the
rubber plug and two additional screws on the panel.
4. Remove all three screws.
5. Remove the neck from the monitor.
6. Save the removed items (rubber plug, screws, neck, and base) for future use.
7. Follow the instructions included with the mounting fixture to ensure that the monitor is safely attached.
The four-threaded mounting holes that are on the back of the panel are compliant with the VESA standard for
mounting flat-panel monitors.
Use the four holes to attach a swing arm or other mounting fixture.
Wall-mounting the double-hinged monitor
Before you mount the monitor on a wall, a swing arm, or other mounting fixture, you must remove the monitor base
and the pedestal. Note that the mounting fixture is not supplied. You will need a Phillips screwdriver. Read the
following warning and caution statements before beginning the procedure.
Preparation
1. Disconnect the power cable and any other cables from the monitor.
2. Carefully place the monitor face down on a flat, soft surface. This might entail elongating the hinge and tilting
the monitor back to ensure the monitor is flat.
3. With your fingertips, snap off the VESA cover from the back of the monitor.
4. Remove all four screws from the VESA plate.
WARNING: To reduce the risk of personal injury or of damage to the equipment, check that the wall-mounting
fixture is adequately installed and secured before attaching the monitor. Refer to the instructions supplied with the
wall-mounting fixture and check that it is capable of supporting the monitor.
WARNING: Do not place the double-hinged monitor face down for folding. The base hinge can spring up and
cause serious injury or damage.