
Service manual
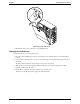
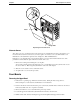
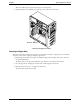

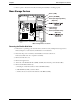
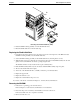
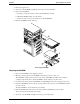
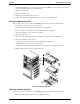
Table Of Contents
- 1 Specifications
- 2 Controls, Ports, and Indicators
- 3 Connector Pinouts
- 4 Maintenance Guidelines
- 5 Error Messages
- 6 Diagnostics
- 7 Maintenance and Troubleshooting
- Preventive Maintenance Procedures
- Troubleshooting
- Password Problems
- General Server Problems
- No lights are on and no error message appears
- Operating system or an application is not responding properly
- Server stops working (hangs)
- Server does not start (boot)
- Power Problems
- Video/Monitor Problems
- Configuration Problems
- Printer/Datacomm Problems
- Keyboard and Mouse Problems
- Flexible Disk Drive Problems
- CD-ROM Problems
- SCSI Problems
- Processor Problems
- Memory Problems
- Embedded Network Interface Card Problems
- Network Interface Card (Installed) Problems
- 8 Parts and Illustrations
- 9 Remove/Replace Procedures
- Introduction
- Covers
- Front Bezels
- Status Panel Assembly
- Mass Storage Devices
- Removing the Flexible Disk Drive
- Replacing the Flexible Disk Drive
- Removing the CD-ROM
- Replacing the CD-ROM
- Removing a Backup Tape Drive
- Replacing a Backup Tape Drive
- Removing a Hard Disk Drive (Tray Mounted)
- Replacing a Hard Disk Drive (Tray Mounted)
- Removing a Hard Disk Drive (Drive Cage Mounted)
- Replacing a Hard Disk Drive (Drive Cage Mounted)
- DIMMs
- Processor
- Accessory Boards
- Power Supply
- Battery
- Chassis Fan
- System Board
- Index
Chapter 9 Remove/Replace Procedures
73
This action will swing the upper front bezel open on its hinge teeth.
6. Swing the upper bezel completely open and remove it from the front of the Server.
Release Tabs (2)
Removing the Upper Front Bezel
Replacing the Upper Bezel
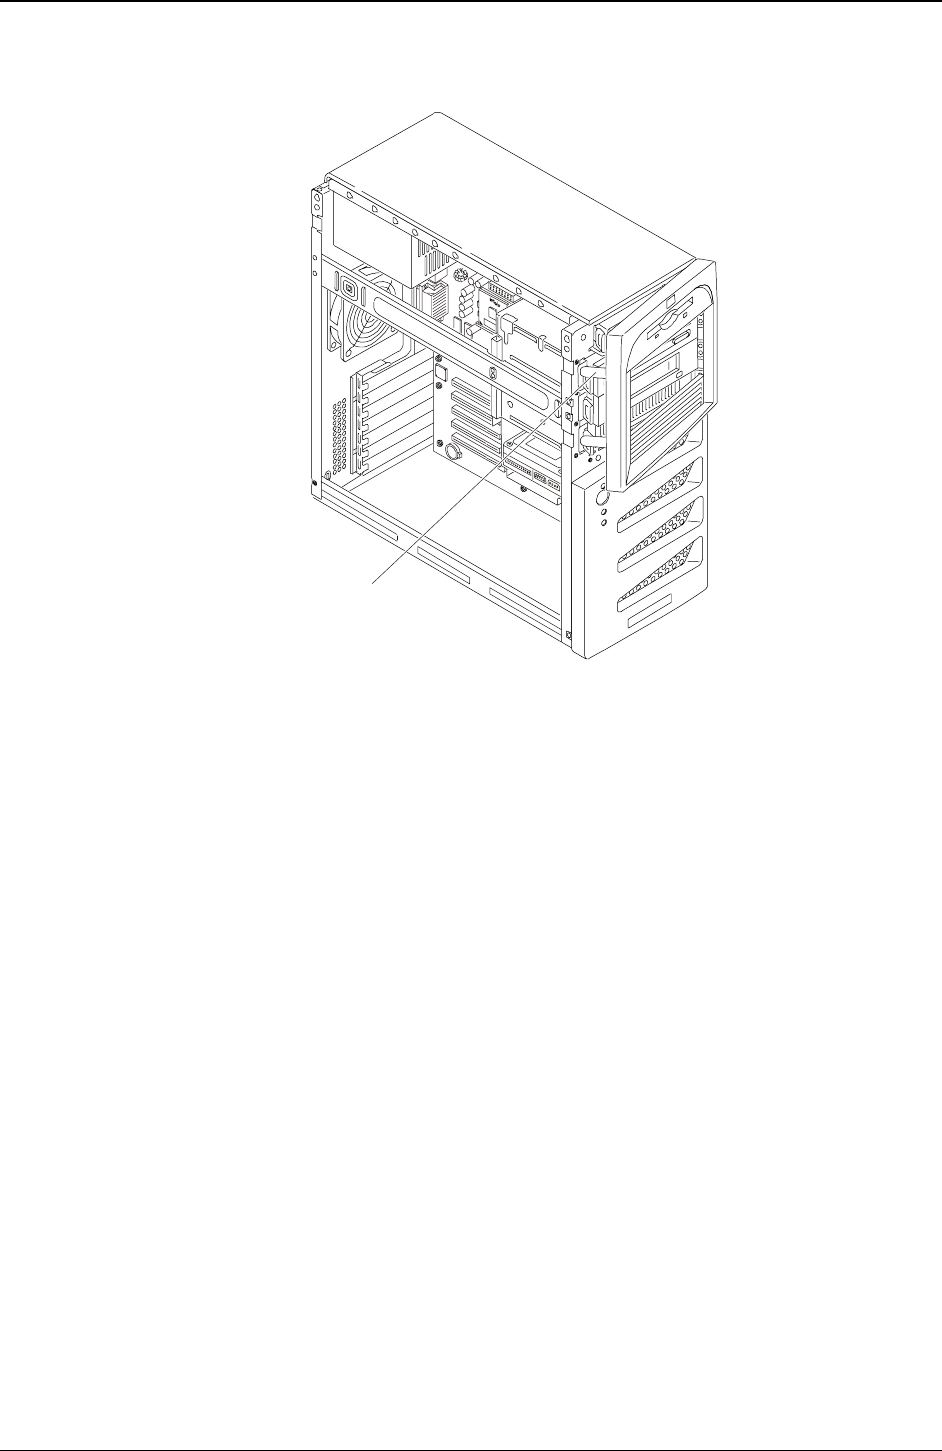
The upper front bezel uses hinge teeth, instead of a normal hinge assembly, to engage each side of the hinge
and pivots on these when opening or closing the upper bezel.
1. Hold the upper bezel next to the chassis, and align the hinge teeth, both upper and lower, as shown in
the following illustration.
The hinge teeth can only fit together within the space allowed, so it should fit on the first try.
2. Close the upper bezel, swinging it to the left, where it will engage the release tabs.
3. Push the upper bezel closed so it engages the release tabs.
The release tabs should snap into place.