
- Hewlett-Packard Computer Drive User Manual
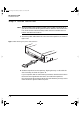
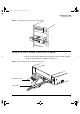
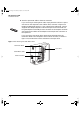
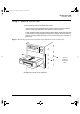
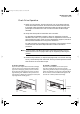

Table Of Contents
- Internal Drives—Installation Overview
- Contents
- Product Details
- Installing an “i” Model Drive (internal)
- Before You Start: Check the Contents of the Box
- Before You Start: Check System Prerequisites
- Step 1: Check the Drive’s SCSI ID
- Step 2: Set the Configuration Switches (UNIX Systems Only)
- Step 3: Prepare the Mounting Bay
- Step 4: Attach Mounting Rails
- Step 5: Install the Drive
- Step 6: Attach Power and SCSI Cables
- Step 7: Secure the Drive
- On Completion
- Installation Troubleshooting
HP SureStore DAT
Installation Guide
1-16
Step 5: Install the Drive
Note Write the model name, product number, serial number, and SCSI ID of
your drive in the front of this guide for future reference. The model name
is on the front of the drive and the product and serial numbers are on a
label on the bottom of the drive.
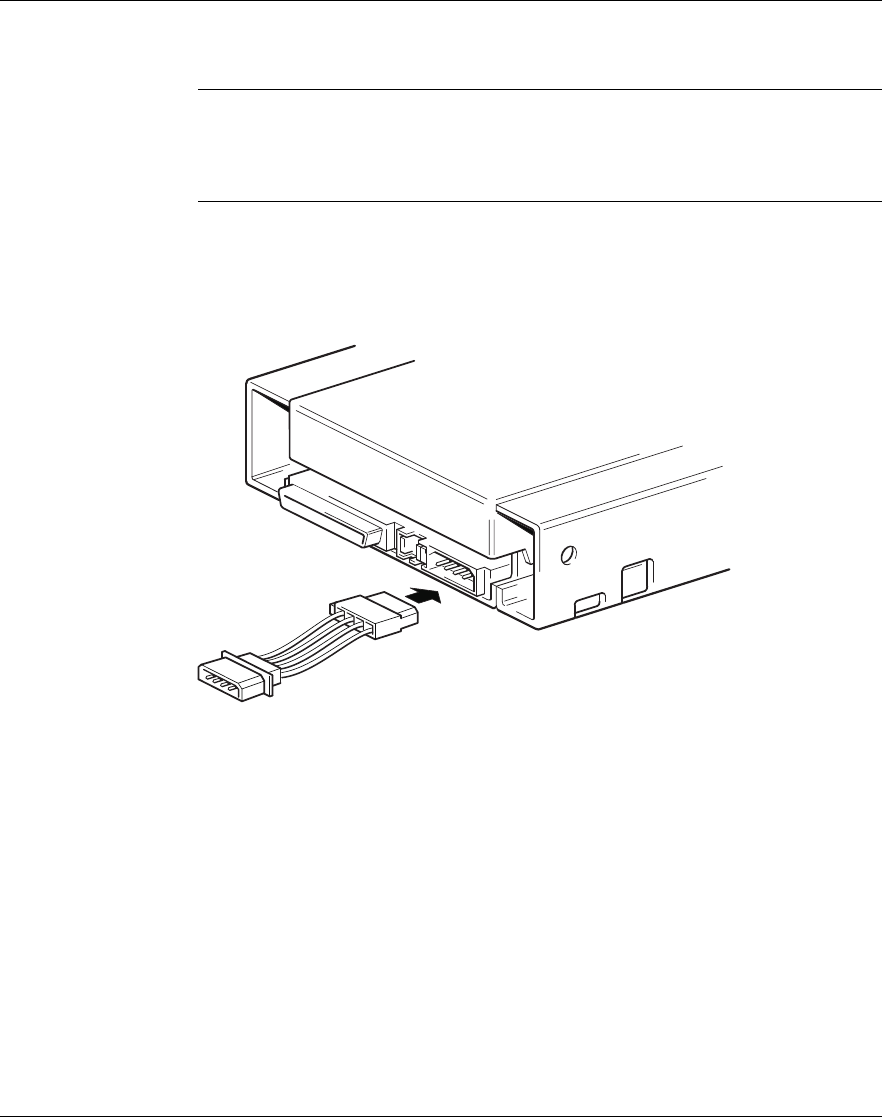
1 Attach the power cable extension to the rear of the tape drive, as shown in
figure 1.10.
Figure 1.10 Attaching the power cable extension
2 Slide the tape drive into the open bay, aligning the tray or rails with the
slots in the bay, as shown in figure 1.11.
If your computer does not use mounting hardware, check that the holes in
the chassis are aligned with the holes in the side of the tape drive.
Do not secure the drive with screws at this point because you may have to
move the drive to get the cables into place.
Dat-int.bk Page 16 Wednesday, May 26, 1999 10:46 AM