
- Hewlett-Packard Computer Drive User Manual

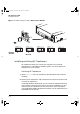
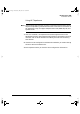
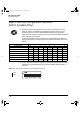
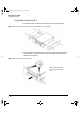
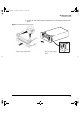
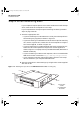

Table Of Contents
- Internal Drives—Installation Overview
- Contents
- Product Details
- Installing an “i” Model Drive (internal)
- Before You Start: Check the Contents of the Box
- Before You Start: Check System Prerequisites
- Step 1: Check the Drive’s SCSI ID
- Step 2: Set the Configuration Switches (UNIX Systems Only)
- Step 3: Prepare the Mounting Bay
- Step 4: Attach Mounting Rails
- Step 5: Install the Drive
- Step 6: Attach Power and SCSI Cables
- Step 7: Secure the Drive
- On Completion
- Installation Troubleshooting
HP SureStore DAT
Installation Guide
1-12
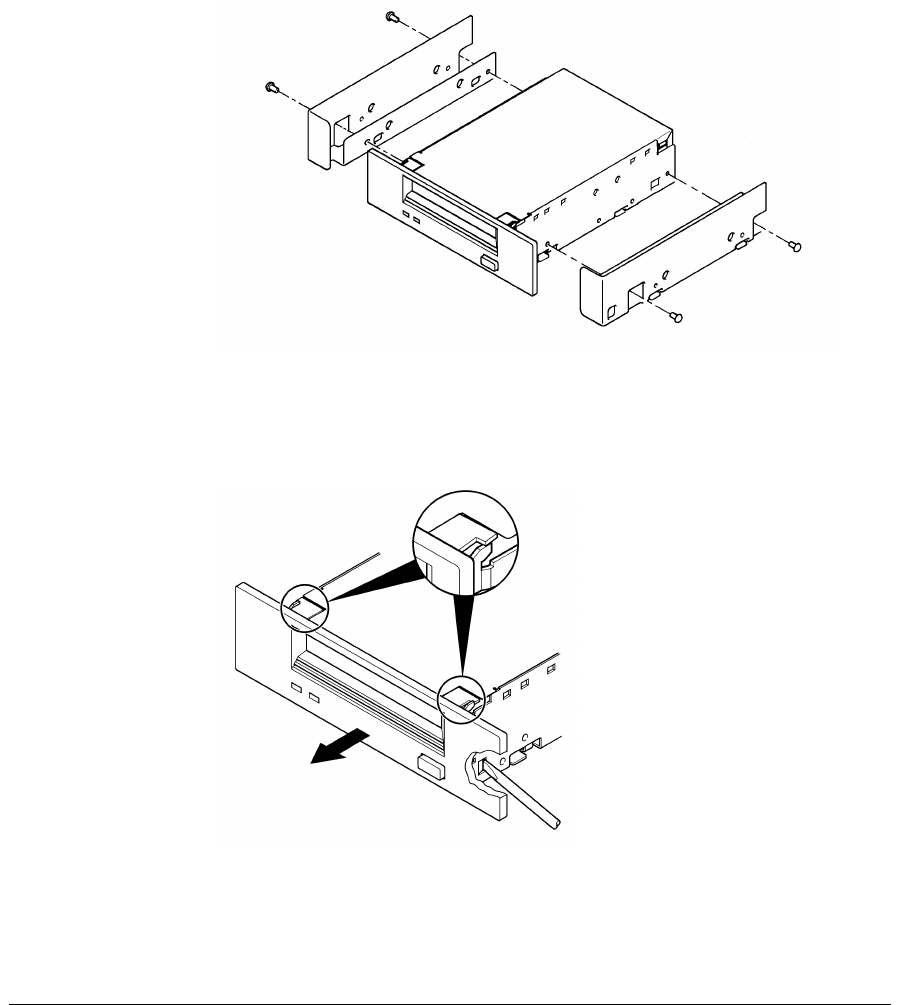
Using the Conversion Kit
1 Unscrew the four screws and remove the rails from the tape drive.
Figure 1.4 Removing the drive rails prior to installation in a 3½-inch bay
2
Use a screwdriver to release the 5¼-inch front panel from the tape drive
and remove it. Fit the 3½-inch front panel and push firmly until the
panel clicks into place.
Figure 1.5 Removing the 5¼-inch panel
Note: Some drives have
clips on the sides of the
unit.
Dat-int.bk Page 12 Wednesday, May 26, 1999 10:46 AM