
User's Manual
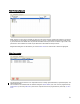
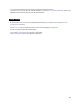
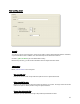

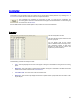


Table Of Contents
- Introduction / Requirements
- Installation
- Login
- Keycode Entry
- Hardware Configuration
- Printers / Queues
- The Configuration Wizard
- Create Queue
- Create Printer Cluster
- Preferences
- Menu Bar Options
- Reprocontrol.client main applications
- Filter Editor
- Functions and Structure of the Filter Editor
- Preview of the Filter Editor
- Histogram
- Tab Black and White Point (Color Mode without Color Management)
- Tab Postprocessing (Black & White Mode)
- Tab Gamma Correction (Color Mode without Color Management)
- Tab Enhancement (Color Mode with Color Management)
- Tab Special Filter (All Modes except of Black & White Mode)
- Tab Color Adjust (Color Mode with Color Management)
- Tab Color Exchange (Color Mode with Color Management)
- Functions and Structure of the Filter Editor
- Reprocontrol.WinDriver
- Reprocontrol.monitor
- Costtracker
- Reprocontrol.backup
84
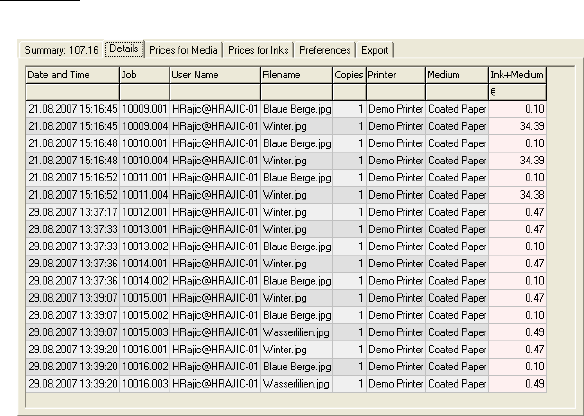
Details
The list of the single print jobs is shown
under
DETAILS. Open the context menu
and choose S
ELECT COLUMNS to
determine which data are to be displayed
and evaluated.
At first start, the Costtracker displays the
date and hour, the project and user name,
the file name, the number of copies, the
printer and medium used, as well as the
costs of ink and medium of print jobs.
The context menu of the DETAILS
window offers a certain number of display
options:
SELECT
COLUMNS – This option opens the window in which categories of data are chosen from. You
can display new columns and remove other ones.
DEFAULT COLUMNS – You return to the original display of columns with this option.
RESIZE
ALL COLUMNS – Use this option to change to an optimal column width.
RESIZE
THIS COLUMN – Display the selected column with an optimal width.
REMOVE
THIS COLUMN – Remove the selected column with this option.