
User's Manual
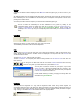
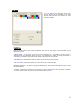


Table Of Contents
- Introduction / Requirements
- Installation
- Login
- Keycode Entry
- Hardware Configuration
- Printers / Queues
- The Configuration Wizard
- Create Queue
- Create Printer Cluster
- Preferences
- Menu Bar Options
- Reprocontrol.client main applications
- Filter Editor
- Functions and Structure of the Filter Editor
- Preview of the Filter Editor
- Histogram
- Tab Black and White Point (Color Mode without Color Management)
- Tab Postprocessing (Black & White Mode)
- Tab Gamma Correction (Color Mode without Color Management)
- Tab Enhancement (Color Mode with Color Management)
- Tab Special Filter (All Modes except of Black & White Mode)
- Tab Color Adjust (Color Mode with Color Management)
- Tab Color Exchange (Color Mode with Color Management)
- Functions and Structure of the Filter Editor
- Reprocontrol.WinDriver
- Reprocontrol.monitor
- Costtracker
- Reprocontrol.backup
56
Medium
A selection of different media is displayed under M
EDIUM. Select the paper type you want to use for your
output.
All calibrated paper types are displayed with black letters, whereas the paper types with red fonts have not
been calibrated yet or are not available for the selected printer. A description of the problem is shown when
pointing to the medium name.
You will only be able to start the output if you have selected a calibrated paper type.
The list of media can individually be set and calibrated for every printer by clicking on the
configuration button left of the media drop down list. It will take you to the CONFIGURATION /
LOADED CONSUMABLES as known from § THE CONFIGURATION WIZARD. There is again the
possibility to E
DIT MEDIA by using the corresponding button which takes you to the DEFINE MEDIA
dialog.
Print Mode
Select the print mode. You may choose color, gray scale or b/w mode.
The availability of selections is file and device dependent.
Filter
You can select a F
ILTER from the drop down menu. Filters are procedures to alter the visual shape of an
image. All filters that were saved in the filter archive are displayed in the drop-down list under F
ILTER and
can be selected from there.
The Filter *N
O FILTER* means no filter is in effect.
The filter *C
URRENT* is a temporary filter with the settings made in the FILTER EDITOR which have not
been saved yet.
You will get to the filter editor with the menu fields C
HANGE and NEW below the drop
down list. Using them you will be able to set a personalized F
ILTER.
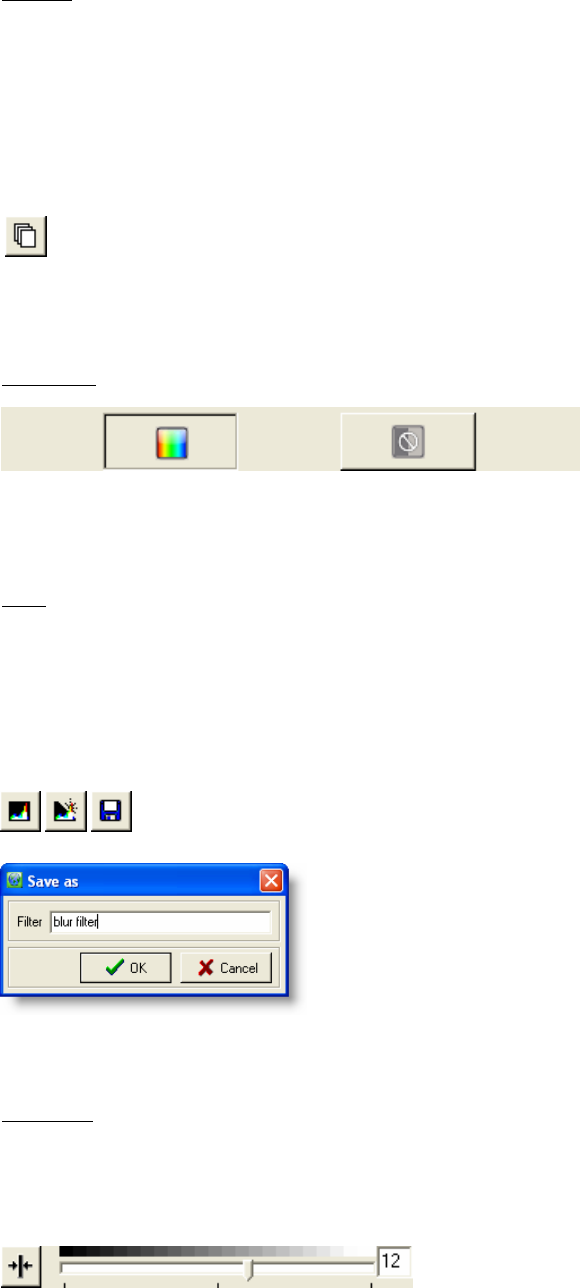
You may save a current or new filter on your system, if you hit the
S
AVE AS button. It becomes achievable after any changes in the
F
ILTER EDITOR. Enter a filter name which will be at your disposal
in the F
ILTER drop down list further on.
Further details referring to creating, changing and saving filters are
described in the §
FILTER EDITOR.
Brightness
You may alter the brightness of a copy with the brightness slider. When using normal originals, we
recommend setting the value of the slider to 0. Moving the slider to the left (negative values) will result in a
copy darker than the original, whereas moving the slider to the right (positive values) will make a brighter
copy. Clicking on the button R
ESET will reset the slider to its original position.