
User's Manual
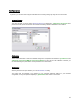
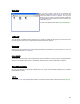

Table Of Contents
- Introduction / Requirements
- Installation
- Login
- Keycode Entry
- Hardware Configuration
- Printers / Queues
- The Configuration Wizard
- Create Queue
- Create Printer Cluster
- Preferences
- Menu Bar Options
- Reprocontrol.client main applications
- Filter Editor
- Functions and Structure of the Filter Editor
- Preview of the Filter Editor
- Histogram
- Tab Black and White Point (Color Mode without Color Management)
- Tab Postprocessing (Black & White Mode)
- Tab Gamma Correction (Color Mode without Color Management)
- Tab Enhancement (Color Mode with Color Management)
- Tab Special Filter (All Modes except of Black & White Mode)
- Tab Color Adjust (Color Mode with Color Management)
- Tab Color Exchange (Color Mode with Color Management)
- Functions and Structure of the Filter Editor
- Reprocontrol.WinDriver
- Reprocontrol.monitor
- Costtracker
- Reprocontrol.backup
48
Reprocontrol.client main applications
Basics
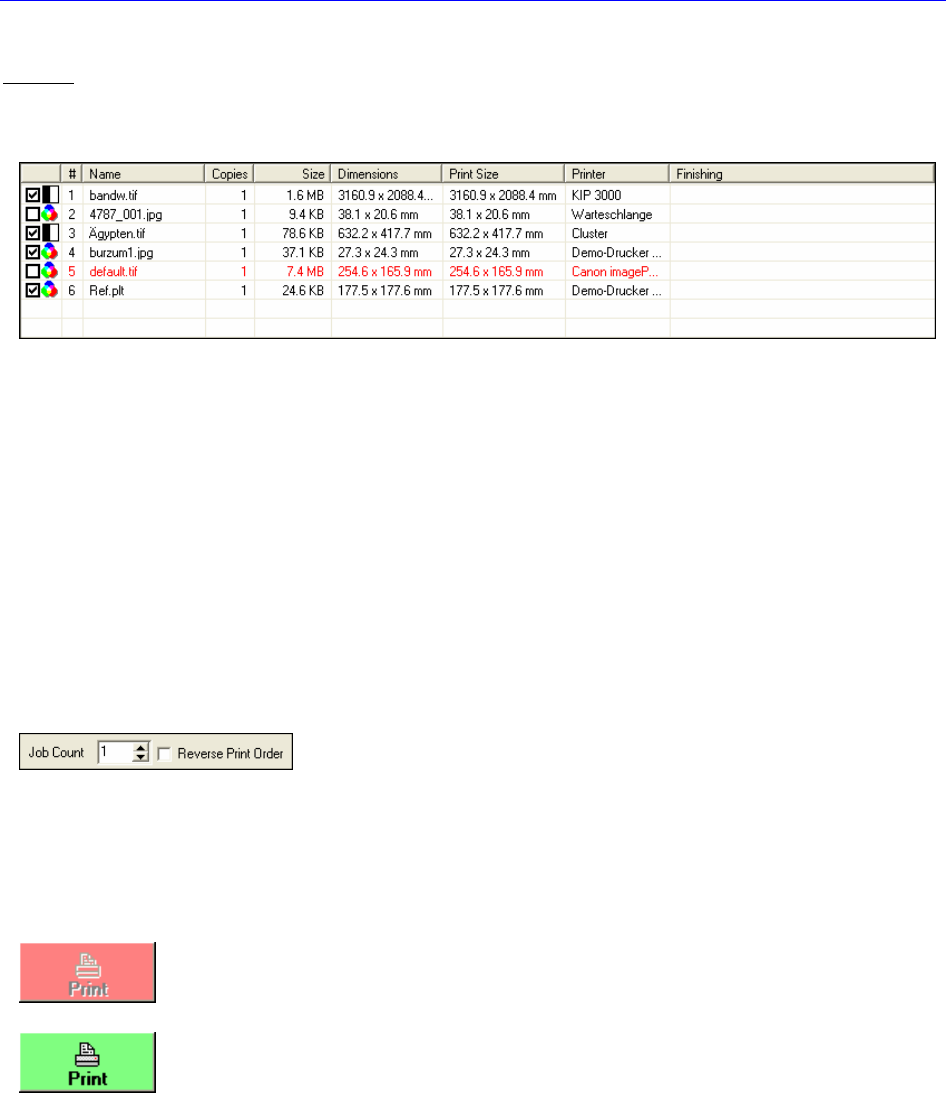
Added files are shown in the job list. To add files see § FEATURES OF THE TOOL BAR.
Files in the job list are categorized with nine different columns: #; N
AME, COPIES, SIZE, DIMENSIONS, PRINT
S
IZE, PRINTER, STATUS and FINISHING.
Furthermore, there is a symbol at the very left of each file indicating whether it is e.g. a color or b&w document.
The position of files in the job list can further be altered by clicking on one of these column categories which causes
a climb down order regarding to the selected category. Clicking again on the same category causes a climb up
order.
Files can also be moved from one position to another within the job list by using drag’n drop.
To manage the addition of files activate the corresponding commands given in the menu bar under F
ILES or under
the toolbar given in the main window.
To modify documents and its output medium, it is necessary that at least one file is highlighted.
Bear in mind that some of the settings for picture quality/color, output media etc. will only be accessible, if no more
than one file is highlighted. An information bubble pops up, if a tool pointed to will not work under multi-file
conditions.
If no file is highlighted, you can only control the JOB COUNT (for editing the
number of printouts of the same job) and the R
EVERSE PRINT ORDER-option
both at the lower part of the main window’s tab-area.
Activate P
REVIEW when only one file is highlighted. A Preview will assist you finding the best edit for your pictures.
Learn more about this topic in the following §
REPROCONTROL.CLIENT MAIN APPLICATIONS § PREVIEW.
If one or multiple files have been selected you may start printing by using the large PRINT button at the bottom’s
right hand side corner.
If no file is selected or problems with hardware or media configurations occurred, the button will
appear red. By pointing at the red button with the mouse cursor, a little information bubble will
appear which informs about the cause of the problem. Also pay attention to red entries in the tab
area indicating corrupted or incomplete hardware settings/installations (point at them with the
mouse cursor to learn more about the problem).
When all settings are set in accordance with your system and at least one file is checked, the
SUBMIT button becomes green. You can now start printing.