
User's Manual
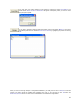
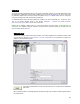
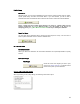
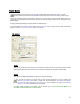
Table Of Contents
- Introduction / Requirements
- Installation
- Login
- Keycode Entry
- Hardware Configuration
- Printers / Queues
- The Configuration Wizard
- Create Queue
- Create Printer Cluster
- Preferences
- Menu Bar Options
- Reprocontrol.client main applications
- Filter Editor
- Functions and Structure of the Filter Editor
- Preview of the Filter Editor
- Histogram
- Tab Black and White Point (Color Mode without Color Management)
- Tab Postprocessing (Black & White Mode)
- Tab Gamma Correction (Color Mode without Color Management)
- Tab Enhancement (Color Mode with Color Management)
- Tab Special Filter (All Modes except of Black & White Mode)
- Tab Color Adjust (Color Mode with Color Management)
- Tab Color Exchange (Color Mode with Color Management)
- Functions and Structure of the Filter Editor
- Reprocontrol.WinDriver
- Reprocontrol.monitor
- Costtracker
- Reprocontrol.backup
28
Medium
You also have to select a M
EDIUM used for this queue and its printer. Select one from the drop down list.
Set Print Size
Next you can set the MAXIMUM PRINT SIZE. Enter width and length into the two boxes; or simply
leave it to the system detecting the maximum possible print size with the selected printer/medium by
pressing the S
ET SIZE button.
Use Printer Default Settings
You have to activate this option in order to apply all changes of printer configuration settings (e.g. label and
nesting settings) automatically to the associated queue.
Leaving the option inactive, the button P
RINTER CONFIGURATION becomes available. By pressing it, you
gain access to the options P
LACEMENT, TECHNICAL LABEL and PRINT OPTIONS. Those options are
more detailed explained in §
THE CONFIGURATION WIZARD.
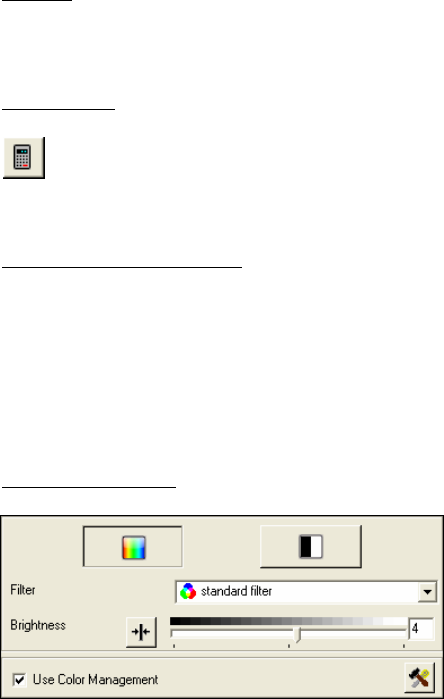
Picture Edit Settings
Finally you can set the entire color and filter
settings which will take effect on every image sent
to the queue.
Most of the options given in there are identical with
the options given in the tab GENERAL of the main
window. For further details regarding to those
identical functions please go to § EDIT IMAGES AND
OUTPUT
§ TAB GENERAL.
To select and set a customized FILTER within the
queue configuration window, you have to create
one in the FILTER EDITOR first. For further
details, see §
FILTER EDITOR.