
User's Manual
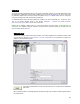
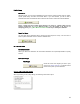
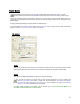
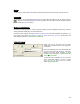
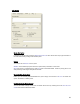
Table Of Contents
- Introduction / Requirements
- Installation
- Login
- Keycode Entry
- Hardware Configuration
- Printers / Queues
- The Configuration Wizard
- Create Queue
- Create Printer Cluster
- Preferences
- Menu Bar Options
- Reprocontrol.client main applications
- Filter Editor
- Functions and Structure of the Filter Editor
- Preview of the Filter Editor
- Histogram
- Tab Black and White Point (Color Mode without Color Management)
- Tab Postprocessing (Black & White Mode)
- Tab Gamma Correction (Color Mode without Color Management)
- Tab Enhancement (Color Mode with Color Management)
- Tab Special Filter (All Modes except of Black & White Mode)
- Tab Color Adjust (Color Mode with Color Management)
- Tab Color Exchange (Color Mode with Color Management)
- Functions and Structure of the Filter Editor
- Reprocontrol.WinDriver
- Reprocontrol.monitor
- Costtracker
- Reprocontrol.backup
25
Edit media parameters
Under certain circumstances, for example when you do not use original media, it may be necessary to
change the default media parameters INK-LIMIT OR GAMMA.
These settings may be necessary for each copy mode!
Media parameters should be edited in the order listed below. However, not all steps may be necessary.
1. Define Ink-limit
2. Define Gamma
3. Make greyscale calibration
1. Ink-limit and Gamma (tab GENERAL
)
Print a test page via P
RINT TEST SHEET.
Adjust the ink-limit until all gray areas in the lower
part are clearly visible. The gray areas should not
fade out.
Change the Gamma value until, in the upper part of
the print, the brightness of 50% Gray is exactly in the
middle of the range between 100% White and 100%
Black.
To check the settings, print a scanner-calibration-
target and look at the colors. If the colors fade out, or
if you can see color droplets, please reduce the ink-
limit value via E
DIT MEDIA PARAMTERS.
Then, print a new target and check the colors.
2. No Black Ink
When available, this option allows you to print without black ink. This option is possible for various printer
types and media (e.g. glossy paper) as some ink types do not dry on certain media.
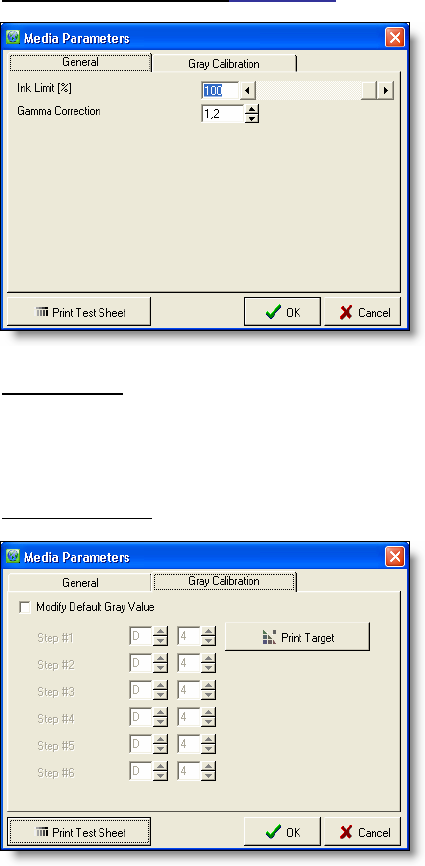
3. Gray Calibration
A gray calibration may help reduce color shifts in gray
areas.
To make a gray calibration, proceed as follows:
Check the box M
ODIFY DEFAULT GRAY VALUE.
Click P
RINT TARGET to get a calibration target.
Cut out the black & white mask on the left of the
target along the trim lines and take the square out of
the center.
With the mask, find the most neutral gray tone within
each level and enter the corresponding coordinates in
the window.
Check the new settings via P
RINT TEST SHEET.
Reset media parameters
W
ith this option, the parameters will be reset to the default values.