
User's Manual
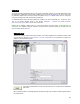
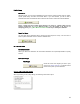
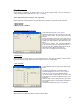
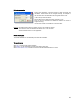
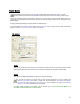
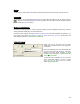
Table Of Contents
- Introduction / Requirements
- Installation
- Login
- Keycode Entry
- Hardware Configuration
- Printers / Queues
- The Configuration Wizard
- Create Queue
- Create Printer Cluster
- Preferences
- Menu Bar Options
- Reprocontrol.client main applications
- Filter Editor
- Functions and Structure of the Filter Editor
- Preview of the Filter Editor
- Histogram
- Tab Black and White Point (Color Mode without Color Management)
- Tab Postprocessing (Black & White Mode)
- Tab Gamma Correction (Color Mode without Color Management)
- Tab Enhancement (Color Mode with Color Management)
- Tab Special Filter (All Modes except of Black & White Mode)
- Tab Color Adjust (Color Mode with Color Management)
- Tab Color Exchange (Color Mode with Color Management)
- Functions and Structure of the Filter Editor
- Reprocontrol.WinDriver
- Reprocontrol.monitor
- Costtracker
- Reprocontrol.backup
23
Calibration
You get to this dialog automatically after the main printer configuration wizard if no color/calibration profile where
found previously. While starting up the dialog, calibrations for your printer are loaded. If you do not want to use
any calibration, please bear in mind that you will not be able to use C
OLOR MANAGEMENT later on. The quality
of the print out image may suffer under these circumstances.
To recalibrate printers which have been already fully installed, you can use this dialog, too. To get there, right-
click on an already installed printer in the window P
RINTERS / QUEUES and select PRINTER
CONFIGURATION CALIBRATION from the context menu.
Another way to calibrate a printer again, go to the main window’s menu bar section § CONFIGURATION §
CALIBRATION. The calibration dialog is opened for the printer that is selected currently in the drop down list
P
RINTER within the tab GENERAL.
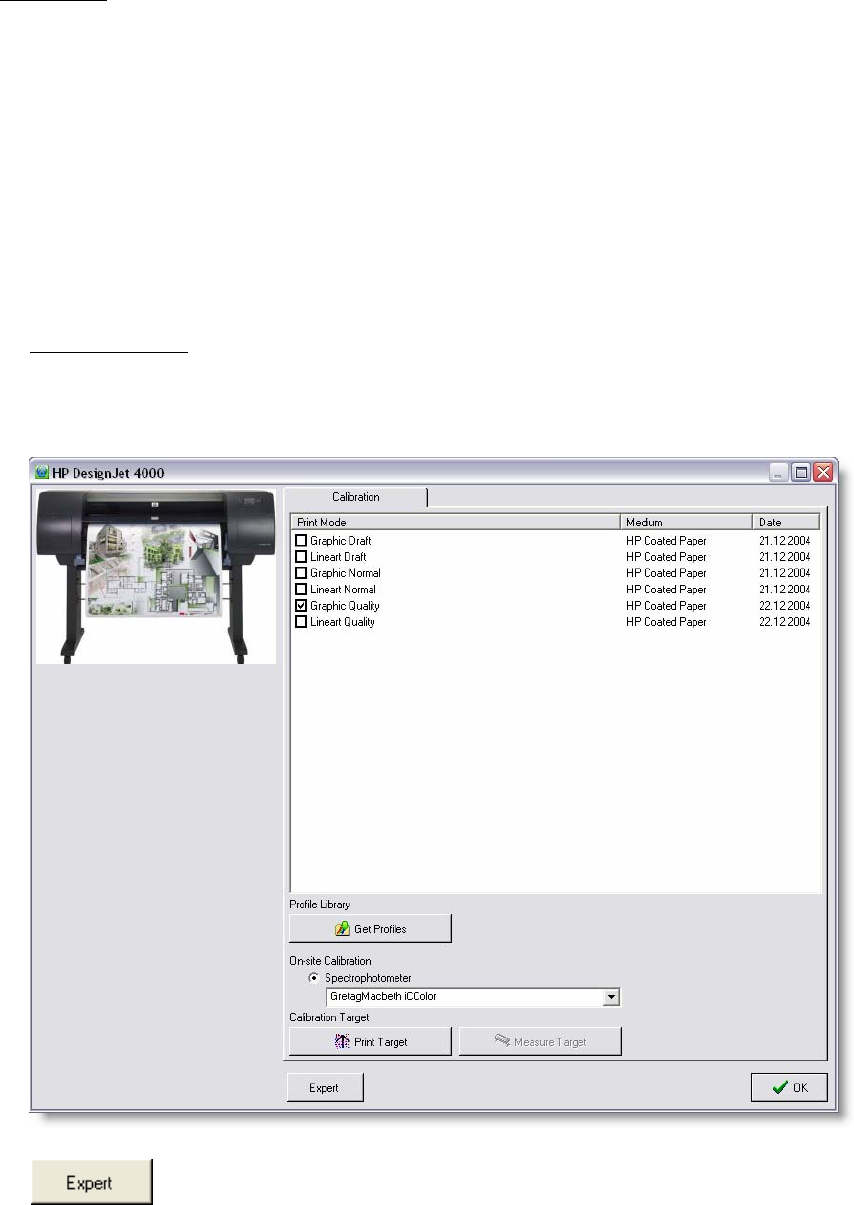
Calibration for RIP
Calibrate the currently selected printer and its media. The medium displayed in the calibration window is that
one you set in the window C
ONFIGURATION / LOADED CONSUMABLES. As a default, the program only
displays recommended print modes.
If you want to calibrate further modes, click the button E
XPERT to get the list of all available
print modes.
When a profile has been successfully applied to the selected copy mode, the date of creation appears behind
the medium name.