
Hardware Reference Manual
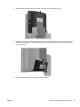
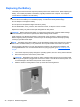

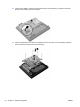
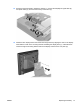
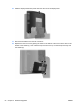
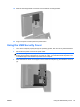
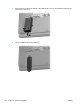
Table Of Contents
- Product Features
- Hardware Upgrades
- Tools Needed
- Warnings and Cautions
- Mounting the RP7 to a Wall or Swing Arm
- Installing the RP7 Adjustable Stand
- Routing Cables to External Devices
- Installing Optional Integrated USB Modules
- Installing an Optional HP Retail RP7 10.4” Customer Display
- Installing an Optional HP Retail RP7 VFD Customer Display
- Installing Additional Memory
- Removing and Installing a Hard Drive
- Replacing the Battery
- Using the USB Security Cover
- Securing the RP7 to a Counter Top
- Installing an External Security Lock
- Configuring the Software
- Troubleshooting
- Electrostatic Discharge
- Computer Operating Guidelines, Routine Care and Shipping Preparation
- Index
9. Slide the display head's back panel down onto the rear of the display head.
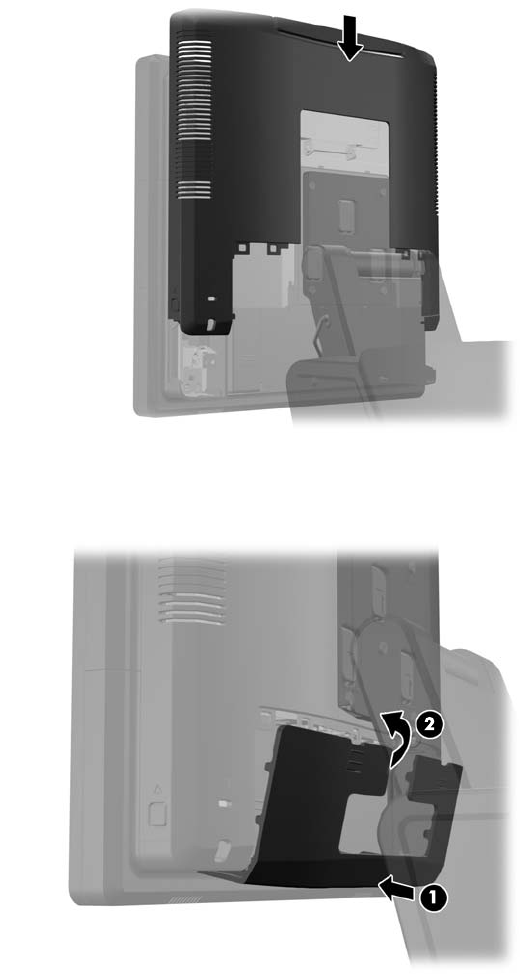
10. Replace the rear I/O cover by placing the hooks on the bottom of the cover into the slots on the
bottom of the chassis (1). Then rotate the top of the I/O cover up so that it snaps securely onto
the chassis (2).
11. Reconnect the power cord and press the power button.
ENWW Removing and Installing a Hard Drive 45