
Hardware Reference Manual


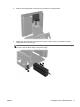
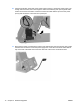
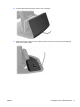

Table Of Contents
- Product Features
- Hardware Upgrades
- Tools Needed
- Warnings and Cautions
- Mounting the RP7 to a Wall or Swing Arm
- Installing the RP7 Adjustable Stand
- Routing Cables to External Devices
- Installing Optional Integrated USB Modules
- Installing an Optional HP Retail RP7 10.4” Customer Display
- Installing an Optional HP Retail RP7 VFD Customer Display
- Installing Additional Memory
- Removing and Installing a Hard Drive
- Replacing the Battery
- Using the USB Security Cover
- Securing the RP7 to a Counter Top
- Installing an External Security Lock
- Configuring the Software
- Troubleshooting
- Electrostatic Discharge
- Computer Operating Guidelines, Routine Care and Shipping Preparation
- Index
5. To select an item from the OSD Menu, use the + or – icons to scroll to and highlight your
selection, then tap the OK icon to select that function.
6. Adjust the item using the + or – icons on the front panel to adjust the scale.
7. After adjusting the function, select Save and Return, or Cancel if you don’t want to save the
setting, then select Exit from the Main Menu.
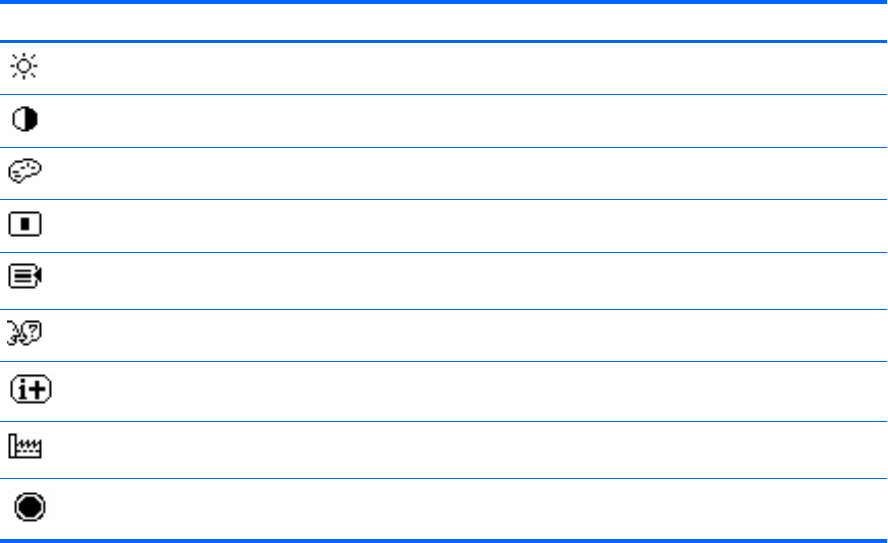
The following table lists the OSD Main menu items with a brief descriptions of each item.
Table 1-1 OSD Main Menu
Icon Main Menu Description
Brightness Adjusts the brightness level of the screen.
Contrast Adjusts the contrast level of the screen.
Color Selects and adjusts the screen color.
OSD Control Adjusts the on-screen display (OSD) controls.
Management Turns mode display and DDC/CI support on or off, and adjusts volume on models with
integrated speakers.
Language Selects the language in which the OSD menu is displayed. The factory default is English.
Information Selects and displays important information about the display.
Factory Reset Returns all OSD menu settings and DDC/CI controls to the factory default settings,
except the Language.
Exit Exits the OSD menu screen.
ENWW Using the On-Screen Display Menu 5