
User Manual
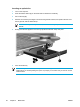
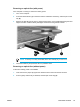
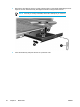


Table Of Contents
- Notebook Tour
- TouchPad and Keyboard
- TouchPad
- Keyboard
- Hotkeys
- Hotkey quick reference
- Hotkey procedures
- Display and clear system information (fn+esc)
- Open the Help and Support Center (fn+f1)
- Open the Print Options window (fn+f2)
- Open a Web browser (fn+f3)
- Switch the screen image (fn+f4)
- Initiate standby (fn+f5)
- Initiate QuickLock (fn+f6)
- Decrease screen brightness (fn+f7)
- Increase screen brightness (fn+f8)
- Play, pause or resume an audio CD or a DVD (fn+f9)
- Stop an audio CD or a DVD (fn+f10)
- Play previous track or section of an audio CD or a DVD (fn+f11)
- Play next track or section of an audio CD or a DVD (fn+f12)
- Quick Launch Buttons software
- Hotkeys
- Keypads
- Power
- Power control and light locations
- Power sources
- Standby and hibernation
- Default power settings
- Power options
- Processor performance controls
- Battery packs
- Drives
- Multimedia
- Multimedia hardware
- Multimedia software
- External Media Cards
- External Devices
- Memory Modules
- Wireless (Select Models Only)
- Modem and Local Area Network
- Security
- Setup Utility
- Software Update and Recovery
- Routine Care
- Troubleshooting
- Electrostatic Discharge
- Index
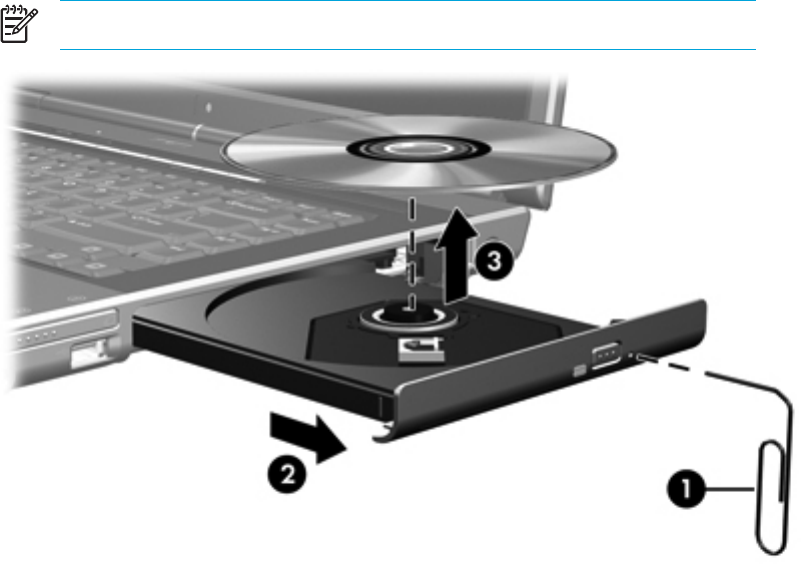
3. Remove the disc (3) from the tray by gently pressing down on the spindle while lifting the outer
edges of the disc. Hold the disk by the edges and avoid touching the flat surfaces.
NOTE If the tray is not fully accessible, tilt the disc carefully as you remove it.
4. Close the media tray and place the disc in a protective case.
64 Chapter 5 Multimedia ENWW