
User Manual

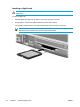

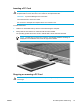
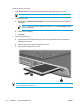
Table Of Contents
- Notebook Tour
- TouchPad and Keyboard
- TouchPad
- Keyboard
- Hotkeys
- Hotkey quick reference
- Hotkey procedures
- Display and clear system information (fn+esc)
- Open the Help and Support Center (fn+f1)
- Open the Print Options window (fn+f2)
- Open a Web browser (fn+f3)
- Switch the screen image (fn+f4)
- Initiate standby (fn+f5)
- Initiate QuickLock (fn+f6)
- Decrease screen brightness (fn+f7)
- Increase screen brightness (fn+f8)
- Play, pause or resume an audio CD or a DVD (fn+f9)
- Stop an audio CD or a DVD (fn+f10)
- Play previous track or section of an audio CD or a DVD (fn+f11)
- Play next track or section of an audio CD or a DVD (fn+f12)
- Quick Launch Buttons software
- Hotkeys
- Keypads
- Power
- Power control and light locations
- Power sources
- Standby and hibernation
- Default power settings
- Power options
- Processor performance controls
- Battery packs
- Drives
- Multimedia
- Multimedia hardware
- Multimedia software
- External Media Cards
- External Devices
- Memory Modules
- Wireless (Select Models Only)
- Modem and Local Area Network
- Security
- Setup Utility
- Software Update and Recovery
- Routine Care
- Troubleshooting
- Electrostatic Discharge
- Index
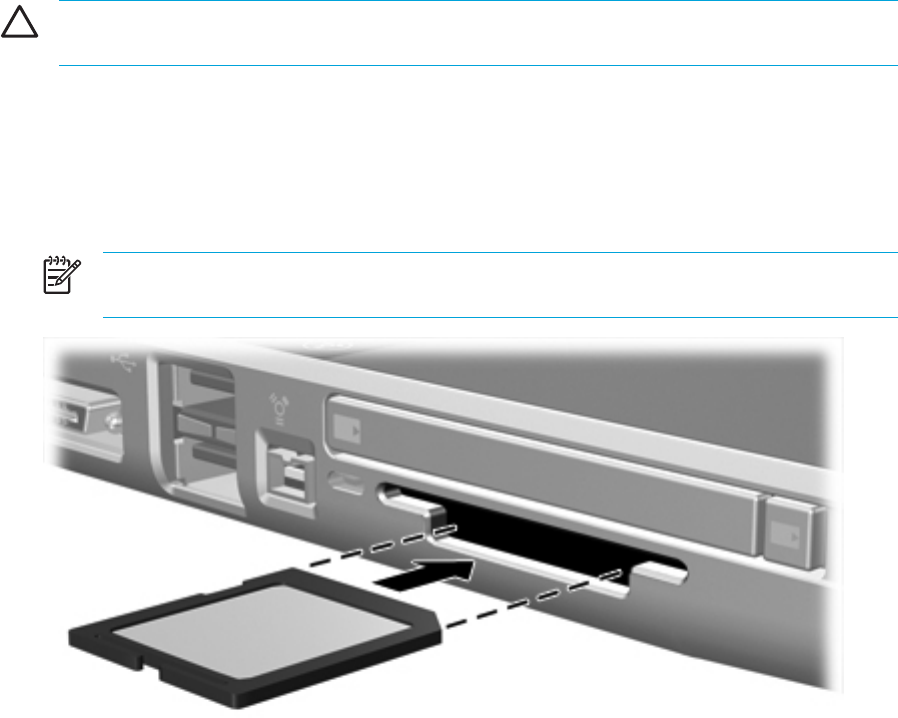
Inserting a digital card
CAUTION To prevent damage to the digital card connectors, use minimal force to insert a
digital card.
To insert a digital card:
1. Hold the digital card label-side up, with the connectors facing the computer.
2. Gently slide the card into the Digital Media Slot until the card is seated.
The operating system will issue a sound to indicate that a device has been connected.
NOTE The first time you insert a digital card, the "Found New Hardware" message is
displayed in the notification area, at the far right of the taskbar.
94 Chapter 6 External Media Cards ENWW