
Owner manual


Table Of Contents
- Using HP QuickWeb (select models only)
- Features
- Wireless, local area network, and modem
- Pointing devices and keyboard
- Using the TouchPad
- Using keyboard hotkeys
- Displaying system information
- Opening Help and Support
- Opening the Print Options window
- Opening a Web browser
- Switching the screen image
- Initiating Sleep
- Initiating QuickLock
- Decreasing screen brightness
- Increasing screen brightness
- Playing, pausing or resuming an audio CD or a DVD
- Stopping an audio CD or a DVD
- Playing previous track or section of an audio CD or a DVD
- Playing next track or section of an audio CD or a DVD
- Using keypads
- Cleaning the TouchPad and keyboard
- Multimedia
- Multimedia features
- Multimedia software
- Audio
- Video
- Webcam
- Troubleshooting
- The optical disc tray does not open for removal of a CD, DVD, or BD
- The computer does not detect the optical drive
- A disc does not play
- A disc does not play automatically
- A DVD movie stops, skips, or plays erratically
- A DVD movie is not visible on an external display
- The process of burning a disc does not begin, or it stops before completion
- A DVD playing in Windows Media Player produces no sound or display
- A device driver must be reinstalled
- HP Mobile Remote Control (Select Models Only)
- HP Media Remote Control (Select Models Only)
- Power management
- Setting power options
- Switching between graphics modes (select models only)
- Using external AC power
- Using battery power
- Finding battery information in Help and Support
- Using Battery Check
- Displaying the remaining battery charge
- Inserting or removing the battery
- Charging a battery
- Maximizing battery discharge time
- Managing low battery levels
- Calibrating a battery
- Conserving battery power
- Storing a battery
- Disposing of a used battery
- Replacing the battery
- Shutting down the computer
- Drives
- Handling drives
- Optical drive
- Using external drives
- Improving hard drive performance
- Using HP ProtectSmart Hard Drive Protection (select models only)
- Replacing the hard drive
- Replacing a drive in the SmartBay
- External devices
- External media cards
- Memory modules
- Security
- Setup Utility (BIOS)
- Software updates
- Backup and recovery
- Index
Removing an eSATA device
CAUTION: To prevent loss of information or an unresponsive system, use the following procedure to
safely remove an eSATA device.
CAUTION: To prevent damage to an eSATA connector, do not pull on the cable to remove the eSATA
device.
To remove an eSATA device:
1. Click the Safely Remove Hardware and Eject Media icon in the notification area, at the far right
of the taskbar.
NOTE: To display the Safely Remove Hardware and Eject Media icon, click the Show hidden
icons icon (the arrow at the left of the notification area).
2. Click the name of the device in the list.
NOTE: You are prompted that it is safe to remove the device.
3. Remove the device.
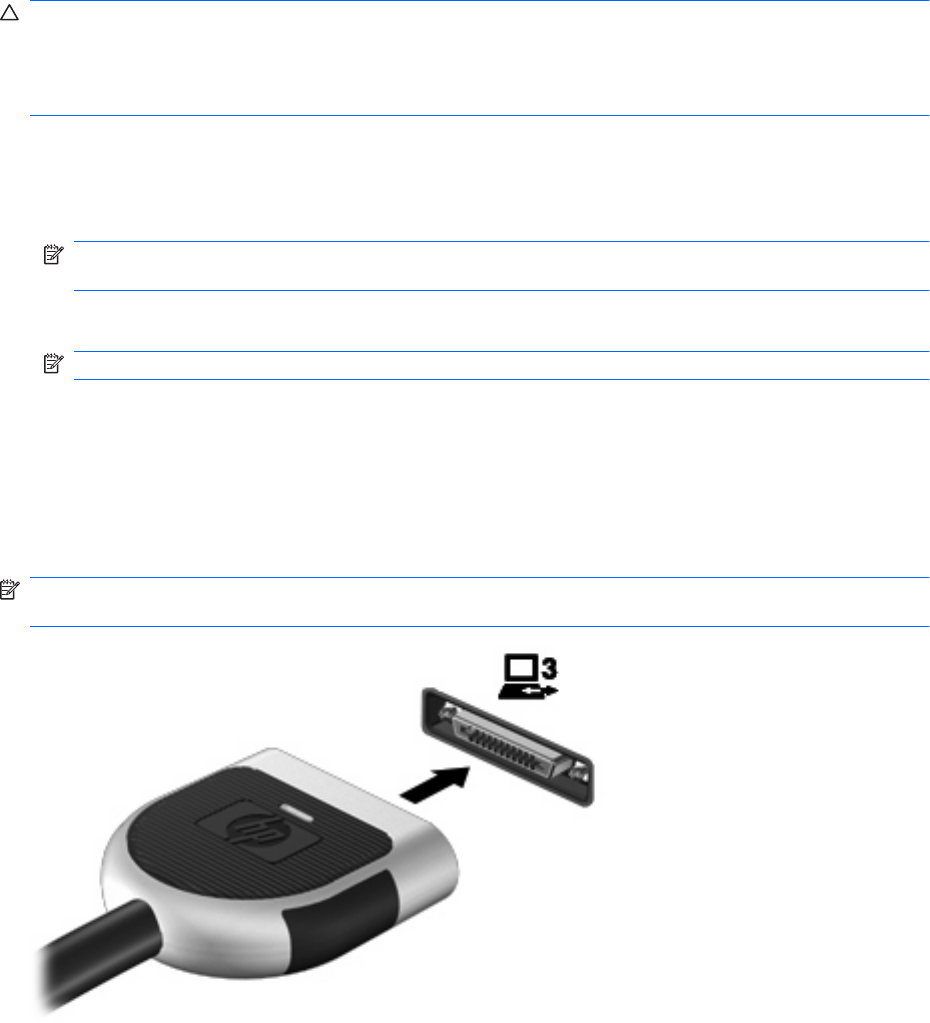
Using the expansion port
The expansion port connects the computer to an optional docking device or optional expansion product,
so that additional ports and connectors can be used with the computer.
NOTE: The computer has only one expansion port. The term expansion port 3 describes the type of
expansion port.
Using the expansion port 115