
Installation manual


Table Of Contents
- Safety precautions
- Introduction
- Receive the shipment
- Set up the printer in the final position
- Connect the power cables
- Configure the electrical system
- Purge the ink system
- Prepare the printer
- Prepare for printing
- Prepare the HP Internal Print Server (Japan and Russia only)
- Manually configure the printer’s IP address
- Change the Windows Vista language
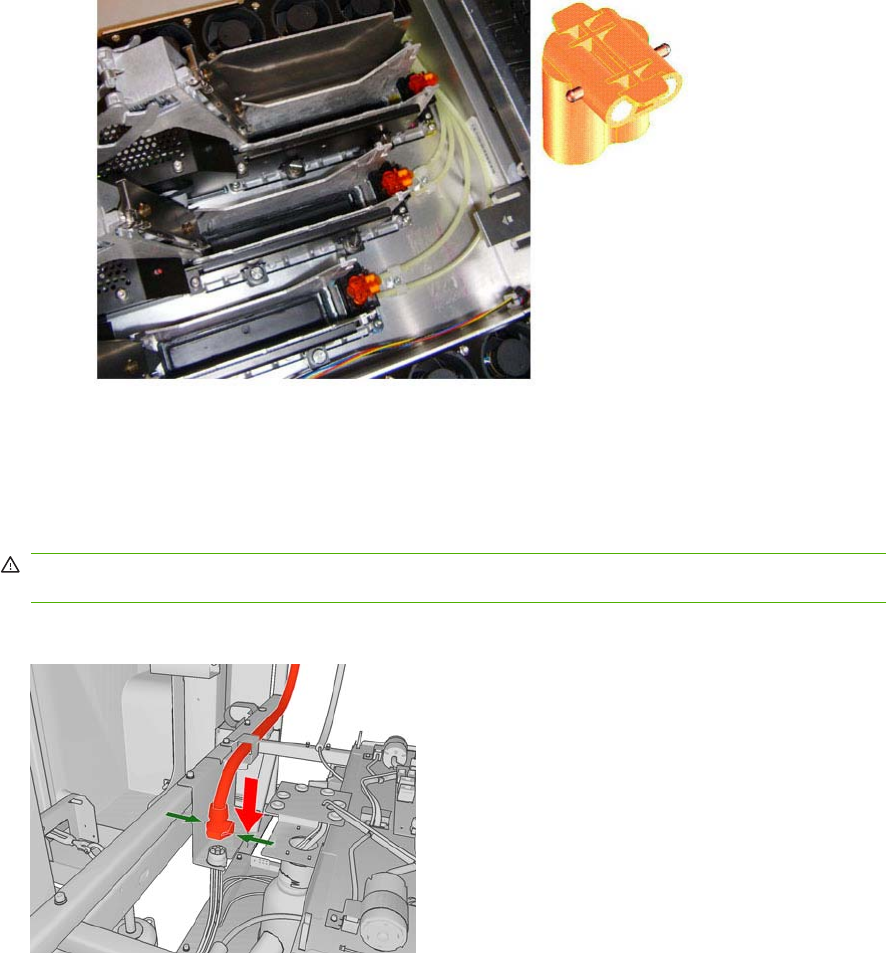
Purge the tubes from the ISM to the printheads
1. Install the three air purgers into the three empty printhead ink ports.
2. From the front panel, enter the diagnostic menu and select Purge and Setup Menu > Purge
Printer Tubes.
3. Begin connecting the quick connector. To do so, hold each end of the quick connection with your
hands.
WARNING! Always handle the quick connector by the protective tubing to avoid damaging the
internal fittings.
4. Press and hold the green button on the ISM side of the quick connector.
46 Chapter 7 Purge the ink system ENWW