
HP StorageWorks XP Disk Array Configuration Guide (T5278-96047, May 2011)
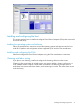
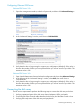
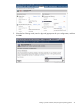
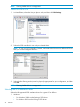
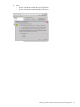
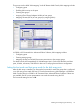

Table Of Contents
- XP Disk Array Configuration Guide
- Contents
- 1 Overview
- 2 HP-UX
- Installation roadmap
- Installing and configuring the disk array
- Installing and configuring the host
- Connecting the disk array
- Configuring disk array devices
- Verifying the device files and drivers
- Creating the device files
- Creating the physical volumes
- Creating new volume groups
- Creating logical volumes
- Creating the file systems
- Setting the I/O timeout parameter
- Creating the mount directories
- Mounting and verifying the file systems
- Setting and verifying the auto-mount parameters
- 3 Windows
- 4 Novell NetWare
- 5 NonStop
- 6 OpenVMS
- 7 VMware
- 8 Linux
- 9 Solaris
- Installation roadmap
- Installing and configuring the disk array
- Installing and configuring the host
- Connecting the disk array
- Configuring disk array devices
- Configuring for use with Veritas Volume Manager 4.x and later
- 10 IBM AIX
- 11 Citrix XenServer Enterprise
- 12 Troubleshooting
- 13 Support and other resources
- A Path worksheet
- B Path worksheet (NonStop)
- C Disk array supported emulations
- D Using Veritas Cluster Server to prevent data corruption
- E Reference information for the HP System Administration Manager (SAM)
- F HP Clustered Gateway deployments
- Glossary
- Index
Configuring VMware ESX Server
VMware ESX Server 2.5x
1. Open the management interface, select the Options tab, and then click Advanced Settings....
2. In the “Advanced Settings” window, scroll down to Disk.MaskLUN.
3. Verify that the value is large enough to support your configuration (default=8). If the value is
less than the number of LUNs you have presented then you will not see all of your LUNs. The
maximum value is 256.
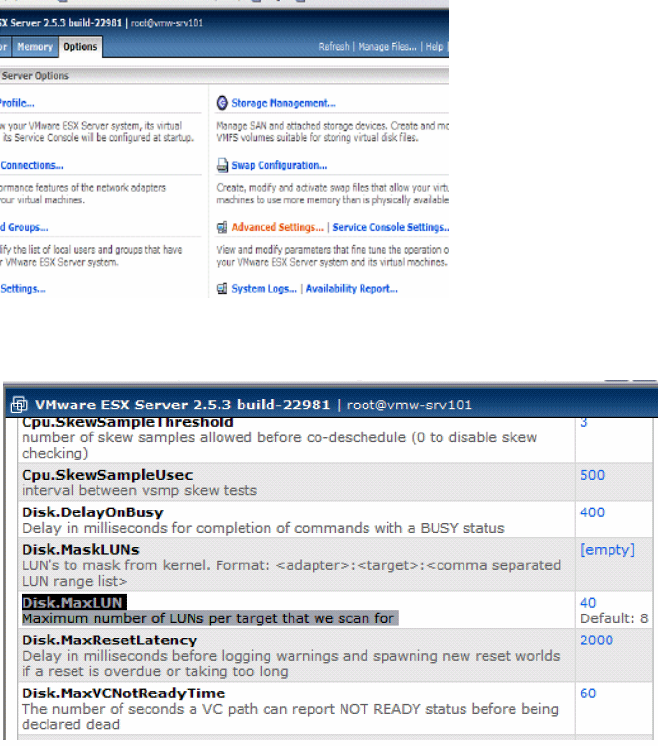
VMware ESX Server 3.0x
1. Open Virtual Infrastructure client and select the configuration tab, then select Advanced Settings.
2. In the left pane of the “Advanced Settings” window, select Disk, then scroll down to
“Disk.MaxLUN”.
3. Verify that the value is large enough to support your configuration (default=8). If the value is
less than the number of LUNs you have presented then you will not see all of your LUNs. The
maximum value is 256.
Connecting the disk array
The HP service representative performs the following steps to connect the disk array to the host:
1. Verifying operational status of the disk array channel adapters, LDEVs, and paths.
2. Connecting the Fibre Channel cables between the disk array and the fabric switch or host.
3. Verifying the ready status of the disk array and peripherals.
Connecting the disk array 73