
HP StorageWorks XP Disk Array Configuration Guide (T5278-96047, May 2011)
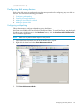
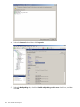
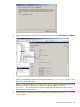
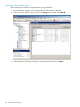
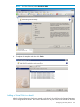
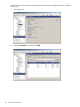
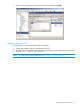

Table Of Contents
- XP Disk Array Configuration Guide
- Contents
- 1 Overview
- 2 HP-UX
- Installation roadmap
- Installing and configuring the disk array
- Installing and configuring the host
- Connecting the disk array
- Configuring disk array devices
- Verifying the device files and drivers
- Creating the device files
- Creating the physical volumes
- Creating new volume groups
- Creating logical volumes
- Creating the file systems
- Setting the I/O timeout parameter
- Creating the mount directories
- Mounting and verifying the file systems
- Setting and verifying the auto-mount parameters
- 3 Windows
- 4 Novell NetWare
- 5 NonStop
- 6 OpenVMS
- 7 VMware
- 8 Linux
- 9 Solaris
- Installation roadmap
- Installing and configuring the disk array
- Installing and configuring the host
- Connecting the disk array
- Configuring disk array devices
- Configuring for use with Veritas Volume Manager 4.x and later
- 10 IBM AIX
- 11 Citrix XenServer Enterprise
- 12 Troubleshooting
- 13 Support and other resources
- A Path worksheet
- B Path worksheet (NonStop)
- C Disk array supported emulations
- D Using Veritas Cluster Server to prevent data corruption
- E Reference information for the HP System Administration Manager (SAM)
- F HP Clustered Gateway deployments
- Glossary
- Index
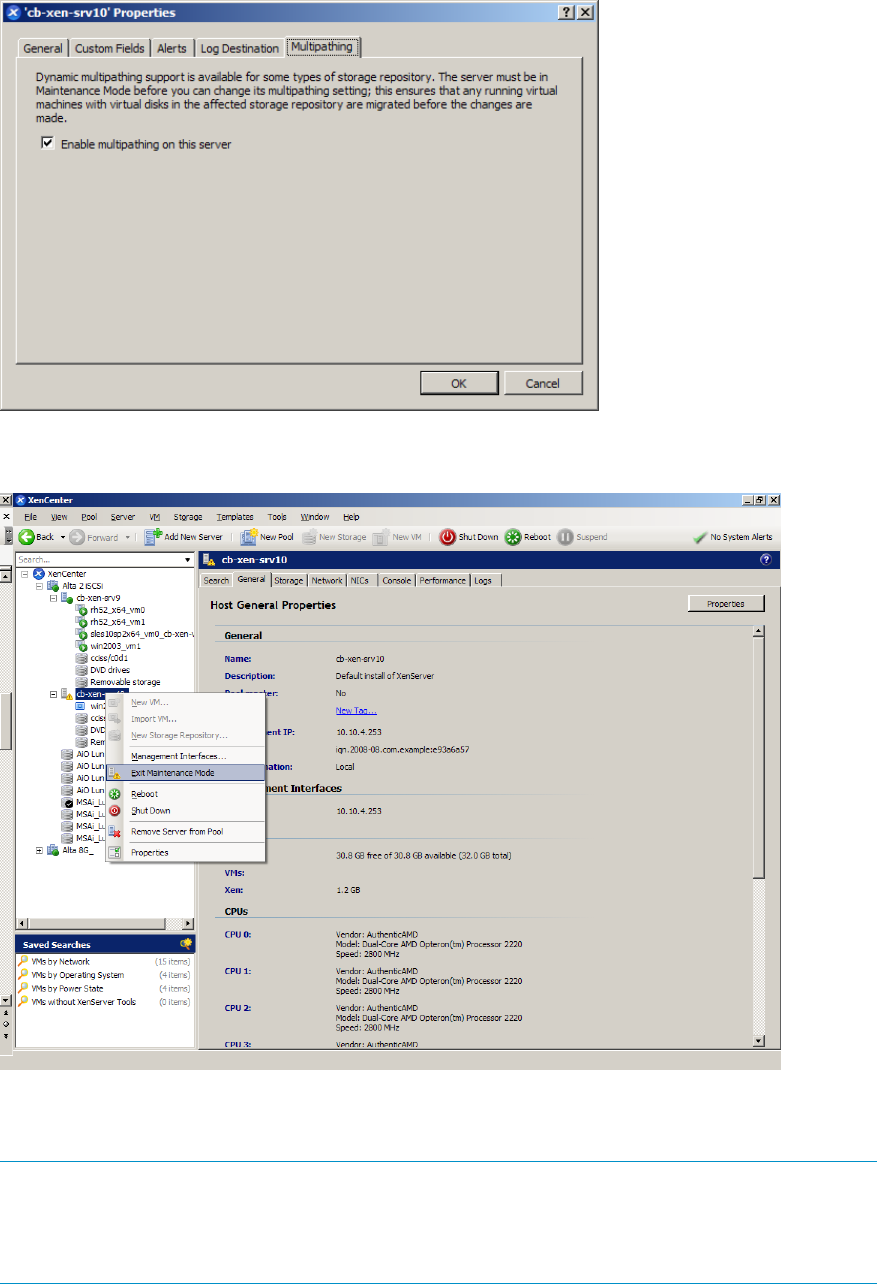
6. Right-click the domU that was placed in maintenance mode and select Exit Maintenance Mode.
7. Open a command line interface to the dom0 and edit the /etc/multipath-enable.conf
file with the appropriate array.
NOTE: HP recommends that you use the RHEL 5.x device mapper config file and multipathing
parameter settings on HP.com. Use only the array-specific settings, and not the
multipath.conf file bundle into the device mapper kit. All array host modes for Citrix
XenServer are the same as Linux.
8. Enter the following command to scan the LUNs that are connected to the arrays: xe sr-probe
type=lvmhba
Configuring disk array devices 123