
HP XP P9000 Business Copy User Guide (AV400-96573, July 2013)
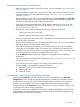
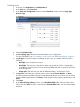
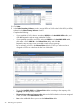
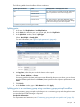
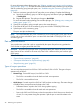
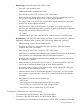
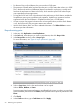
Table Of Contents
- HP XP P9000 Business Copy User Guide
- Contents
- 1 Business Copy overview
- 2 Requirements and planning
- 3 Sharing Business Copy volumes
- Cache Residency
- Fast Snap and Snapshot
- Data Retention
- Thin Provisioning and Smart Tiers
- External Storage Access Manager
- LUN Manager
- Open Volume Management
- Resource Partition
- Continuous Access Synchronous
- Continuous Access Journal
- External Storage
- Auto LUN
- 4 Performing configuration operations
- 5 Performing pair operations
- 6 Monitoring and maintaining the system
- 7 Troubleshooting
- 8 Support and other resources
- A Interface support for BC operations and options
- B Business Copy GUI reference
- Replications window
- Local Replications window
- View Pair Properties window
- View Pair Synchronous Rate window
- View Histories window
- Consistency Group Properties window
- Create Pairs wizard
- Split Pairs wizard
- Resync Pairs wizard
- Suspend Pairs window
- Delete Pairs window
- Edit Mirror Units dialog box
- Change Options dialog box
- Add Reserve Volumes Wizard
- Remove Reserve Volumes window
- Edit Local Replica Option wizard
- C Configuration operations (secondary window)
- D Pair operations (secondary window)
- E Monitoring and maintaining the system (secondary window)
- F Business Copy GUI reference (secondary window)
- Glossary
- Index
• Change Options in the middle-right allows you to change Split Type and Copy Pace
(applies to all new pairs).
• To change MU numbers, complete the following:
a. Select the desired primary/secondary line in the Selected Pairs table.
b. Click Edit Mirror Unit near the bottom-right which results in a modified pair topology
after specifying S-VOL. For more information on changing a pair’s topology, see “On
creating L1 and L2 pairs with different topologies” (page 41).
• To remove a line from the Selected Pairs table, select the line and click Remove. The pair
topology changes.
12. Click Finish.
13. In the Confirm window, type a Task Name then click Apply.
After creating the pair, if you do not see the number of pairs and other information you expect to
see in the Summary tab of the Local Replications window, the system is working and requires more
time. Wait a little longer, then click File/Refresh.
Suspending pair creation
You can suspend a pair create operation (initial copy). When this is done, pair status changes to
PSUE. The S-VOL continues accepting write I/O operations from the P-VOL and marks the entire
P-VOL track as difference data. Resynchronizing a suspended pair change the pair status to
COPY(RS)/COPY and copies the entire P-VOL to the S-VOL. Resynchronizing a suspended pair
takes the same time as the initial copy operation.
The storage system automatically suspends a pair when it detects an error condition related to an
update copy operation, or when it cannot keep the pair mirrored.
1. In the tree, click Replications > Local Replications.
2. In the Pairs tab, select the pair you want to suspend, and click More Actions > Suspend Pairs.
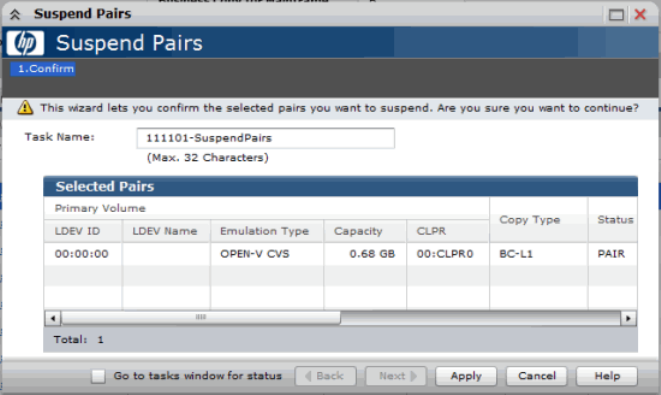
3. In the Suspend Pairs window, type a Task Name and click Apply.
Pair split
Host updates to the P-VOL and periodic copying to the S-VOL continue until the pair is split. After
the pair is split, updates continue to the P-VOL but are not copied to the S-VOL; data in the S-VOL
is ensured at the time of the split. Update data that accrues during the split is stored in differential
bitmaps until it is copied to the S-VOL during resynchronization.
Suspending pair creation 45