
Red Hat Directory Server 8.0 Administrator's Guide
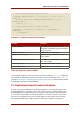
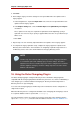

1. Create an LDIF file that contains the following LDIF update statements:
dn: cn=Retro Changelog Plugin,cn=plugins,cn=config
cn: Retro Changelog Plugin
changetype: modify
replace: nsslapd-pluginenabled
nsslapd-pluginenabled: on
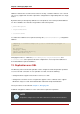
2. Use the ldapmodify command to import the LDIF file into the directory.
For more information on the ldapmodify command, see Section 2, “Managing Entries from
the Command-Line” and the Directory Server Configuration, Command, and File Reference.
3. Restart the server.
For information on restarting the server, see Section 3, “Starting and Stopping Servers”.
The retro changelog is created in the directory tree under a special suffix, cn=changelog.
The procedure for enabling the retro changelog plug-in from Directory Server Console is the
same as for all Directory Server plug-ins. For information, see Section 2, “Enabling and
Disabling Plug-ins”.
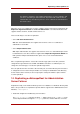
16.2. Trimming the Retro Changelog
The entries in the changelog can be automatically removed after a specified period of time. To
configure the period of time after which entries are automatically deleted from the changelog,
set the nsslapd-changelogmaxage configuration attribute in the cn=Retro Changelog
Plugin,cn=plugins,cn=config entry.
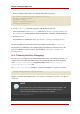
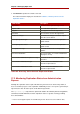
The nsslapd-changelogmaxage attribute is a single-valued attribute. Its syntax is as follows:
nsslapd-changelogmaxage: Integer timeUnit
Integer is a number, and timeUnit can be s for seconds, m for minutes, h for hours, d for days, or
w for weeks.
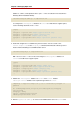
NOTE
There should not be a space between the Integer and timeUnit variables. The
space in the syntax above is intended to show that the attribute value is
composed of two variable parts, not just one. For example:
nsslapd-changelogmaxage: 2d
Chapter 8. Managing Replication
338