
HP-UX Workload Manager User's Guide

Configuring WLM
Defining the PRM components (optional)
Chapter 5158
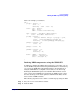
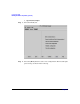
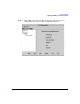
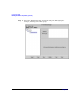
Step 10. The right pane changes again, with the GUI starting to define a
workload group for you. The GUI fills in the required fields for you,
although you can change the values if you like. Fill in other fields if you
like.
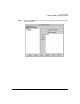
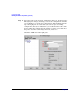
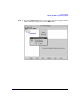
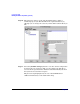
Step 11. Select the [Commit changes] button to save the current configuration
in memory. To save changes to disk, go to the Deploy tab. (The file is
saved to the file specified in the Filename field in the Modify tab when
the system is selected in the left pane.)
The previous steps highlight only one use of the WLM GUI. For
additional information, see the GUI’s online help.