
VERITAS Volume Manager 3.1 Storage Administrator Administrator's Guide
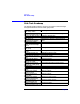
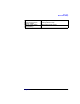

Disk Tasks
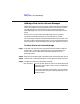
Adding a Disk to the Volume Manager
Chapter 3106
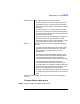
Step 2. Choose Disks > Add (Selected menu) or Disk Add (Command Launcher).
Step 3. Complete the Add Disk(s) dialog box as follows:
When you have provided all necessary information in the dialog box,
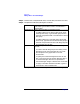
Disk Device(s): If the correct disk (device) name is not already displayed
in this field, type the disk’s name or click Browse to
select the disk.
Add Disk(s) to: Specify where the disk(s) should be placed:
• To add the disk(s) to an existing disk group, select
Existing Disk Group. Type the disk group name in
the Disk Group Name field or click Browse to select a
disk group.
• To add the disk(s) to a new disk group, select New
Disk Group. Type the name of the new disk group in
the Disk Group Name field. The new disk group will
be created for the new disk.
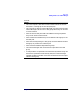
Options Click Show Options to access the optional settings for
this task.
• To create a shared disk group for the disk(s), select
New Disk Group and Create Shared. The Create
Shared option is only applicable in a cluster
environment.
• To specify the Volume Manager disk name for the
disk, type a disk name in the Disk Name(s) field. If
no Volume Manager disk name is specified, the
Volume Manager assigns a default name to the disk.
• To apply a comment attribute to the disk, type the
information in the Comment field.