
Veritas Storage Foundation 5.1 SP1 Cluster File System Installation Guide (5900-1510, April 2011)


5
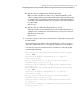
If you chose option 3, the installer detects NICs on each system and network
links, and sets link priority.
If the installer fails to detect heartbeat links or fails to find any high-priority
links, then choose option 1 or option 2 to manually configure the heartbeat
links.
See step 2 for option 1, or step 3 for option 2.
6
Verify and confirm the information that the installer summarizes.
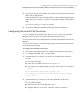
Configuring the virtual IP of the cluster
You can configure the virtual IP of the cluster to use to connect to the Cluster
Manager (Java Console) or to specify in the RemoteGroup resource.
See the Veritas Cluster Server Administrator's Guide for information on the Cluster
Manager.
See the Veritas Cluster Server Bundled Agents Reference Guide for information
on the RemoteGroup agent.
To configure the virtual IP of the cluster
1
Review the required information to configure the virtual IP of the cluster.
2
To configure virtual IP, enter y at the prompt.
3
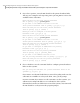
Confirm whether you want to use the discovered public NIC on the first
system.
Do one of the following:
■ If the discovered NIC is the one to use, press Enter.
■ If you want to use a different NIC, type the name of a NIC to use and press
Enter.
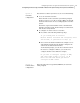
Active NIC devices discovered on galaxy: lan0
Enter the NIC for Virtual IP of the Cluster to use on galaxy:
[b,q,?](lan0)
4
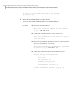
Confirm whether you want to use the same public NIC on all nodes.
Do one of the following:
■ If all nodes use the same public NIC, enter y.
■ If unique NICs are used, enter n and enter a NIC for each node.
117Configuring Veritas Storage Foundation Cluster File System
Configuring Veritas Storage Foundation Cluster File System using the script-based installer