
HP StoreEver MSL6480 Tape Library Module Replacement (QU625-96304, June 2013)


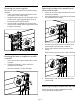
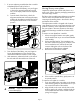

Table Of Contents
- Overview
- Saving the configuration settings
- Unlocking the magazine
- Using the OCP
- Using the manual release
- Removing the tape cartridges
- Powering off the library
- Removing the module cables
- Removing the tape drives
- Removing the power supplies
- Removing the base or expansion module controller
- Removing the chassis fan assembly and drive power boards
- Removing the empty module from the rack
- Moving library cover plates
- Installing the replacement module into the rack
- Replacing the module components and cables
- Verifying the library configuration
- Getting help
- Documentation feedback
1. If you are replacing a module that has a module
immediately above and/or below it:
a. From the front of the library, use your fingers
to loosen the captive thumbscrews two full
turns on the empty module and its adjacent
modules.
b. From the back of the library, unlock the
alignment mechanisms connecting the empty
module with the adjacent modules and secure
the alignment mechanisms in the unlocked
position.
1
3
2
2. From the front of the library, use your fingers to
loosen the thumbscrews on the module to be
removed and slide the module out until it stops.
3. With assistance, release the locks on the side of
the rails and slide the module out of the rack.
1
2
CAUTION: Support the module from the sides
to avoid damaging it.
Moving library cover plates
Unpack the replacement module and place it on a
sturdy work surface. Save the packaging materials to
return the empty module.
The library has removable top and bottom cover plates.
The two covers are identical and the process for
removing and installing them is the same for the top
and bottom of the module.
The replacement module is shipped with a bottom
cover plate but not a top cover plate. Move the cover
plates as necessary so the replacement module has
the cover plates in the same location as the empty
module and the empty module has a bottom cover
plate.
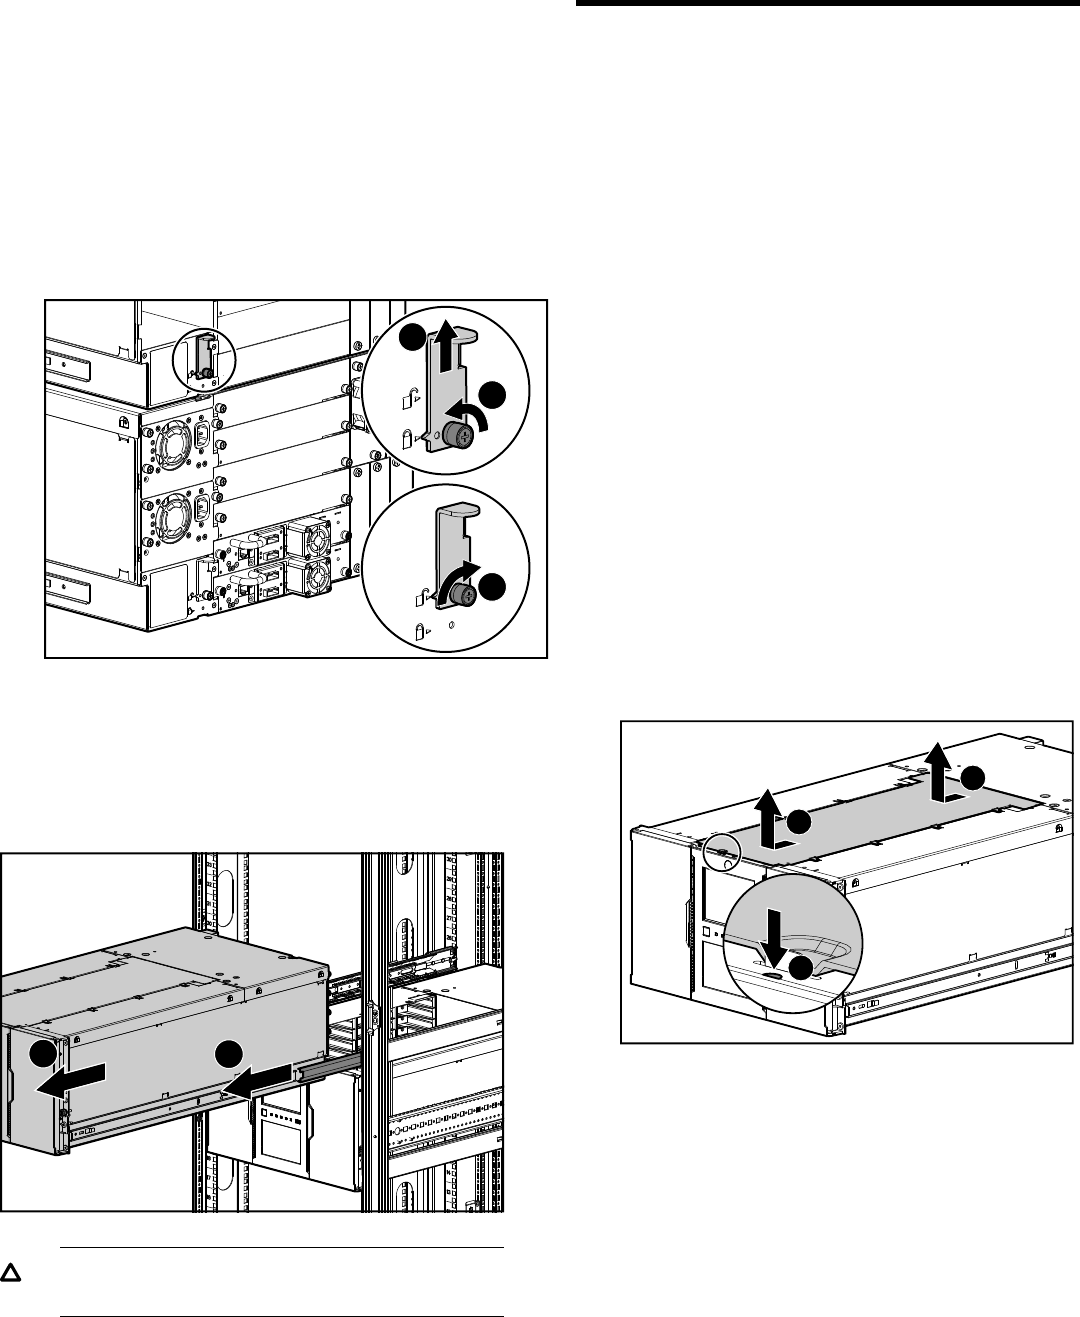
To remove a cover plate from a module:
1. When removing the bottom cover plate, gently
turn the module over so you can access the bottom
of the module.
2. Push a small flat head or Torx screwdriver into
the hole to retract the spring lock, slide the cover
until it reaches the tool, remove the tool and
continue sliding the cover to the front of the
module until all the tabs are released.
3. Remove the cover from the module.
2
2
1
4. If the module is upside down, gently return it to
its normal position.
To install a cover plate on a module:
1. If you are installing the cover plate on the bottom
of the module, gently turn the module over so you
can access the bottom of the module.
2. Align all tabs on the cover with the slots on the
module, gently push it down, and then slide the
cover towards the back of the module until the
spring lock engages.
Page 5