
HP StorageWorks Virtual Array va 7000 family - Installation Guide

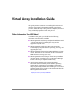

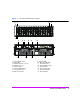
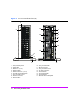
Table Of Contents
- Virtual Array Installation Guide
- Other Information You Will Need
- Operating Environment
- Virtual Array Configurations
- Virtual Array Enclosures
- Hardware Installation
- Configuring the Array Operating Settings
- Step 7. Change the controller default host port behavior
- Step 8. Change the controller port data rate to 2 Gbit/sec
- Step 9. Change the controller port topology
- Step 10. Change the controller loop ID
- Step 11. Change the RAID operating level of the array
- Step 12. Format the array controller enclosure
- Step 13. Power-off the array controller enclosure
- Step 14. Disconnect the RS-232 terminal
- Step 15. Connect fiber optic cables
- Step 16. Power-on all array enclosures
- Installing CommandView SDM Software
- Installing Command View SDM on HP-UX
- Installing Command View SDM on Windows
- Installing Command View SDM on Linux Red Hat
- Final Array Configuration
- Solving Installation Problems
8 Virtual Array Installation Guide
Operating Environment
It is essential that HP StorageWorks Virtual Array products be installed in an
environment that provides the proper operating conditions. Refer to the
HP
StorageWorks Virtual Array User & Service Guide
for a complete list of
electrical and environmental specifications. Make sure the environment meets
these specifications before installing and operating the array.
Virtual Array Configurations
Virtual Array Enclosures
Figure 1 through Figure 4 show the enclosures and their associated controls,
indicators, and connectors.
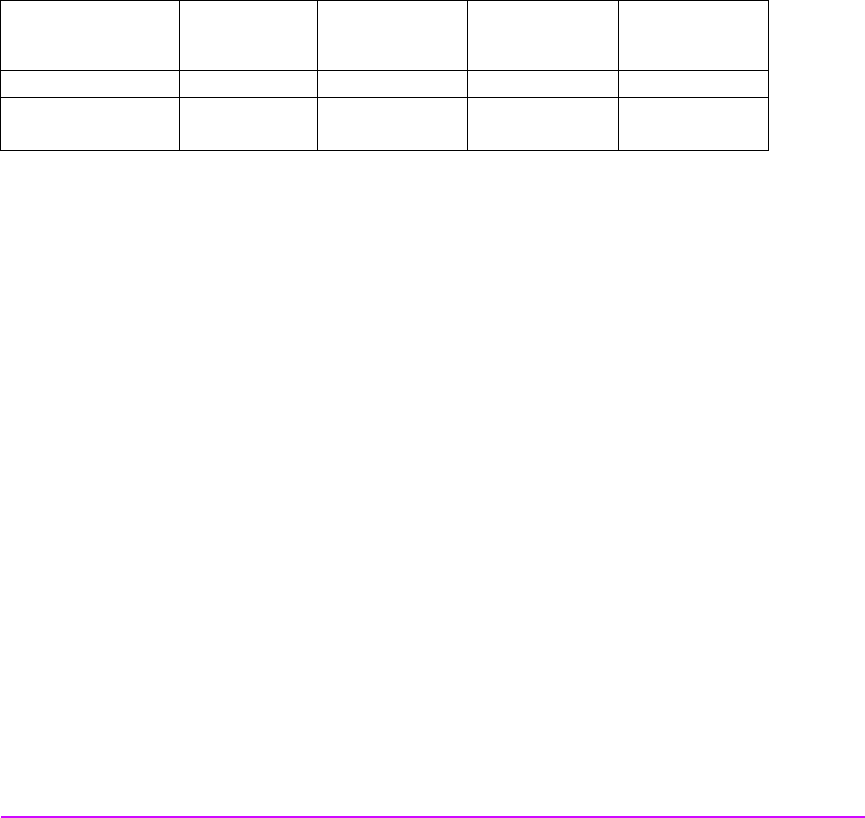
Enclosure
Nameplate
Type of
Enclosure
No. of
Enclosures in
VA 7100
No. of
Enclosures in
VA 7110
No. of
Enclosures in
VA 7400/7410
Virtual Array Controller 1 1 1
Disk System 2400
Disk System 2405
Disk 0 0 to 2 0 to 6