
HP StorageWorks Virtual Array va 7000 family - Installation Guide
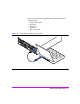
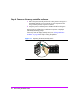
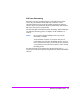


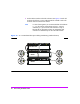
Table Of Contents
- Virtual Array Installation Guide
- Other Information You Will Need
- Operating Environment
- Virtual Array Configurations
- Virtual Array Enclosures
- Hardware Installation
- Configuring the Array Operating Settings
- Step 7. Change the controller default host port behavior
- Step 8. Change the controller port data rate to 2 Gbit/sec
- Step 9. Change the controller port topology
- Step 10. Change the controller loop ID
- Step 11. Change the RAID operating level of the array
- Step 12. Format the array controller enclosure
- Step 13. Power-off the array controller enclosure
- Step 14. Disconnect the RS-232 terminal
- Step 15. Connect fiber optic cables
- Step 16. Power-on all array enclosures
- Installing CommandView SDM Software
- Installing Command View SDM on HP-UX
- Installing Command View SDM on Windows
- Installing Command View SDM on Linux Red Hat
- Final Array Configuration
- Solving Installation Problems
22 Virtual Array Installation Guide
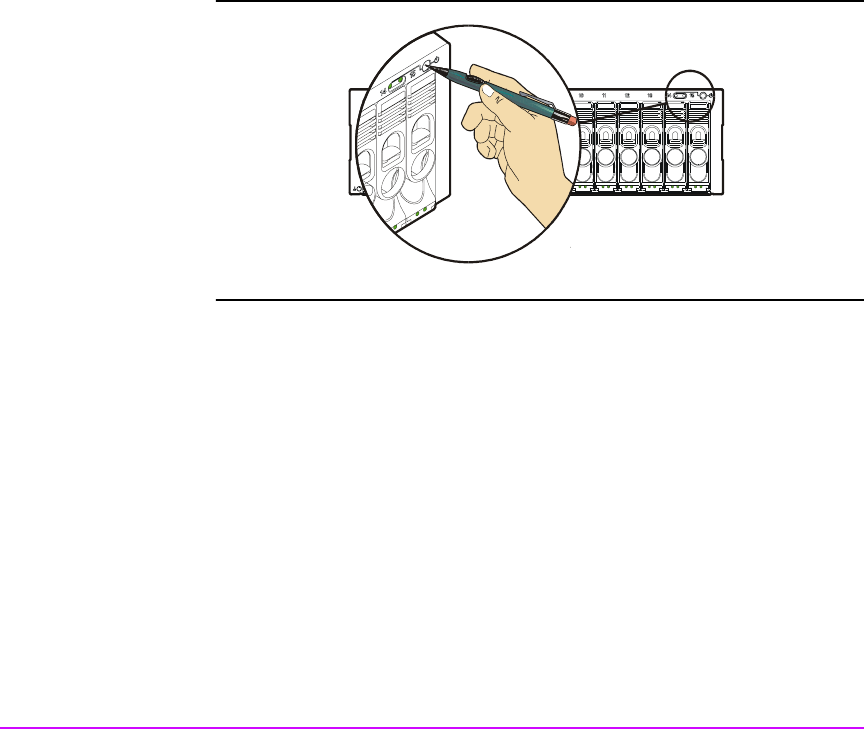
Step 6. Power-on the array controller enclosure
a Push in the power/standby switch to the “ON” position. See Figure 11.
Immediately after the array is powered on, each component in the
array enclosure performs a power-on self-test.
b Verify the power-on self-test passed: all LEDs should be solid green.
During power-on self-test, the an initialization sequence is displayed
followed by the Ready prompt.
If the array does not display a Ready status, see "Solving Installation
Problems" on page 48 for help in solving the problem.
Figure 11 Operating the Power/Standby Switch