- Hewlett-Packard All in One Printer User Manual
Table Of Contents
- Product basics
- Control panel
- Supported utilities for Windows
- Configure the product
- Load originals
- Scan and send documents
- Manage and maintain the product
- Solve problems
- Error codes
- Basic troubleshooting tips
- Restore factory settings
- Interpret control-panel status lights
- Control-panel message types
- Control-panel messages
- Installation problems
- Initialization or hardware problems
- Operation problems
- Product will not turn on
- Lamp stays on
- Scan does not start right away
- Only one side of a two-sided page scans
- Scanned pages are missing at the scan destination
- Scanned pages are out of order at the scan destination
- Optimize scanning and task speeds
- The scan is completely black or completely white
- Scanned images are not straight
- Scan files are too large
- Paper path problems
- Paper jamming, skewing, misfeeds, or multiple-page feeds
- Scanning fragile originals
- Paper does not feed correctly
- Originals are curling up in the output tray
- The bottom of the scanned image is cut off
- The scanned images have streaks or scratches
- An item loaded in the document feeder jams repeatedly
- Clear jams from the paper path
- Solve e-mail problems
- Solve network problems
- Contact HP Support
- Supplies and accessories
- Service and support
- Product specifications
- Regulatory information
- Index

Interpret control-panel status lights
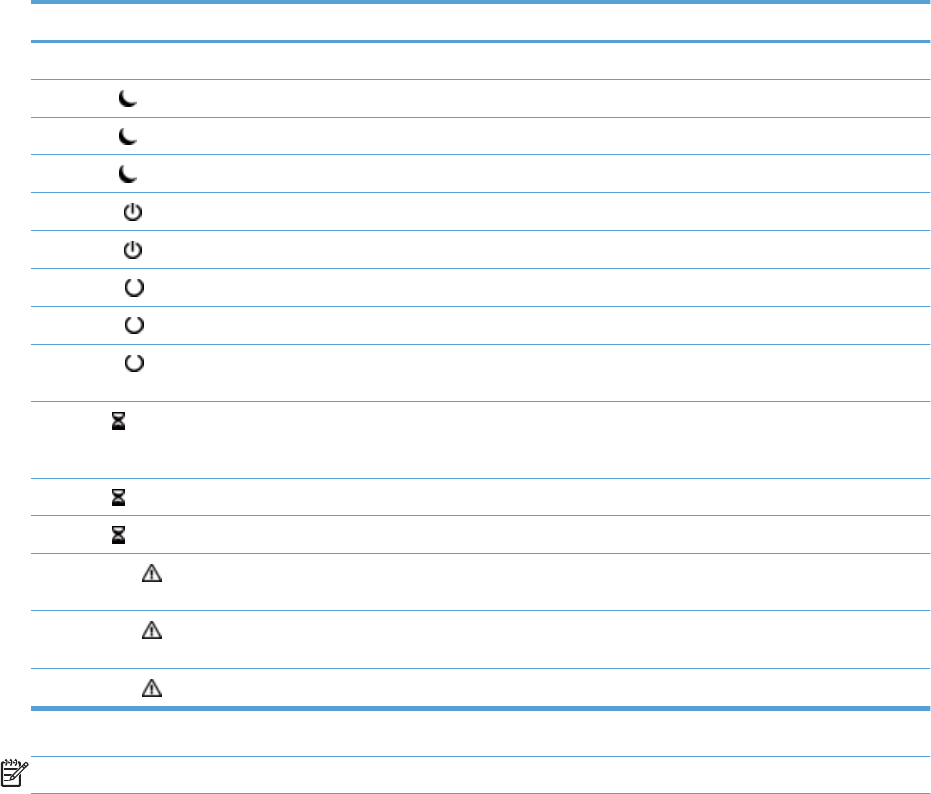
The product has six LEDs on the control panel that indicate product status. The table below explains
how to interpret these LEDs.
LED behavior Description
All LEDs are off. The product is turned off.
Sleep LED
is on. The product is in sleep (power conservation) mode.
Sleep LED
is flashing. The product is entering or exiting sleep mode.
Sleep LED
is off. The product is not in sleep mode, nor is it transitioning sleep status (on or off).
Power LED
is on. The product is powered on.
Power LED
is off. The power supply is not providing power to the product.
Ready LED
is on. The product is online and able to accept input.
Ready LED
is flashing. The product is pausing a request or has stopped receiving input.
Ready LED
is off. The product is paused and unable to accept input. This may be because the product
was deliberately paused, or because the product is in an error state.
Data LED
is on. The product has data buffered that it has finished processing and is waiting for more
data to be transmitted, or the product is paused. When the Attention LED is flashing at
the same time, there is an error and there is data waiting to be processed.
Data LED
is flashing. The product is receiving or processing data.
Data LED
is off. There is no data for the product to process.
Attention LED
is on. The product has encountered a critical error, the nature of which is indicated on the
display.
Attention LED
is flashing
quickly.
The product has encountered an error which requires user intervention, such as a
paper jam or an open door.
Attention LED
is off. No error condition exists.
NOTE: Status and error conditions appear on the display.
Interpret control-panel status lights 81


