
- Hewlett-Packard All in One Printer User Manual
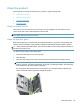
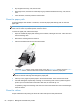

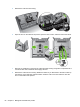
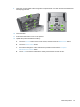
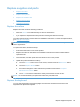
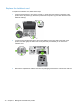
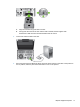
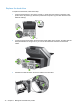
Table Of Contents
- Product basics
- Control panel
- Supported utilities for Windows
- Configure the product
- Load originals
- Scan and send documents
- Manage and maintain the product
- Solve problems
- Error codes
- Basic troubleshooting tips
- Restore factory settings
- Interpret control-panel status lights
- Control-panel message types
- Control-panel messages
- Installation problems
- Initialization or hardware problems
- Operation problems
- Product will not turn on
- Lamp stays on
- Scan does not start right away
- Only one side of a two-sided page scans
- Scanned pages are missing at the scan destination
- Scanned pages are out of order at the scan destination
- Optimize scanning and task speeds
- The scan is completely black or completely white
- Scanned images are not straight
- Scan files are too large
- Paper path problems
- Paper jamming, skewing, misfeeds, or multiple-page feeds
- Scanning fragile originals
- Paper does not feed correctly
- Originals are curling up in the output tray
- The bottom of the scanned image is cut off
- The scanned images have streaks or scratches
- An item loaded in the document feeder jams repeatedly
- Clear jams from the paper path
- Solve e-mail problems
- Solve network problems
- Contact HP Support
- Supplies and accessories
- Service and support
- Product specifications
- Regulatory information
- Index
4. Dry the glass with a dry, soft, lint-free cloth.
5. With a light touch, dust the two small strips of gray reflective material with a dry, soft, lint-free
cloth.
6. Close the hatch, and then press the Power button.
Clean the paper path
If scanned images have streaks or scratches, use the HP paper-path cleaning cloth to clean the
paper path.
NOTE: If you experience repeated document jams, make sure all rollers are present and that the
roller cover is closed. If problems persist, clean the rollers.
To clean the paper path, follow these steps:
1. Open the sealed HP paper-path cleaning cloth container, starting at the notch. Take care not to
tear the cleaning cloth.
2. Remove the cleaning cloth and unfold it.
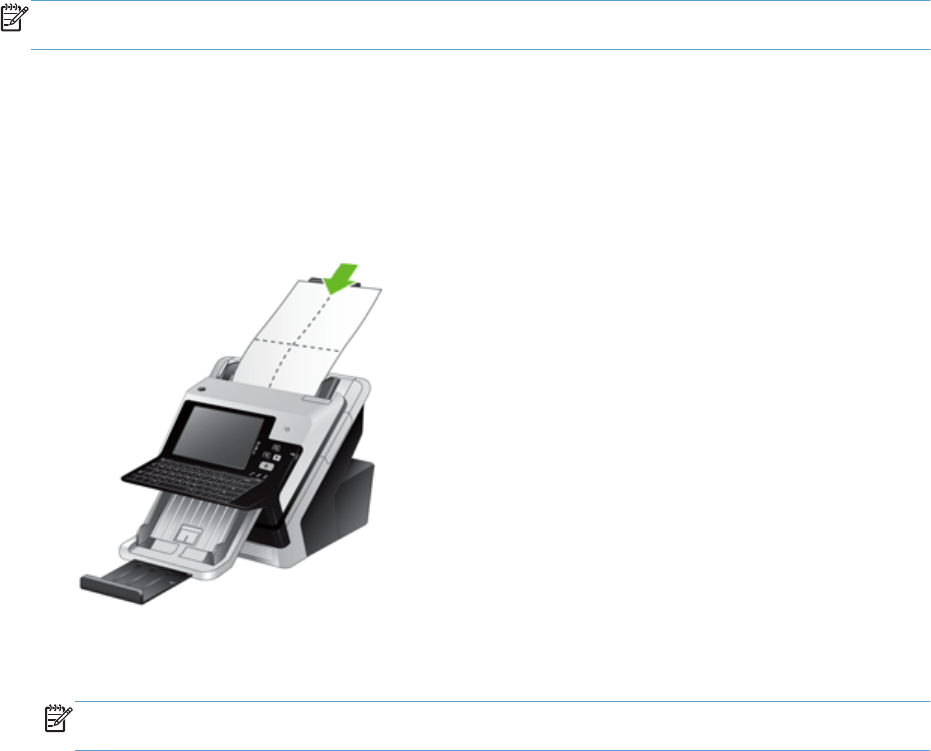
3. Place the unfolded cloth into the document feeder.
4. Touch the Service button on the Home screen, touch the Maintenance button, touch the Clean
Paper Path button, and then follow the onscreen instructions to clean the paper path.
NOTE: Scroll down through the online maintenance procedure and touch the Start Cleaning
button to feed the cleaning cloth through the paper path.
5. Place up to five pages of printed paper in the document feeder. Scan and view the results.
6. If streaks still appear, repeat steps 3 through 5. The cleaning cloth can be cycled through the
product up to five times within 30 minutes. After that, the cloth will dry out.
If repeated cycling of the cleaning cloth does not remove the streaks from the scanned images,
clean the rollers.
Clean the rollers
Proper maintenance will prolong the life of the rollers and improve their performance.
64 Chapter 7 Manage and maintain the product