
HP StorageWorks XP24000/XP20000 SNMP Agent Reference Guide (AE131-96088, May 2011)

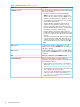

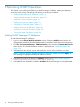
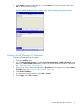
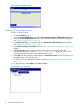
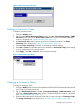
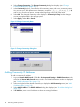
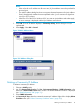
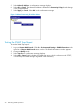
Table Of Contents
- XP24000/XP20000 SNMP Agent Reference Guide
- 1 Overview of SNMP
- 2 Using the SNMP GUI
- 3 Performing SNMP Operations
- 4 SNMP Supported MIB
- 5 SNMP Failure Trap Reference
- 6 Troubleshooting
- 7 Support and Other Resources
- Glossary
- Index
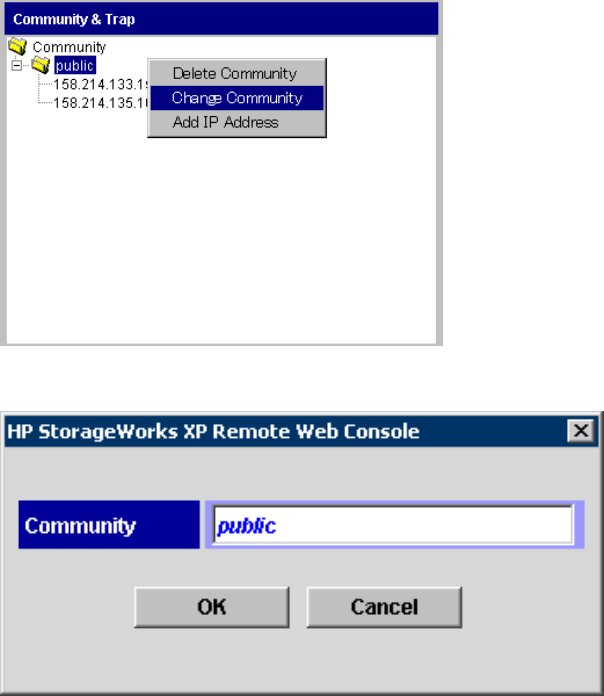
4. Select Change Community. The Change Community dialog box displays (see “Change
Community dialog box” (page 18)).
5. In the Community text box, overwrite the old community name with a new community name.
You can use up to 180 alphanumeric characters, except for ", \, ;, :, ,, *, ?, <, >, |, /, ^, &,
and %. You can also use spaces, except at the beginning or the end of the name.
6. Select OK. The changed community name displays in Community & Trap, but the changes
are not yet implemented in the storage system.
7. Select Apply. Select OK or Cancel.
Figure 10 Change Community Menu
Figure 11 Change Community dialog box
Adding Community IP Addresses
To add a community IP address:
1. Log on to Remote Web Console. Click Go – Environmental Settings – SNMP Information in the
menu bar of Remote Web Console Main window. The SNMP Information window is displayed
(see “SNMP Information Tab” (page 11)).
2. Select and right-click the desired community to display the Add Community menu (see “Add
IP Address Menu” (page 19)).
3. Select Add IP Address. The Add IP Address dialog box displays (see “IP Address dialog box”
(page 19)).
4. In IP Address, enter a new IP address or select an existing IP address.
18 Performing SNMP Operations