
HP Graphics Server Blade XenServer GPU Pass-through Quick Start
Solution Quick Start Guide | HP Graphics Server Blade XenServer GPU Pass-through Quick Start
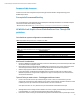
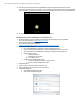
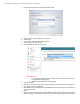
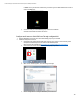
14. After reboot, when the virtual machine and the NVIDIA card initialize the virtual machine default console in
XenCenter will seem to be locked up (See Below). It is not locked up; the video output has been redirected to NVIDIA
card. If you need to do maintenance, you need to log in from HDX or RDP remote console or remove the NVIDIA card
15. You are now ready to create XenDesktop group and connect via HDX 3D.
Configuration steps for XenDesktop 5.6 / XenServer 6.1
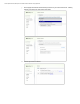
1. Update the WS460c Graphics Server Blade with the latest HP SPP firmware by booting to the SPP DVD
You can obtain the latest SPP at: http://www.hp.com/go/spp
2. Insure the System BIOS level is at least 9/20/2013
You can obtain the required System BIOS at:
ftp://ftp.hp.com/pub/softlib2/software1/pubsw-windows/p1326513305/v92429
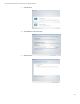
3. Setup system BIOS for installation
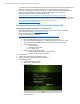
a. Boot to the HP RBSU (BIOS configuration utility) by pressing F9 during boot
b. Go to and select “System Default Options” > “Restore Default Options” and select to restore
c. After reset boot back into HP RBSU (BIOS configuration utility) by pressing F9 during boot
d. Set video mode to “SETUP”
i. Select System Options
ii. Select Remote Console Mode
iii. Set to “SETUP” mode
e. Set blade to static high performance mode
i. Select Power Management Options > HP Power Profile
ii. Select and enable “Maximum performance”
4. Install XenServer 6.x
5. Create or Import new virtual machine and XenServer tools
6. Configure and update operating system to your specifications
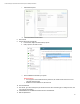
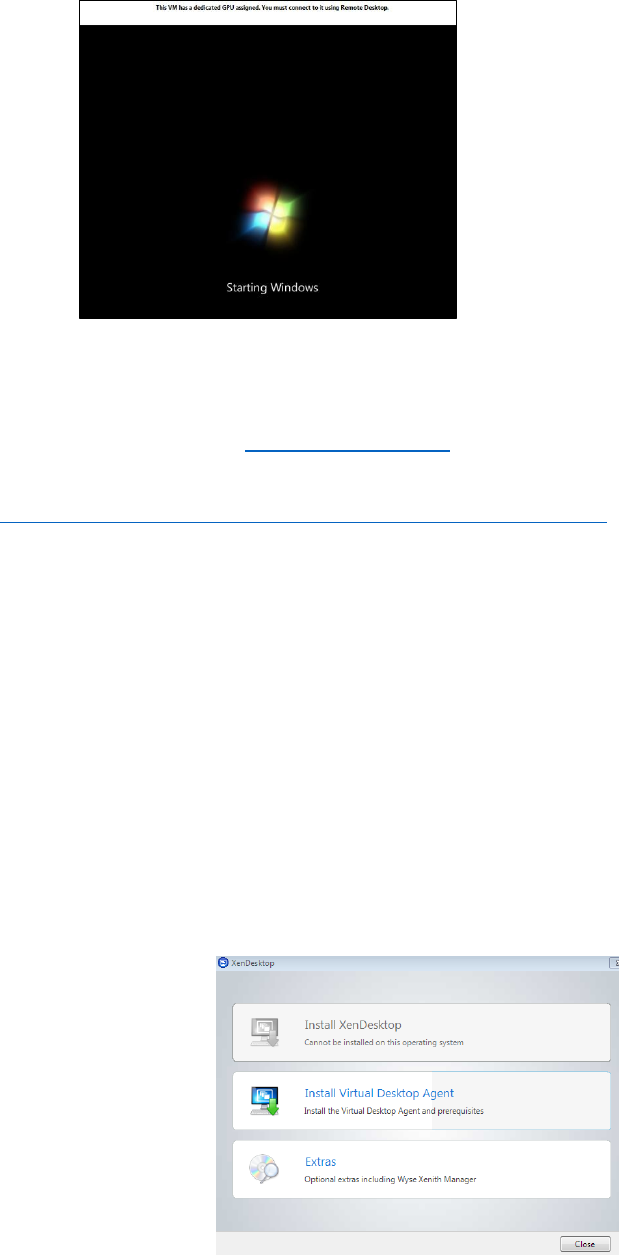
7. Install XenDesktop Agent
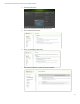
a. Mount XenDesktop DVD and run setup.
b. Select “Install Virtual Desktop Agent”.