
ProLiant ML310 Generation 2 Server Maintenance and Service Guide

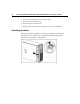
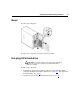
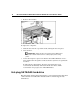
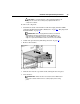
Table Of Contents
- HP ProLiant ML310 Generation 2 Server Maintenance and Service Guide
- Notice
- Contents
- Illustrated parts catalog
- Removal and replacement procedures
- Required tools
- Safety considerations
- Preparation procedures
- Bezel
- Hot-plug SCSI hard drive
- Hot-plug SATA/SAS hard drive
- Access panel
- PCI expansion board
- Battery
- DIMM
- Air baffle
- Fan
- Power supply
- Processor assembly
- Diskette drive
- CD-ROM/DVD-ROM drive
- Installing a full-height tape drive option
- Full-height tape drive
- Power button/LED board
- Hard drive (non-hot-plug)
- Hot-plug SCSI backplane
- Hot-plug SATA or SAS backplane
- System board
- Server cabling
- Diagnostic tools
- Server component identification
- Front panel components
- Front panel LEDs and buttons
- Rear panel components
- Rear panel LEDs and buttons
- System board components
- System board LEDs
- System LEDs and internal health LED combinations
- SCSI IDs
- Hot-plug SCSI hard drive LEDs
- Hot-plug SCSI hard drive LED combinations
- Hot-plug SATA or SAS IDs
- SATA or SAS hard drive LEDs
- Fan locations
- Specifications
- Acronyms and abbreviations
- Index
Removal and replacement procedures 17
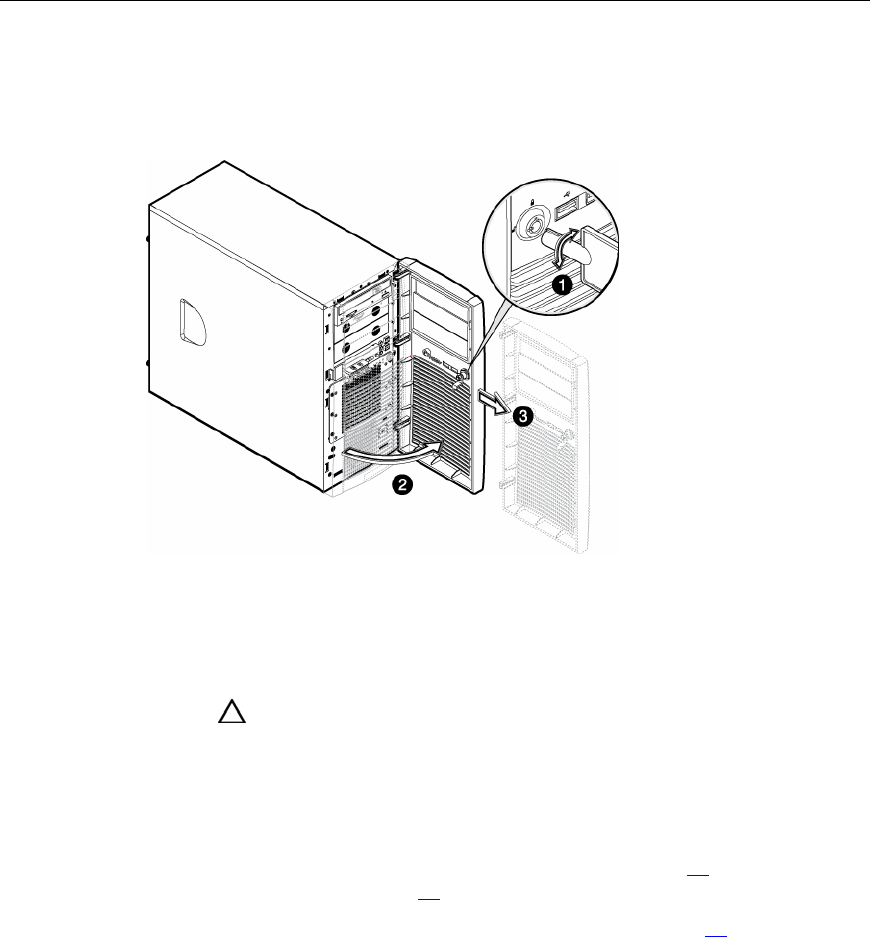
Bezel
To remove the component:
To replace the component, reverse the removal procedure.
Hot-plug SCSI hard drive
CAUTION: To prevent improper cooling and thermal damage, do
not operate the server unless all bays are populated with either a
component or a blank.
To remove the component:
1. Determine the status of the hard drive from the hot-plug hard drive LEDs
("Hot-plug SCSI hard drive LED combinations" on page 63
, "Hot-plug SCSI
hard drive LEDs" on page 62
).
2. Unlock and open the bezel ("Unlocking the bezel" on page 16
).