
HP ProLiant BL620c G7 Server Blade Maintenance and Service Guide
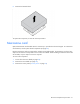
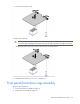
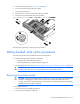

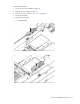
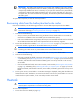
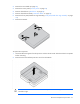
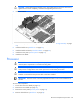
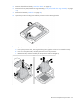
Table Of Contents
- HP ProLiant BL620c G7 Server Blade Maintenance and Service Guide
- Abstract
- Notice
- Contents
- Customer self repair
- Illustrated parts catalog
- Removal and replacement procedures
- Required tools
- Safety considerations
- Server blade preparation
- Access panel
- Hard drive blank
- Hard drive
- Mezzanine connector cover
- Left DIMM baffle
- Right DIMM baffle
- DIMM
- Heatsink blank
- Mezzanine card
- Front panel/hard drive cage assembly
- Battery-backed write cache procedures
- Heatsink
- Processor
- System board
- System battery
- Server blade release lever
- Release button
- HP Trusted Platform Module
- Diagnostic tools
- Server component identification
- Cabling
- Specifications
- Acronyms and abbreviations
- Index
Removal and replacement procedures 38
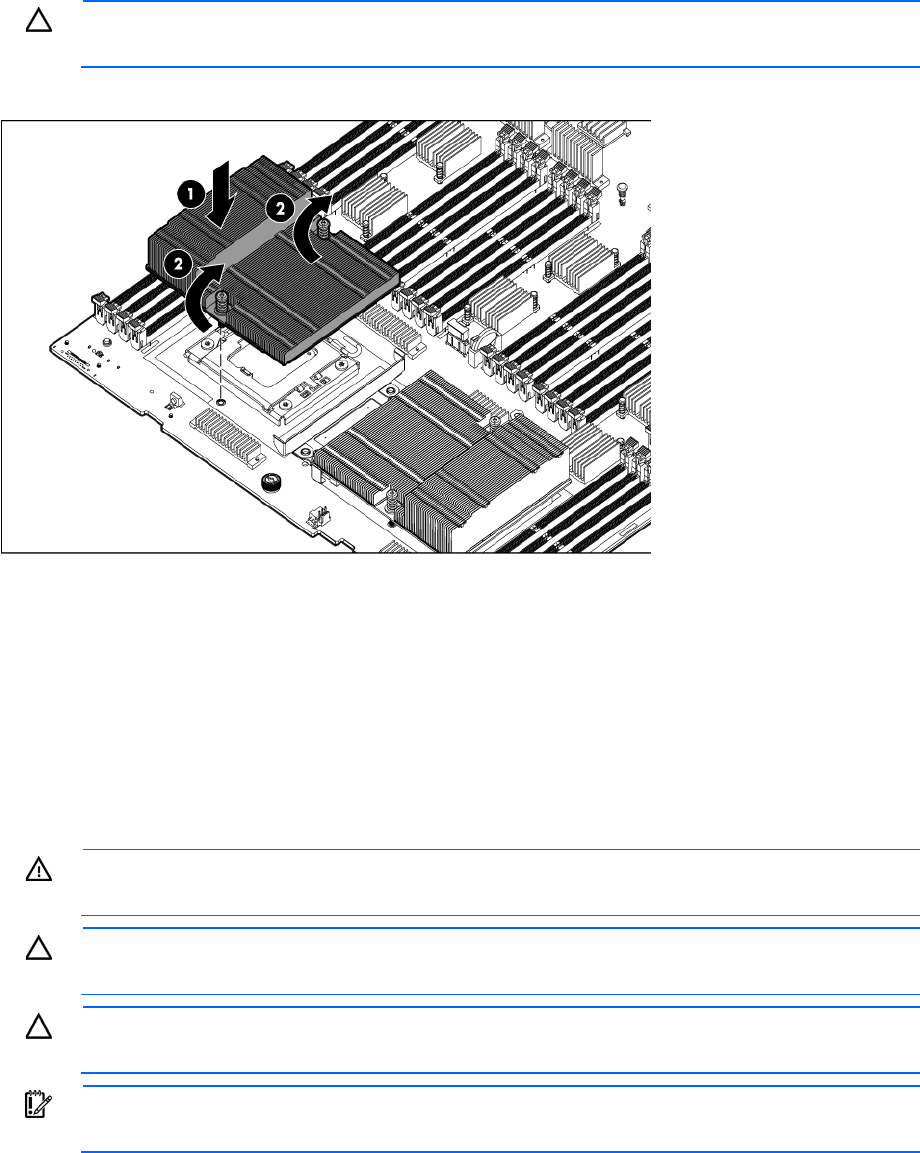
CAUTION: When tightening the heatsink screws, first tighten the front screw four to five turns,
tighten the back screw completely, and then finish tightening the front screw.
3. Install the heatsink.
4. Install the front panel/hard drive cage assembly ("Front panel/hard drive cage assembly" on page
32).
5. Install the hard drives ("Hard drive" on page 26).
6. Install the hard drive blanks ("Hard drive blank" on page 26).
7. Install the access panel ("Access panel" on page 25).
8. Install the server blade.
Processor
WARNING: To reduce the risk of personal injury from hot surfaces, allow the drives and the
internal system components to cool before touching them.
CAUTION: To prevent possible server blade malfunction and damage to the equipment,
multiprocessor configurations must contain processors with the same part number.
CAUTION: The heatsink thermal interface media is not reusable and must be replaced if the
heatsink is removed from the processor after it has been installed.
IMPORTANT: Processor socket 1 must be populated at all times or the server blade does not
function.
To remove the component:
1. Power down the server blade (on page 23).
2. Remove the server blade (on page 24).
3. Remove the access panel ("Access panel" on page 25).
4. Remove all hard drives ("Hard drive" on page 26).