
HP ProLiant BL620c G7 Server Blade Maintenance and Service Guide
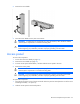
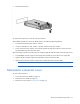
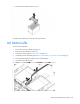
Table Of Contents
- HP ProLiant BL620c G7 Server Blade Maintenance and Service Guide
- Abstract
- Notice
- Contents
- Customer self repair
- Illustrated parts catalog
- Removal and replacement procedures
- Required tools
- Safety considerations
- Server blade preparation
- Access panel
- Hard drive blank
- Hard drive
- Mezzanine connector cover
- Left DIMM baffle
- Right DIMM baffle
- DIMM
- Heatsink blank
- Mezzanine card
- Front panel/hard drive cage assembly
- Battery-backed write cache procedures
- Heatsink
- Processor
- System board
- System battery
- Server blade release lever
- Release button
- HP Trusted Platform Module
- Diagnostic tools
- Server component identification
- Cabling
- Specifications
- Acronyms and abbreviations
- Index
Removal and replacement procedures 27
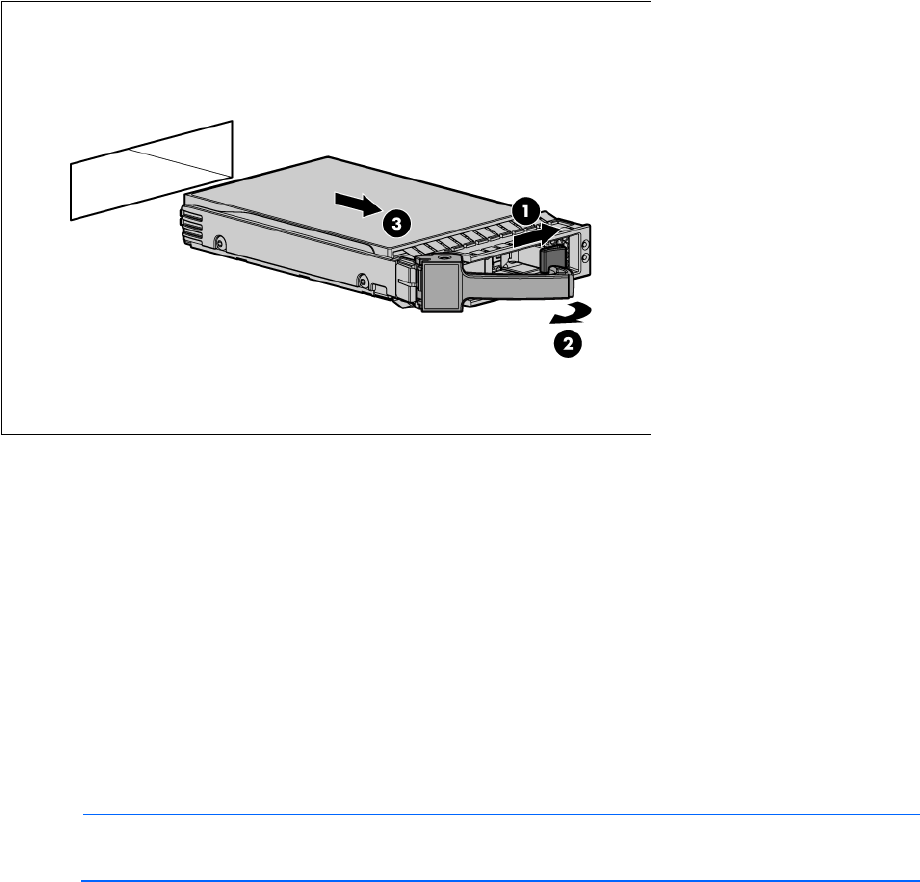
3.
Remove the hard drive.
To replace the component, reverse the removal procedure.
When adding hard drives to the server blade, observe the following general guidelines:
• The system automatically sets all drive numbers.
• If only one hard drive is used, install it in the bay with the lowest drive number.
• Drives must be the same capacity to provide the greatest storage space efficiency when drives are
grouped together into the same drive array.
Optional storage controllers provide support for hot-plug capability and drive LEDs. Controller options are:
• The embedded controller supports non-hot-plug SATA hard drives. Drive LEDs are not supported.
• Optional SATA controllers support hot-plug SATA hard drives and drive LEDs.
• Optional SAS controllers support hot-plug SAS or SATA hard drives and drive LEDs.
NOTE: ACU does not support mixing SAS and SATA drives in the same logical volume.
Mezzanine connector cover
To remove the component:
1. Power down the server blade (on page 23).
2. Remove the server blade (on page 24).
3. Remove the access panel ("Access panel" on page 25).