
HP ProLiant BL620c G7 Server Blade Maintenance and Service Guide
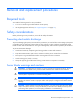
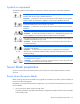
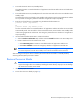
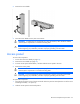
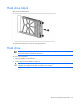
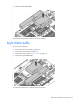
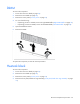
Table Of Contents
- HP ProLiant BL620c G7 Server Blade Maintenance and Service Guide
- Abstract
- Notice
- Contents
- Customer self repair
- Illustrated parts catalog
- Removal and replacement procedures
- Required tools
- Safety considerations
- Server blade preparation
- Access panel
- Hard drive blank
- Hard drive
- Mezzanine connector cover
- Left DIMM baffle
- Right DIMM baffle
- DIMM
- Heatsink blank
- Mezzanine card
- Front panel/hard drive cage assembly
- Battery-backed write cache procedures
- Heatsink
- Processor
- System board
- System battery
- Server blade release lever
- Release button
- HP Trusted Platform Module
- Diagnostic tools
- Server component identification
- Cabling
- Specifications
- Acronyms and abbreviations
- Index
Removal and replacement procedures 25
3.
Remove the server blade.
4. Place the server blade on a flat, level work surface.
WARNING: To reduce the risk of personal injury from hot surfaces, allow the drives and the
internal system components to cool before touching them.
CAUTION: To prevent damage to electrical components, properly ground the server blade
before beginning any installation procedure. Improper grounding can cause ESD.
Access panel
To remove the component:
1. Power down the server blade (on page 23).
2. Remove the server blade (on page 24).
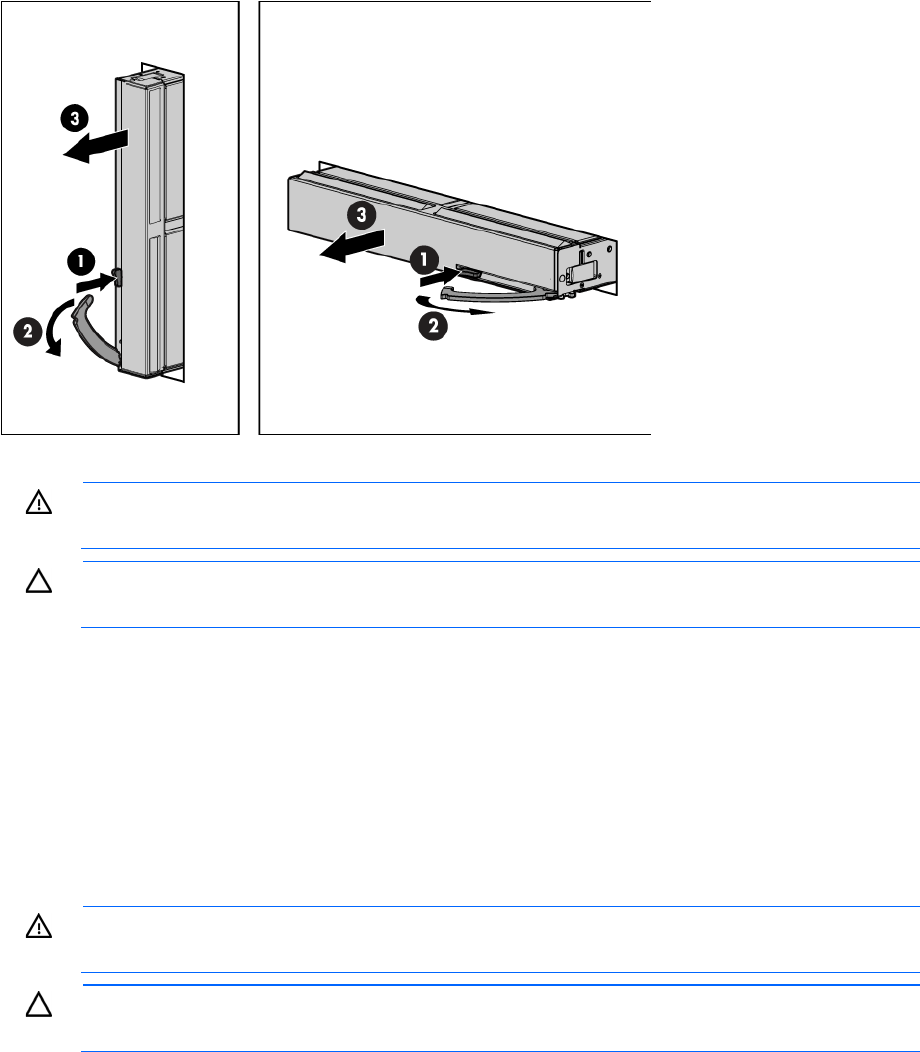
3. Press the access panel release button, and then slide the access panel to the rear.
4. Remove the access panel.
WARNING: To reduce the risk of personal injury from hot surfaces, allow the drives and the
internal system components to cool before touching them.
CAUTION: To prevent damage to electrical components, properly ground the server blade
before beginning any installation procedure. Improper grounding can cause ESD.
To replace the component:
1. Place the access panel on top of the server blade. Allow the panel to extend past the rear of the server
blade approximately 1 cm (0.25 in).
2. Slide the access panel to the closed position.